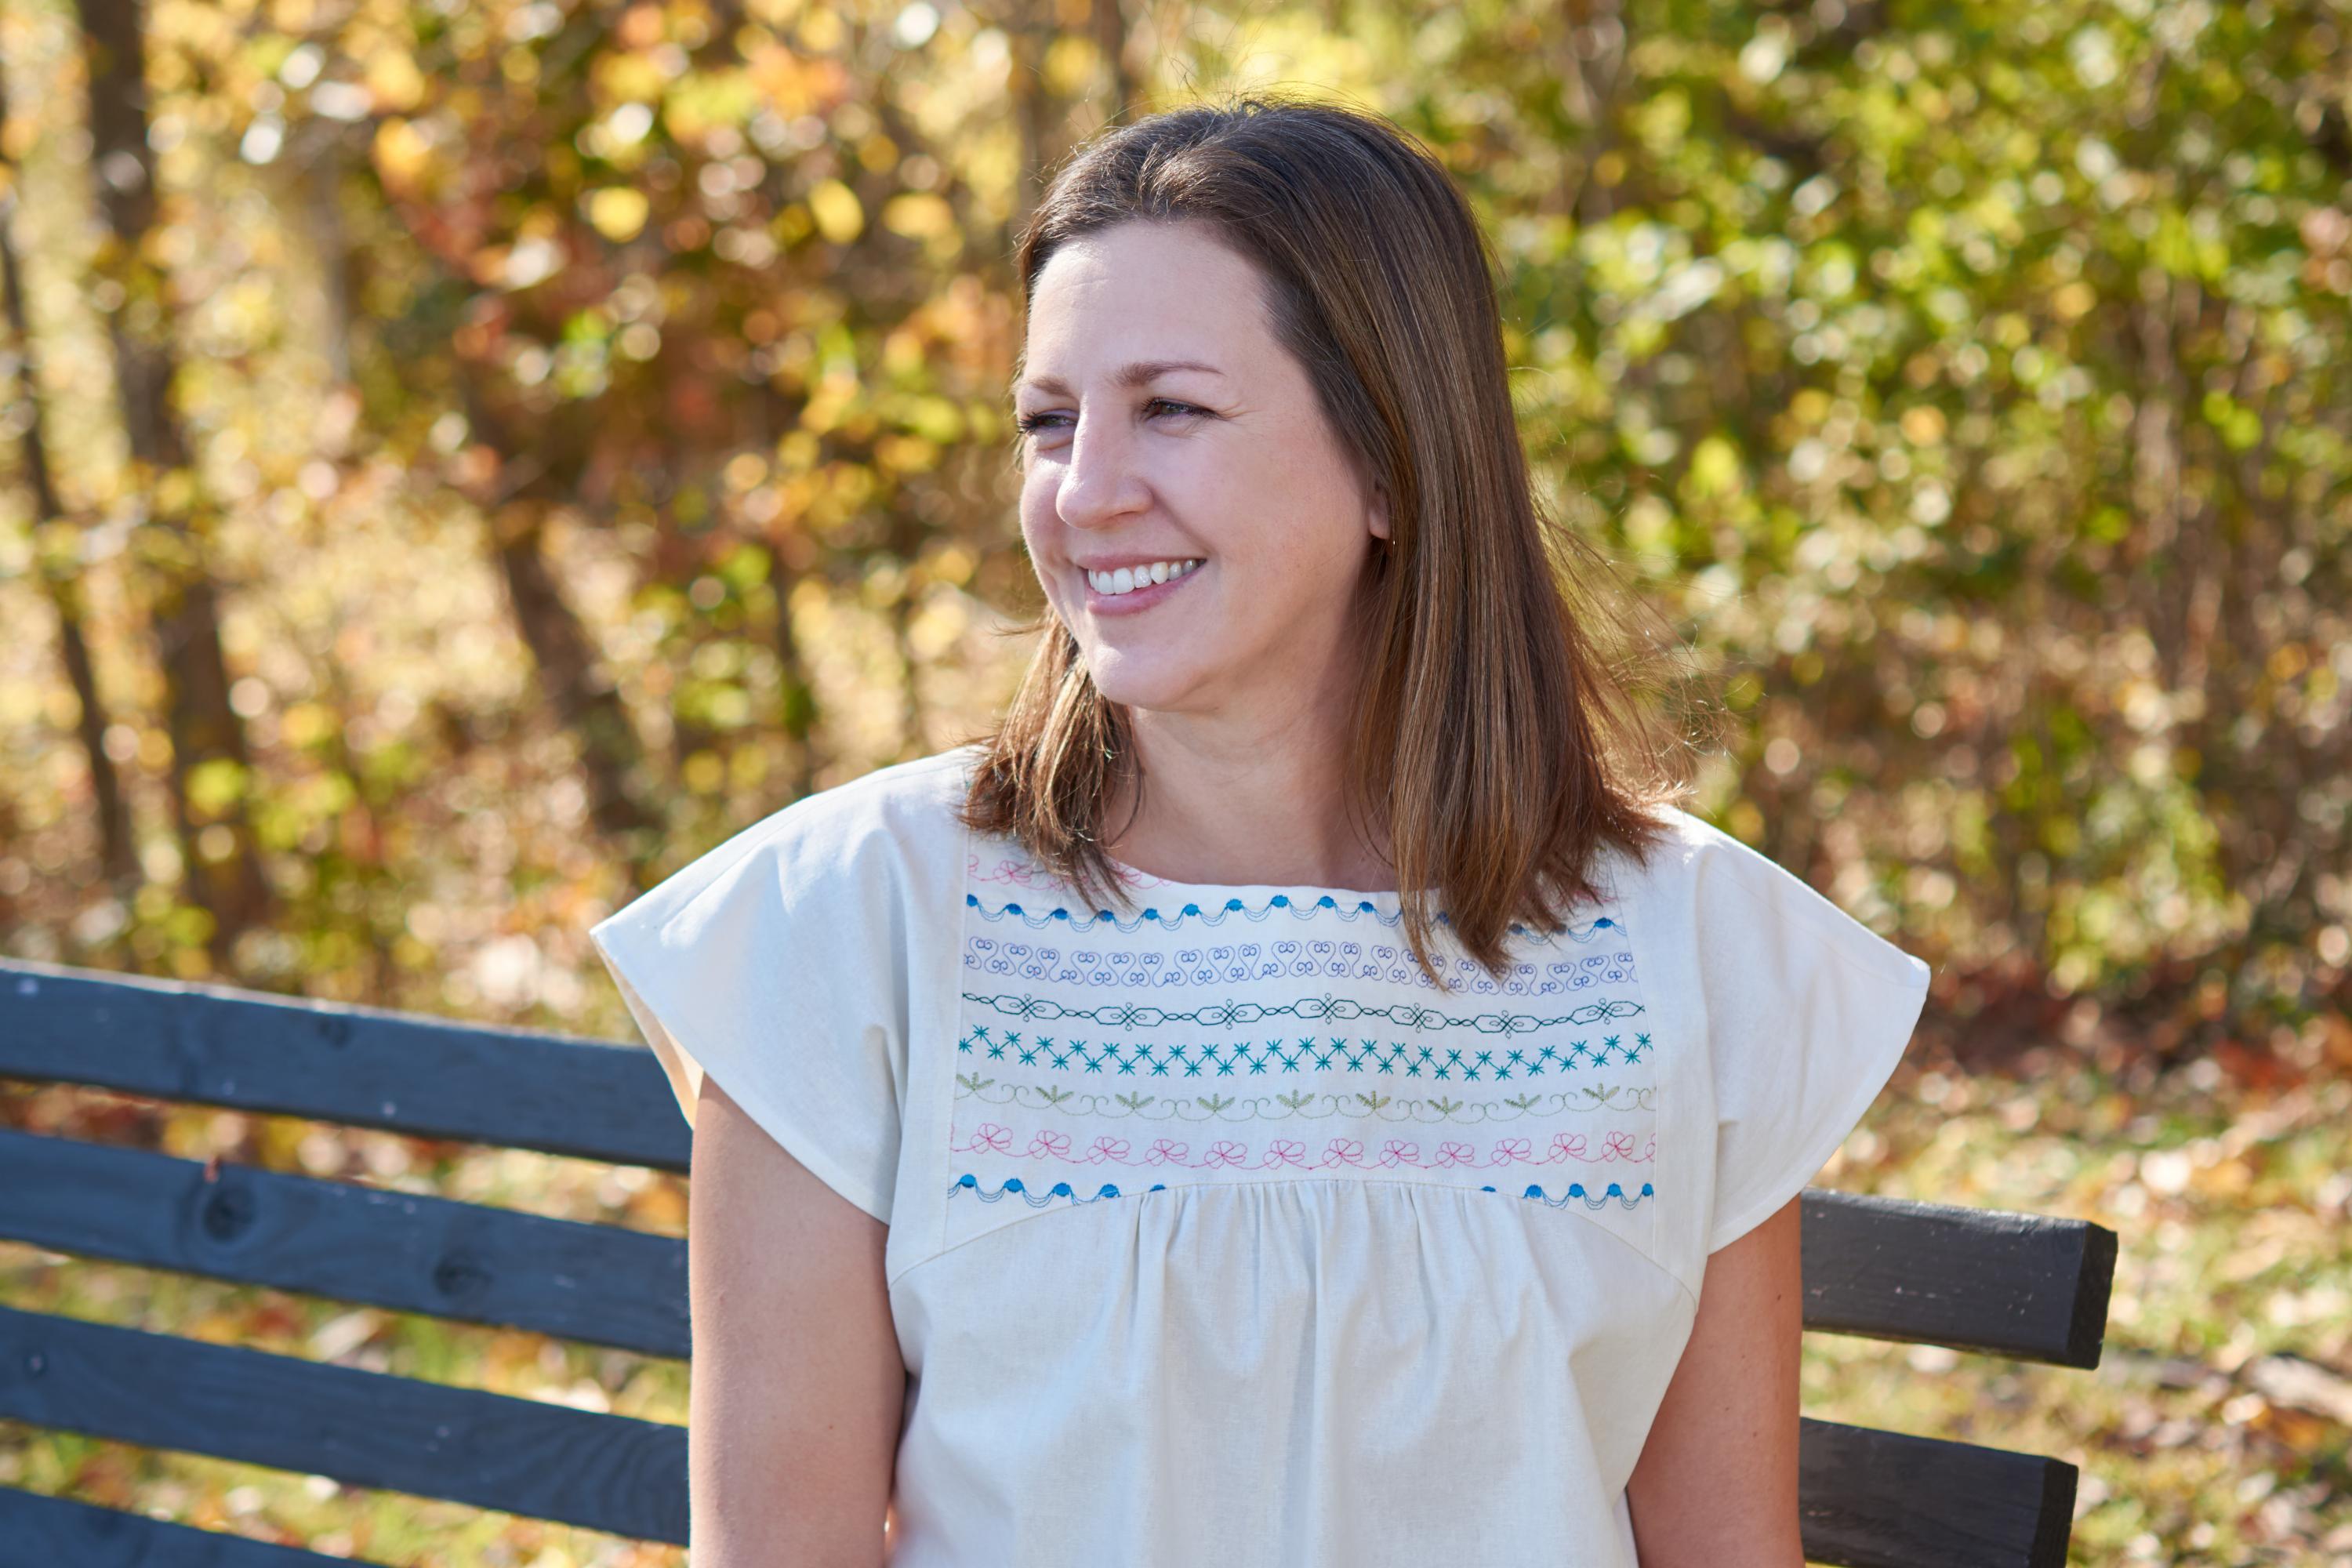
Luna Decorative Stitched Top
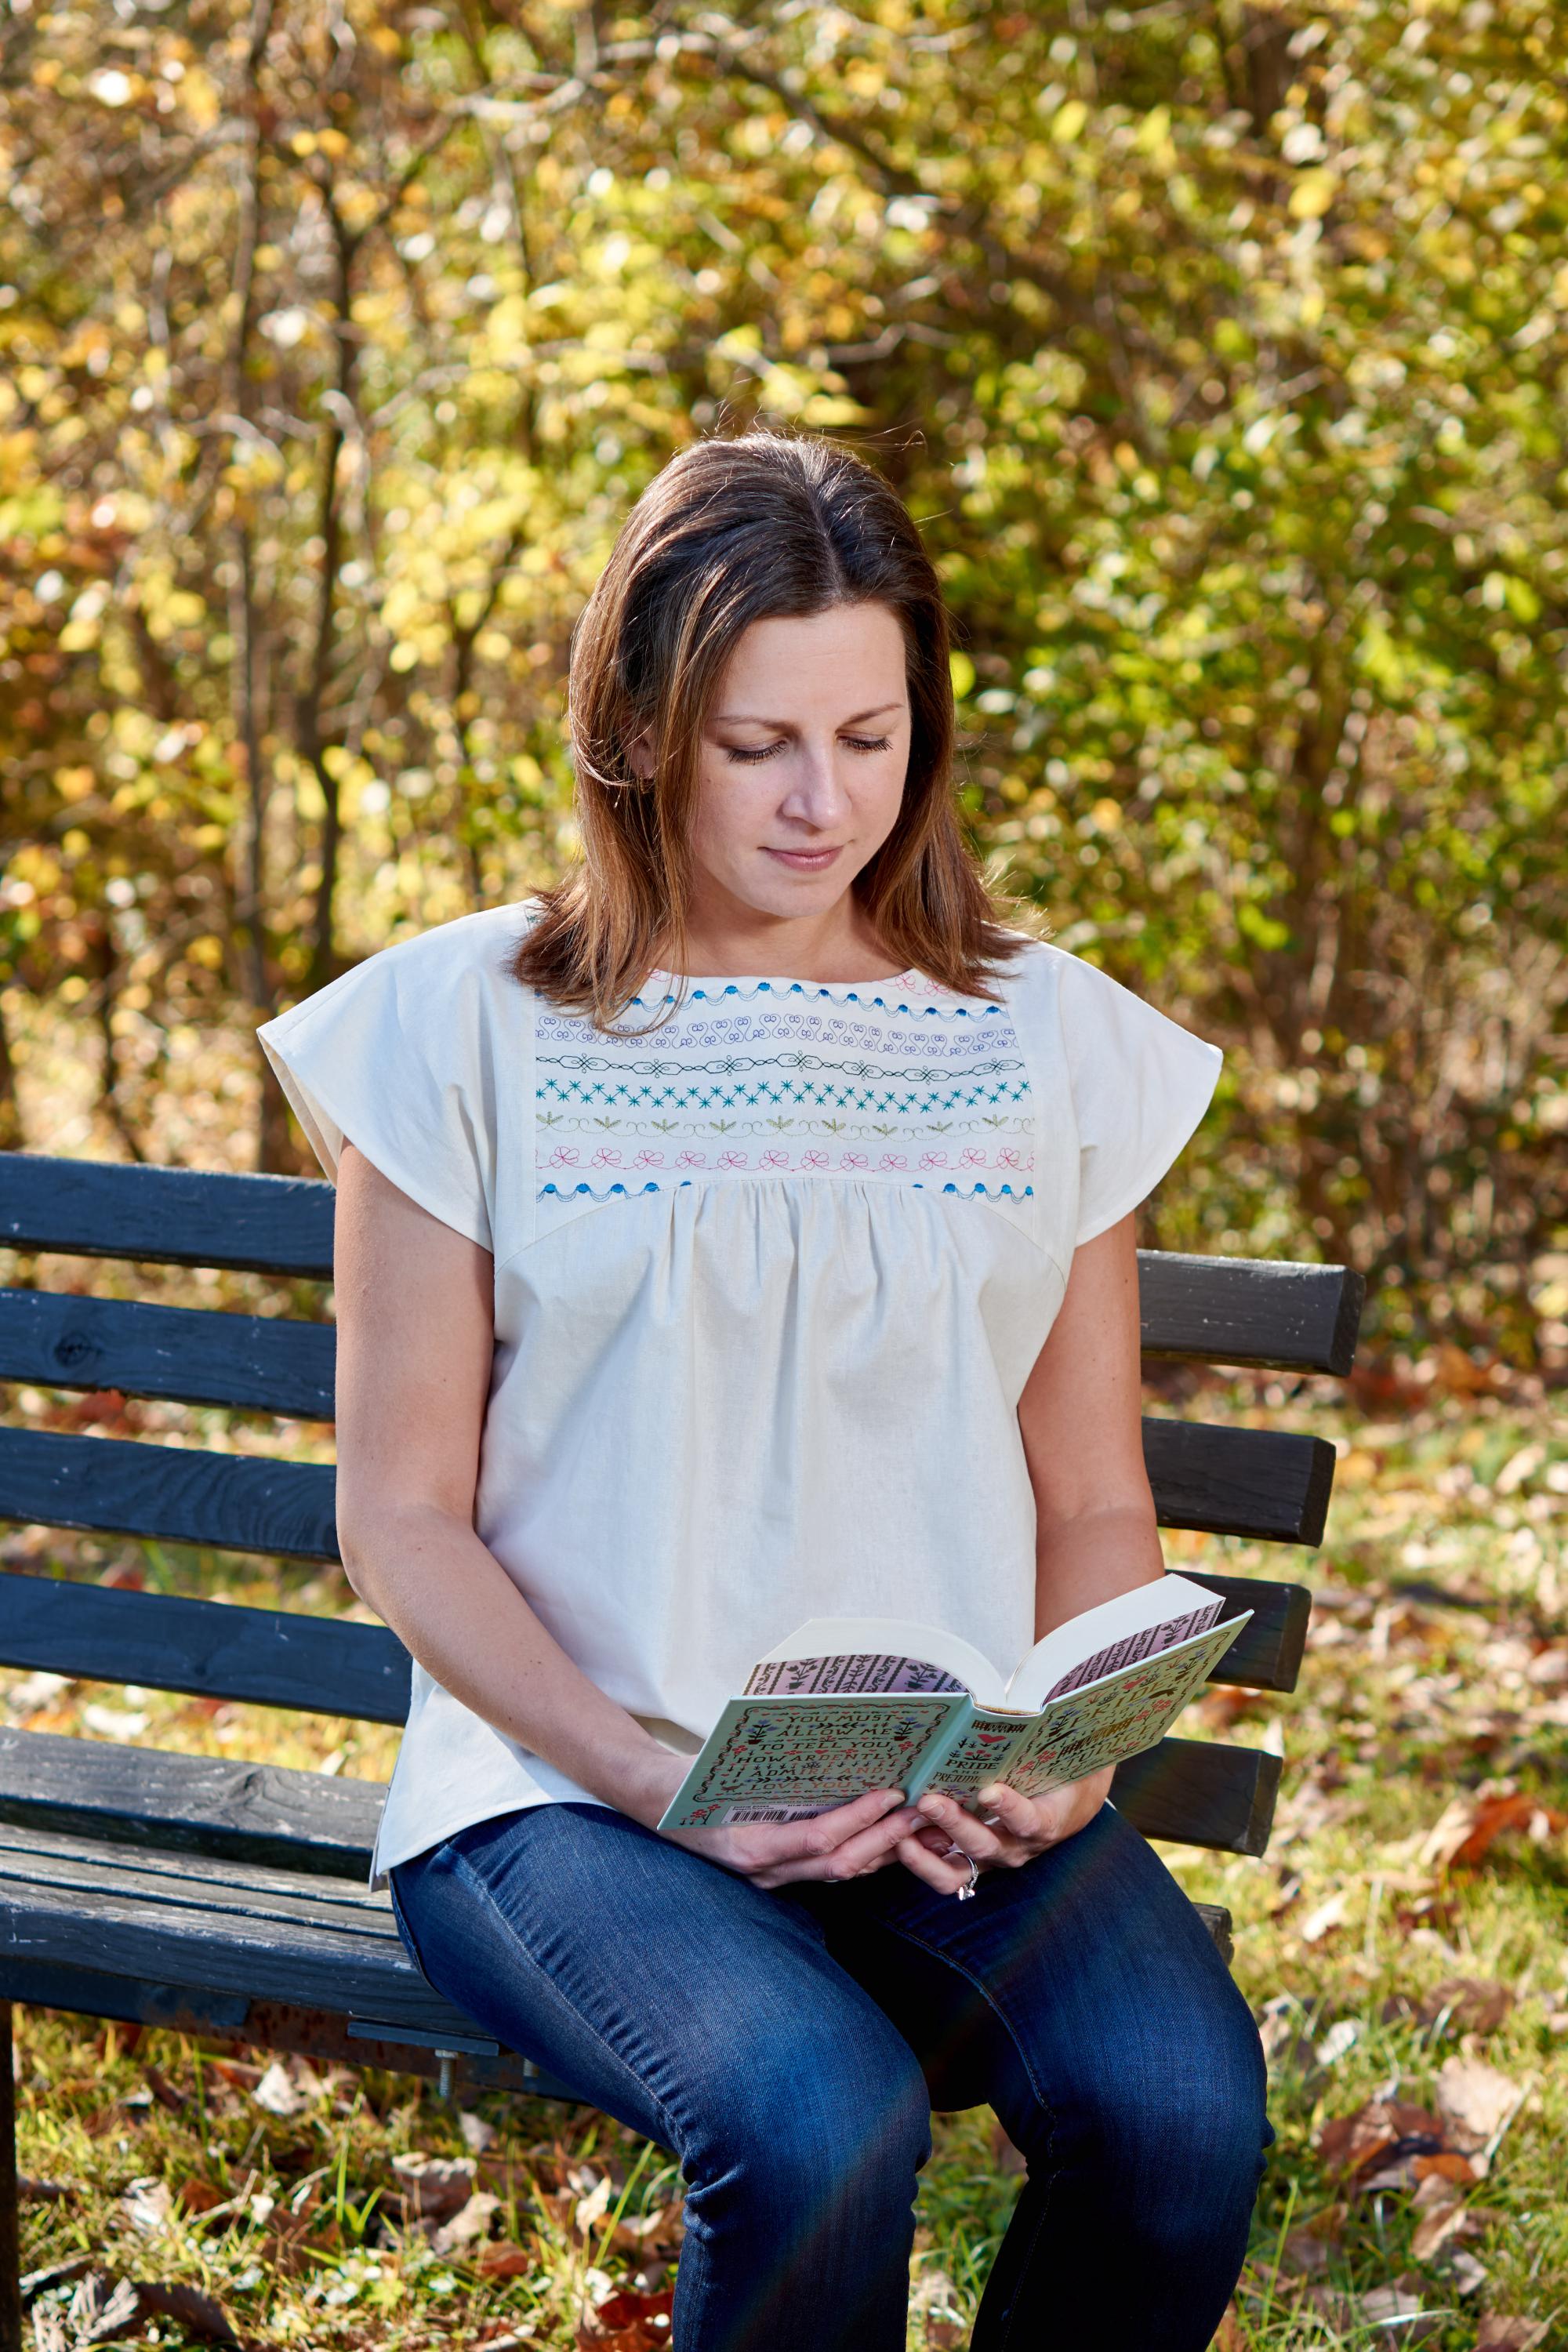
The bodice of the tunic for this pattern is a perfect canvas for showing off some of your favorite decorative stitches found on the Baby Lock Luna. For a subtle appearance, select thread in shades that are several shades darker or lighter than your fabric. Or make your stitching stand out as in our sample photo by using a variety of bright threads for attention grabbing accents!
Supplies
- Baby Lock Luna Sewing and Embroidery Machine
- Indygo Essentials Slight Sleeve Top & Tunic Pattern by Amy Barickman (IJ1165E)
- Madeira 40wt. Rayon Embroidery Thread in a variety of colors for decorative stitches
- Madeira Sewing Thread
- Fabric of your choice and yardage to match pattern requirements
- Pellon EK130 Knit Fuse Interfacing
- Sewing Notions, scissors, pins
- Printable instructions with additional images (optional)
How to Plan Out Your Top
The trick to making the decorative stitching even on both sides of the neckline, stitch the sewing motifs before cutting out the pattern. Here are the steps to follow to achieve the results you desire.
Construction Instructions
- Find the pattern piece from the envelope that is for the front yoke. On my sample, I planned on using only the front of the yoke to add decorative stitches, making sure to not include any of the stitching past where the yoke turns into the sleeves. To do this, trace the pattern onto some pattern tracing material making sure to put the center front fold on the fold of the tracing material fabric so that you are cutting out an entire front, not just one half of the pattern.
- Determine how wide you want to make the panel. Add a ½” seam allowance on each side of the center panel.
- Add a ½” seam allowance to the side of the piece you cut off so that when you join the panel to the tunic front you will have the sleeves extend as originally intended.
- Cut out a rectangle of fabric large enough to accommodate the modified pattern piece. To do this, measure the traced pattern to discern how big a piece of fabric that you should cut for your decorative stitch panel. Cut out the fabric in a rectangl.
- Interface the fabric following the manufacturer's instructions using the Pellon EK130.
- Choose stitches that appeal to you, making sure that you test sew on a separate piece of fabric to ensure that you like how the stitch looks on your fabric. Pro-Tip: Stitches that are a maximum of 7mm in width are easiest to control. There are many stitches in the Luna that go well beyond that width, especially where there is lateral movement in the stitch formation. If desired, use a marking pen that can be easily removed to draw placement lines for even spacing.
- When using the decorative stitches, use the N foot along with the external guideline marker to aid in keeping the stitch alignment straight.
- Pro-Tip: If you struggle with keeping your stitch alignment on the sewing side, remember that you also have the decorative stitches on the Embroidery Side of the Luna. Using the Motif stitches in category 6.
- Select from the 160 different motif stitches in Category 3.
- Set the designs and then use the Repeat/Border key to repeat the patterns into a line.
- Touch Add and repeat the process with different motif stitches to create the desired look replicating the stitches.
- Update the colors using the Color key. Touch Embroidery.
- Once the design is ready, hoop the fused fabric piece in the 8” X 14” Hoop with some additional tear-away stabilizer. Stitch using the 40-wt. embroidery thread.
- Once all the stitching has been completed (using either Sewing or Embroidery method), use the modified pattern piece to cut out the yoke front. Your stitching should be across the entire width including the area that will be the ½” seam allowance.
- Cut out the rest of the pattern according to the instructions.
- Stitch the project together using all the amazing sewing stitches and included accessory feet.
- Be sure to follow the instructions and press as needed.
- Once together, enjoy your customized top! Try using embroidery or other features of the Luna to add to the top. There are several beautiful embroidery designs included in the Luna to make unique creations.
For other exciting projects like this one, visit Baby Lock at www.babylock.com
©2026 Baby Lock USA. This project may be freely used by individuals for non-commercial purposes. Project instructions may not be sold or distributed without approval from Baby Lock.