
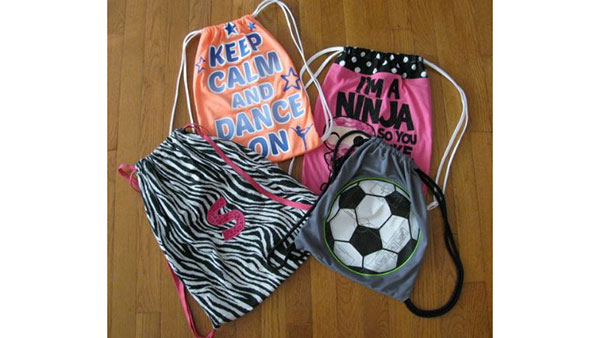
Christmas is coming and you have lots of gifts to sew right? You need something quick and easy for all the different personalities! For about $10 you can make these great bags from t-shirts or fabric in less than an hour using your Baby Lock serger. For boys girls and adults these are great for snacks and such for soccer games bike rides trips and so much more! Download printable instructions.
Materials:
- Madeira® Aerolock serger thread
- Madeira Aerofil all-purpose thread to match fabric
- Either an XL child OR adult t-shirt OR ½ yard of fabric
- Klasse Stretch Needles size 11 or 12
- 2.5 yards (child bag) or 4 yards (teen/adult bag) of lanyard type cording for straps
Tools:
- Baby Lock® sewing machine
- Baby Lock Serger
Steps:
-
Cut your shirt or fabric.
-
After you’ve cut your front and back measure 2.5” from the TOP edges (right and left of both front and back pieces) and mark a ½” in from the side.
-
Make a ½” clip at that mark into each side (4 clips total for right top and left top front and back).
-
Iron those 2.5” flaps in a half inch (if you are using a woven fabric iron it under again so that you have a ¼” flap that conceals the raw edge).
-
Jersey doesn’t fray so you don’t need to worry about folding it in again. Stitch those flaps in place.
-
-
At the top edge iron down a ½” and then press that edge down another 2” to create a 1” casing.
-
Stitch down the casing.
-
Put the front and back together pretty sides in towards each other. Stitch and serge/finish the lower edge first.
-
Sew your side seams stopping 1.5” from the bottom edge leaving a 1” opening.
-
-
Cut your strapping in half and place a safety pin on one end of each strap. Lay the bag down flat casings closest to you (bag is still inside out).
-
Thread the first one through the lower casing and then through the top casing. Pull straps even.
-
-
Now you’re going to put your second strap in starting at the opposite side (shown below). The same strap should be coming out of the two casings on one side. Do the same for the other side
-
Pull each strap duo down into the (pretty side inside) bag and down to the openings of its same side.
-
If you are making this for a small person you may need to make the straps smaller here by pulling more of the strapping through the opening.
-
-
Now you’ll stitch the rest of the seam down closed (over the straps too) really well.
-
Finally finish/serge the sides of the bag. You may want to start at the top of the bag/seam allowance as it is easier to place the bag since the casing is somewhat bulky.
-
Optional: sew the ends of my serging under the sewing machine so that the serging doesn’t start to unravel.
Then clip the threads with the best little thread clippers ever…I just got these and I love them so much (Creative Notions Easy Squeeze Scissors)!
-
Turn bag inside out and you are done! You can add some fun things inside the bag for the gift recipient!


