

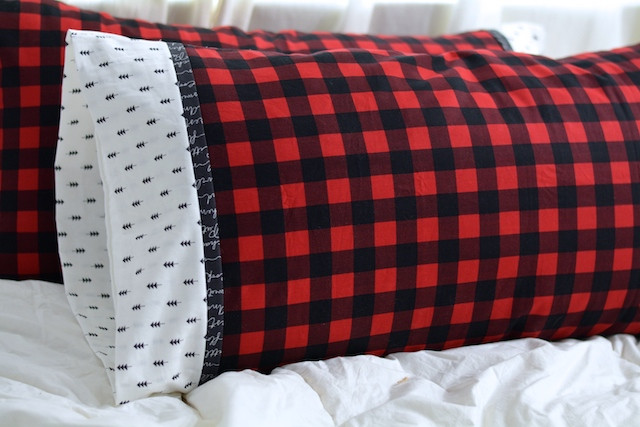
Who doesn’t love snuggling up to a pillow draped in your favorite fabrics? Sew a new set for each season to make your bedroom extra cozy! This pillowcase tutorial uses the “burrito” method of assembly which is easy enough for beginners and kids to learn how to sew. You just need a regular sewing machine some pins or clips and a rotary cutting set to get started! Click here to download printable instructions.
Materials:
- Pins or clips
- Rotary cutting set
- Main fabric:
- • For queen size pillow cut 27″ x WOF for queen size pillow
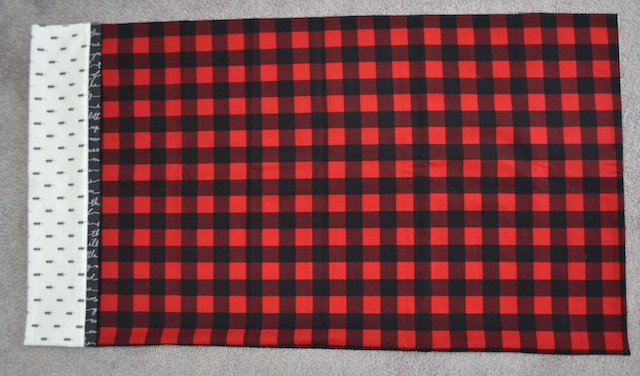
- • For king size pillow (pictured) cut 33” x WOF
- Cuff fabric:
- • For either size pillow cut 9″ x WOF
- Accent strip:
- • For either size pillow cut 2″ x WOF strip of solid fabric for accent pressed in half lengthwise to make a 1″ folded strip
Tools:
- Baby Lock sewing machine
Steps:
-
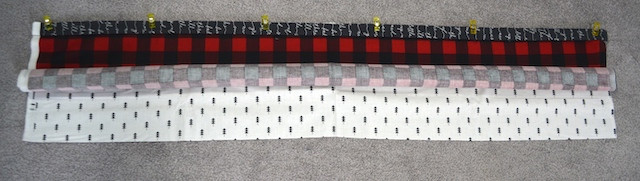
To start making the “burrito ” stack the fabrics in front of you as follows:
-
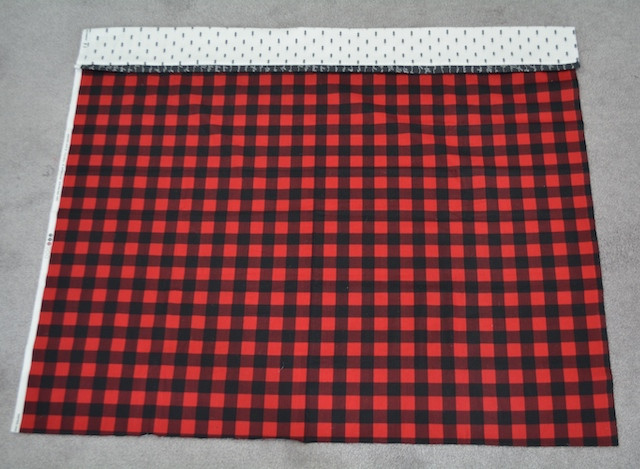
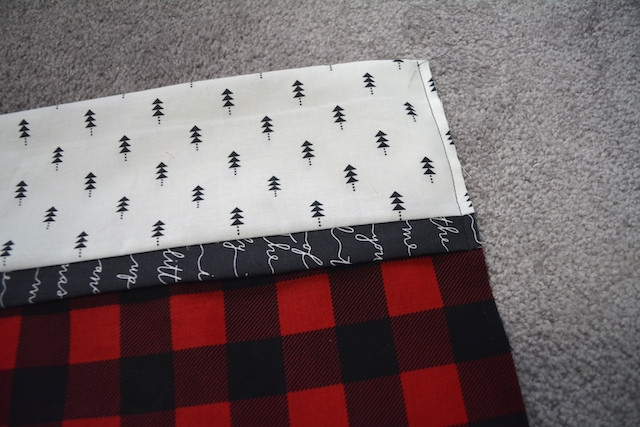
Place the 9″ coordinating fabric right side up.
-
Next stack the 27″ (queen) or 33” (king) main fabric right side up aligning the top raw edges.
-
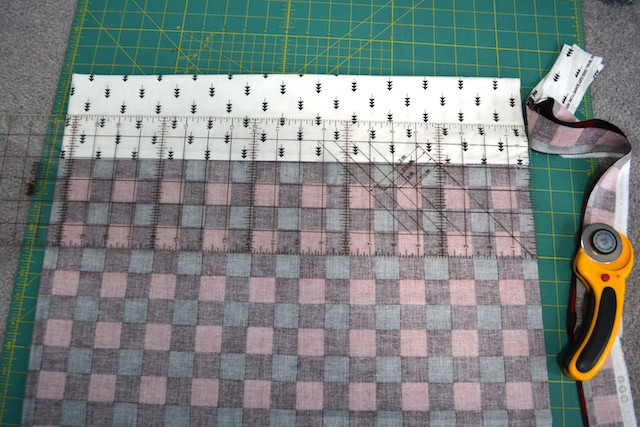
On top of that place the folded accent strip so that the raw edges are aligned with the top raw edges of the other fabrics.
-
-
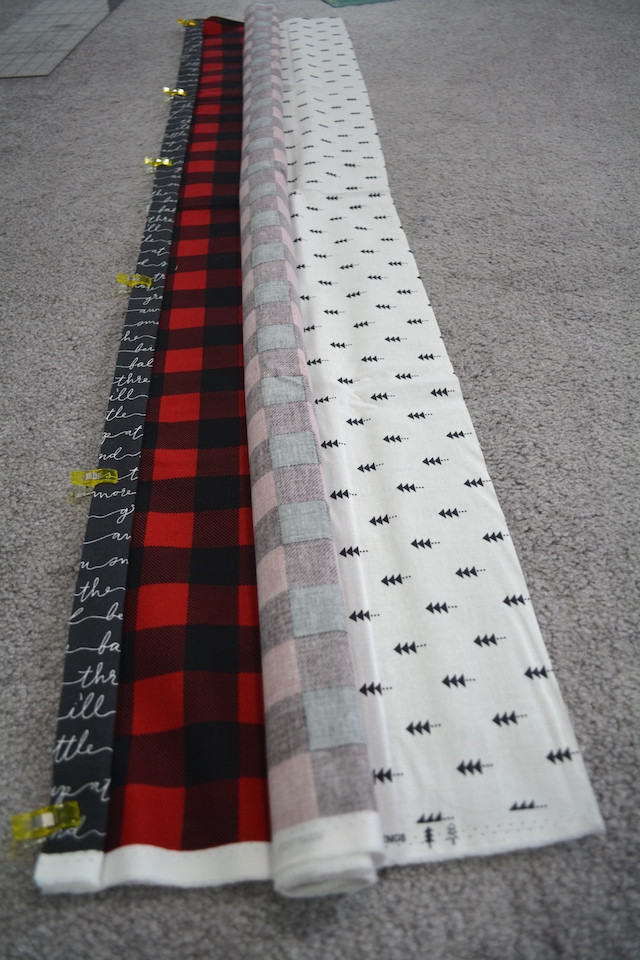
Starting at the bottom and working your way up begin to roll the 27″/33” main fabric panel into a little tube.
-
Stop rolling when you get about to the center of the 9″ coordinating fabric. Double check to make sure your stack matches the picture.
-
-
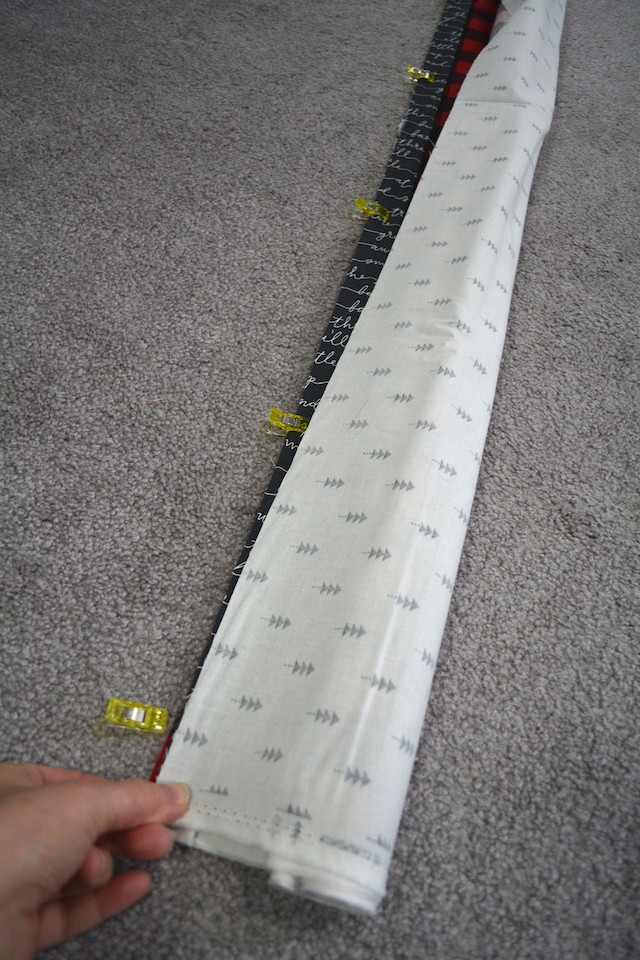
Next take the bottom of the coordinating fabric and bring it up over the burrito.
-
Align the raw edges with the raw edges of all the other fabrics. Pin or clip in place along the raw edges making sure to trap the skinny accent strip as well.
-
-
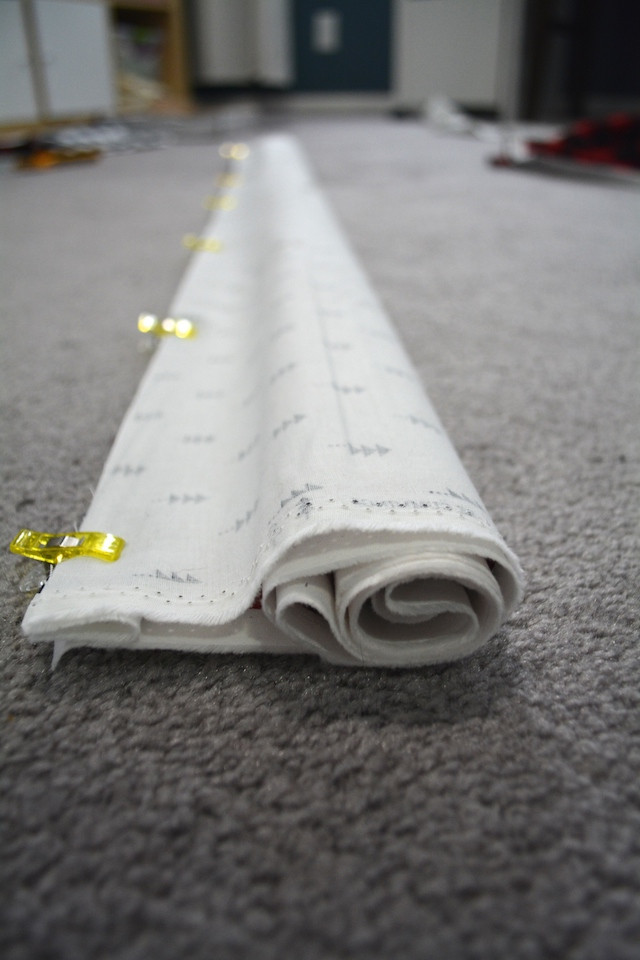
Use a 1/4″ seam to sew along the raw edges you clipped. Adjust your fabrics along the way making sure the layers do not shift during sewing.
-
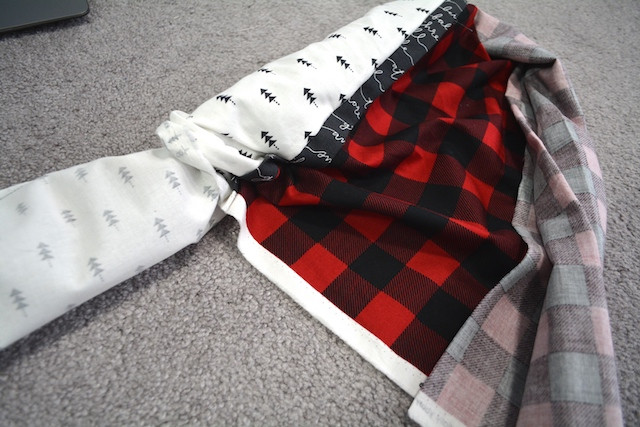
Now gently tug at the fabric inside the burrito pulling it out of the tube.
-
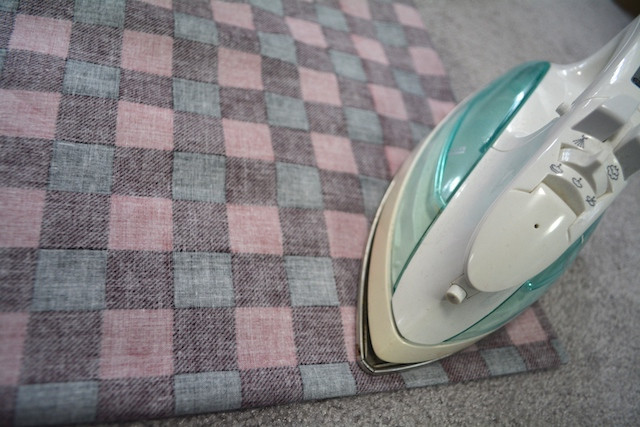
Continue pulling until your pillowcase is unrolled. Press the fabrics flat making sure not to wrinkle the accent strip and coordinating fabric.
-
Next trim off the selvages so the pillowcase is only 41″ wide.
-
I like to fold my pillow case in half (selvages touching) as it is easier to measure and cut the 40″ length.
-
This means trimming to the 20.5″ mark on my ruler when folded in half; see above.
-
-
Next you’ll sew a French seam on those sides you just cut so you have a nice finished edge. First fold the pillowcase in half with wrong sides together.
-
Next stitch a line 1/4″ on the two sides with raw edges only. Unless you’re familiar with French seams you may hear little warning bells go off. But this is correct!
-
Turn the pillowcase wrong side out and press poking out the corners with a point turner or your fingers.
-
Now sew a 1/2″ seam on the same two sides you sewed earlier.
-
This will trap the raw edges inside and make a nice clean finished edge. Press.
-
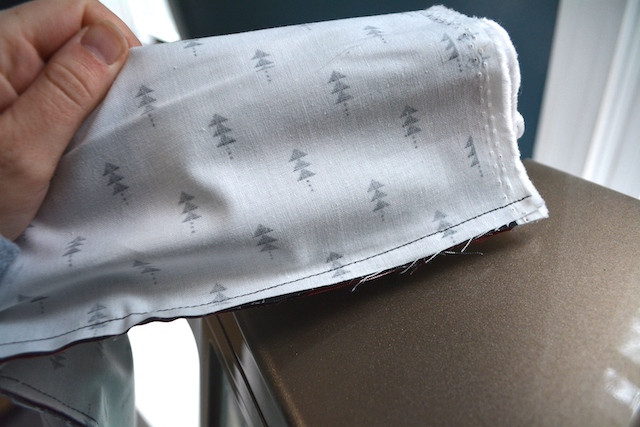
-
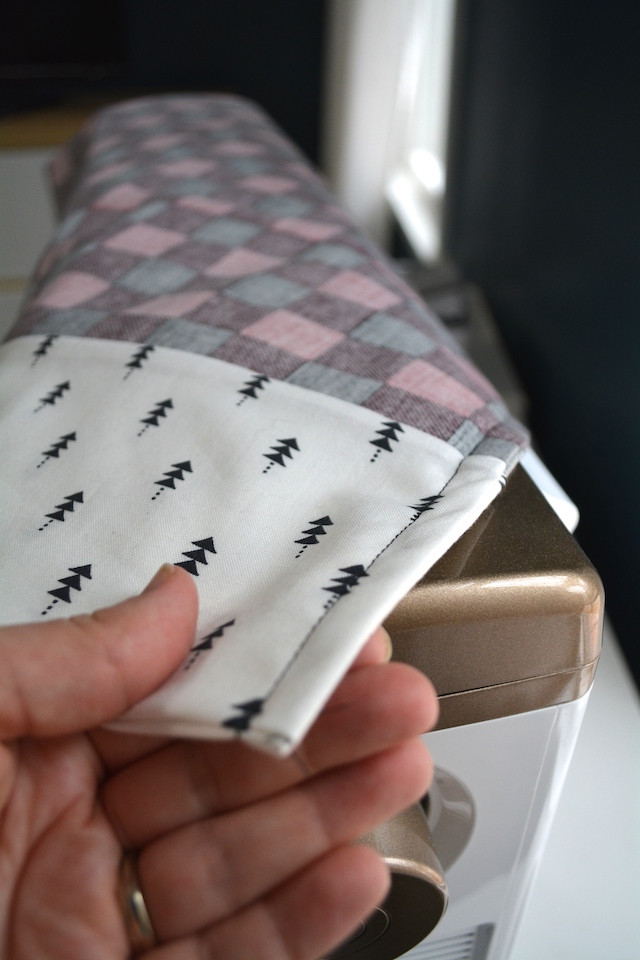
Here’s what the French seam looks like! This not only looks prettier on the inside of the pillowcase but it will be more durable than an unfinished seam.
-
That’s it! You’ve finished your pillowcase with French seams. Why not change up the look of your pillows every season to add some zing to your bedroom?


