Every sewer has fabric scraps laying around! Try this fun project to help organize those scraps and use a few in the process. If you’ve been wanting to try free-motion quilting these bins are an easy less-intimidating way to practice! Download printable instructions.
Materials:
- External fabric ¼ yard (there will be excess fabric)
- Lining fabric ¼ yard (there will be excess fabric)
- Fusible fleece ¼ yard (there will be excess fabric)
- Matching thread
- Quilting thread for free-motion quilting (optional)
- ¼” sewing foot
- Ruler and rotary cutter
- Iron
- Wonderclips
Tools:
Steps:
-
If you decide to free-motion quilt your fabric on the external part of the bin do this before you cut into your final 6-inch square panels.
-
I cut a 7-inch strip to the width of the fabric and free-motion quilted it with the fusible fleece attached.
-
This is an optional part of the process but is a great introduction into free-motion quilting. I used the meander technique with a variegated thread.
-
If you have never given free-motion quilting a try drop your feed dogs and practice on this small and easy project.
-
-
Cut five 6” square panels for the outside part of the bin.
-
If you didn’t quilt your fabric at this point press with the fabric and the fusible fleece together with a hot iron as per the manufacturers instructions.
-
-
Cut five 6” square panels for the internal part of the project
-
Starting with your external fabric place your squares into a T shape on your work surface.
-
NOTE: the main T sections are the side panels the block to the right is the bottom and the last block on the right is the remaining side panel.
-
If your fabric is directional make sure they are correct before you start sewing.
-
-
All seams are sewn using ¼-inch. Use a ¼-inch foot for this setting the needle on a center straight stitch.
-
Take the first two sections and sew from the top corner stopping at the bottom and leaving a ¼-inch space.
-
Press the seams. The section with the opening will be facing the right-hand side.
-
Take your next sections right sides together and sew from the top corner to the bottom leaving a ¼-inch space.
-
Press the seams. The section with the opening will face the right-hand side.
-
Now we are going to sew the bottom panel. Join right sides together and sew all along the bottom leaving ¼-inch spaces at each end.
-
Press the seams.
-
Now join the last section again leaving ¼-inch seams at both ends and press.
-
With right sides together clip one of the T sections to the bottom panel using Wonderclips. Sew from top to bottom.
-
Then sew the other T section to the bottom panel. You will start to see the formation of a cube.
-
Sew both sides together.
-
For the bin lining repeat steps 4 to 15.
-
You now have two cube bins.
-
Place your lining inside the exterior cube right sides facing each other. Take the storage section off your machine to allow for free-arm sewing.
-
You will want to leave an opening to fold right side out so start about 2 inches away from a corner edge.
-
Making sure all your corners are matching with the lining and the external pieces sew all the way around except for a 3-inch area to turn out.
-
-
Pull everything through the tiny opening gently the push the lining into the external part of the bin.
-
All that’s left to do is press the top sections and top stitch the project.
-
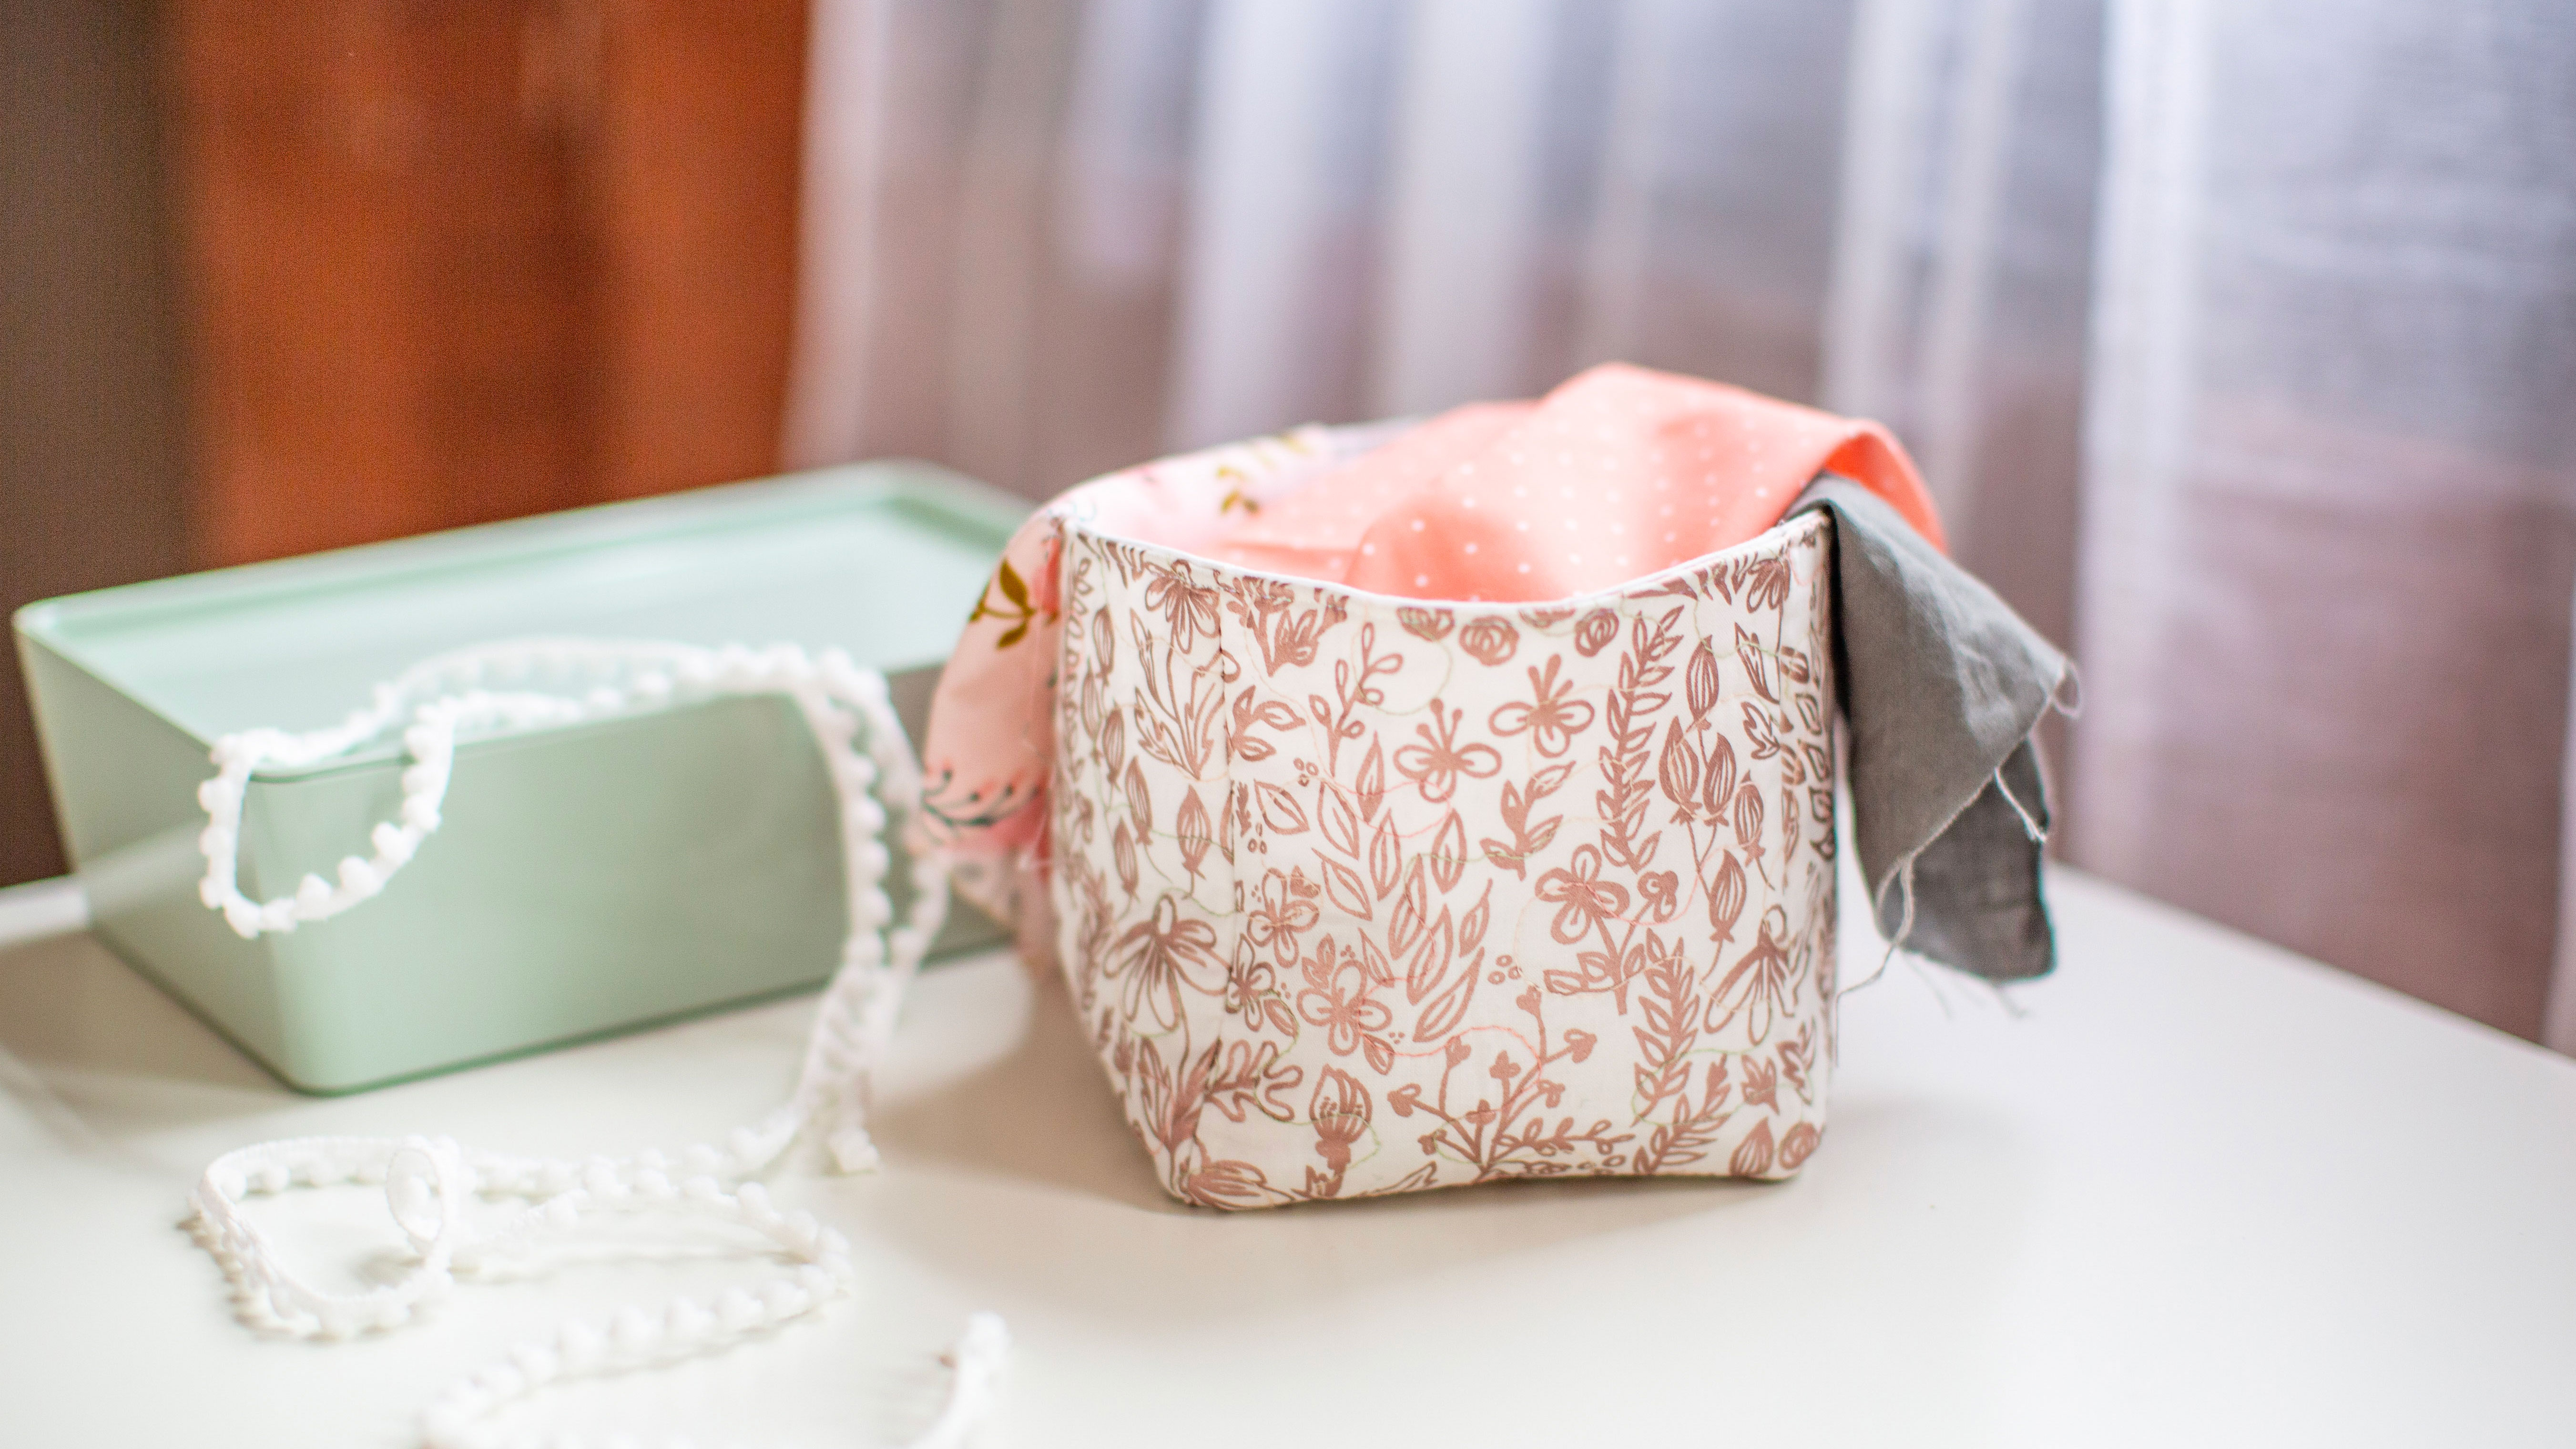
Congratulations on your finished scrap bin.


