
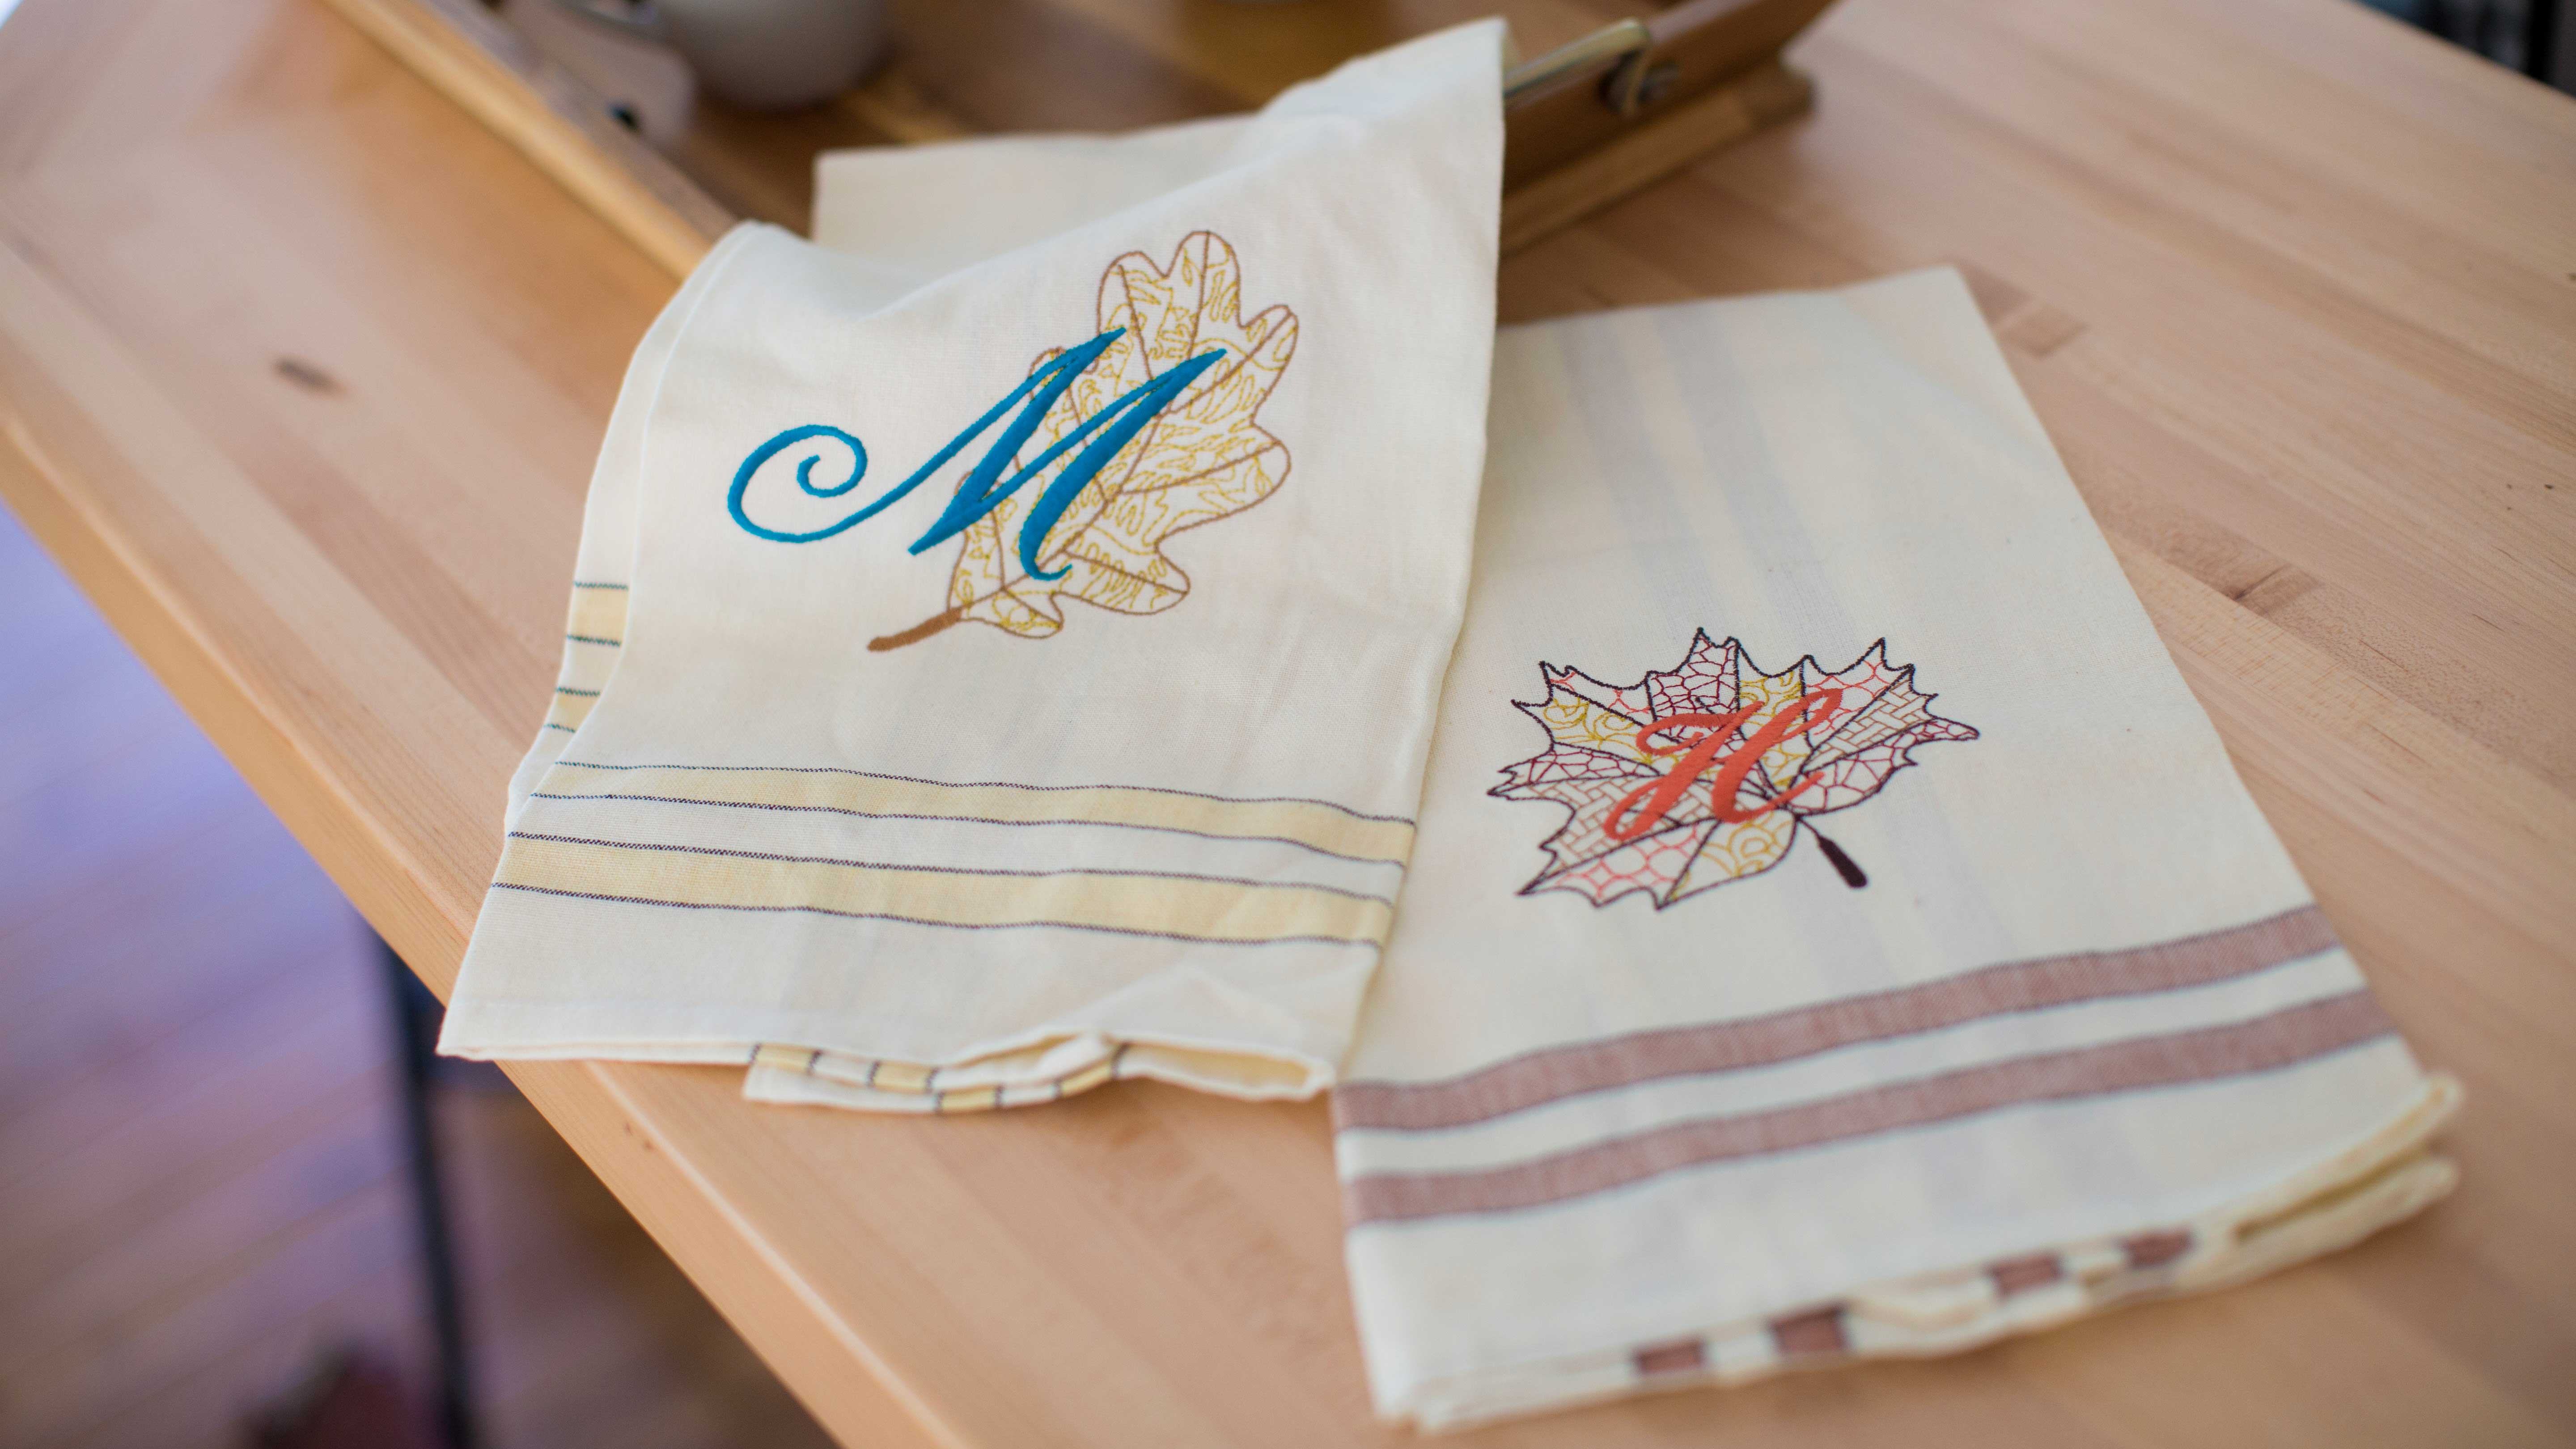
Easily turn artwork into embroidery using Baby Lock’s IQ Designer program. Create one-of-a kind designs for the fall. Add personalization by using the built in the fonts on your machine!
Download printable instructions and templates. Download maple leaf design. Download oak leaf design.
Materials:
- 1 Rustic striped towel (Nancy’s Notions RSTST. Available in a set of 7 towels)
- 4-5 Spools of Madeira Rayon or Polyester Embroidery Thread in various colors
- 1 Baby Lock Tear-Away Firm Stabilizer (BLT103)
- Adhesive spray
- Marking pen
- Leaf artwork (provided with instructions) OR leaf embroidery designs.
Tools:
- Baby Lock Embroidery machine
Steps:
-
Mark the center of the towel on the front bottom
-
Layer the stabilizer and towel into the 5” X 7” hoop.
-
Place the hoop onto the machine.
-
Use the following instructions to create the digitized design or select a pre-loaded design from your machine.
-
Place the scan frame with its artwork of choice onto the machine
-
Touch the Home key at the top of the LCD screen
-
Touch IQ Designer on the Home page
-
The IQ main page will open
-
Prior to scanning select the type of line for your Line Image. This can be adjusted later but since this artwork contains several line segments it is easier to do now
-
Touch the Line Properties
-
Select the bean for this design. You may also select a color chip if desired or leave at the default of black
-
Touch Create Line Image at the top of the page. The scanning page of the IQ Designer will open
-
Touch Scan. A box will open to say “The frame will move to be scanned with the built-in camera.” Touch OK and the image will be scanned.
-
When the scan is complete the Framing the Image page opens
-
Touch and drag the double headed red arrows to crop the image
-
Touch OK
-
If needed adjust the gray-scale detection level to clean up the art work in the Result View
-
Touch OK then touch Set and your scanned image is placed on the create and edit page
-
-
To edit the leaf follow the next instructions.
-
Select the Eraser Tool
-
For fine tuning adjustments select the smaller of the eraser options.
-
Using your stylus touch the areas where you want to remove additional lines or markings.
-
When you select to zoom you can then use the pan box in the preview window to move around the sections of your artwork. This allows for fine tune editing.
-
Make small taps to the screen with your stylus when in the zoom function.
-
The Undo button will allow you to go back if you have removed too much.
-
The Line drawing tools are available for you to redraw a line or portion of the artwork if needed.
-
Resize and/or Rotate the design to be no larger than 5” x 7”. The design should be orientated for the hoop you are using.
-
At this point SAVE your artwork
-
Select the Region Properties
-
Select the Region fill again and select the Decorative Fill option
-
Select one of the decorative fill options. Touch OK.
-
Select a color chip. Touch OK
-
Touch the Fill Cup and apply the fill to the area in one part of the leaf sections
-
Repeat steps 13-17 to fill different sections of the design. Continue until you are happy with the design.
-
Save your artwork again! Touch Next
-
Select the Link key to select all the leaf elements at one time. This will allow you to apply the changes to all the line types that are similar in your artwork.
-
For a bean stitch select 2.0mm or 0.080”
-
For the region fill touch the Link key and apply the settings of choice
-
Use the Select Keys to navigate between all the different fills and line properties.
-
When all setting have been adjusted touch Preview. Touch OK . Touch Set
-
A box opens to say “Converted to the embroidery pattern and IQ Designer will be exited. OK to continue to embroidery edit screen?” Touch OK
-
If desired touch Edit and touch Color Edit to change the color of the design
-
Touch Memory and save the design to your USB. This will save it as an embroidery file. Touch Add
-
Select the Font Key and select a Font of choice
-
Type in the initial of choice. Touch Set. Touch Resize to make any size adjustments
-
If desired you can easily change the font type using the Font Type Key. You can now try out different font styles
-
Once your design is as desired touch Edit End
-
Position the design using the MOVE key or the Positioning Sticker Key. You can also add a basting stitch around the design to secure the towel in the hoop.
-
When design is positioned touch Embroidery
-
Assign thread colors to the appropriate needle if using a multi-needle machine.
-
Once finished sewing remove hoop from the machine. Remove the towel from the stabilizer
-
No two leaves are the same. Create new leaves using your saved artwork in IQ to create great hostess gifts or holiday towels for your home!
-


