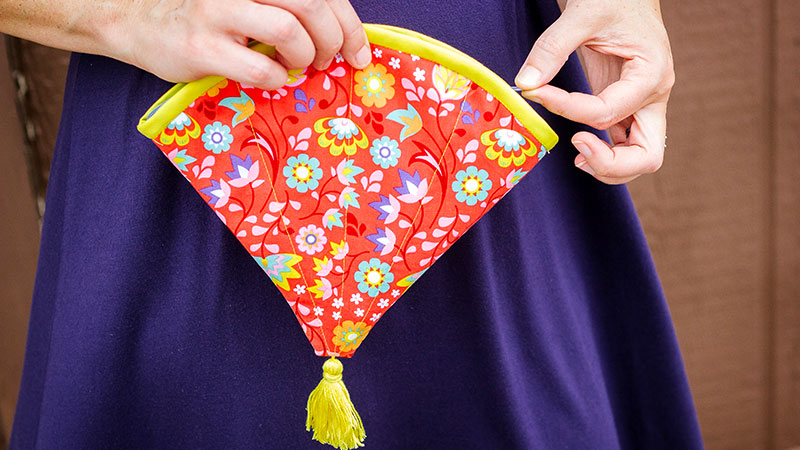
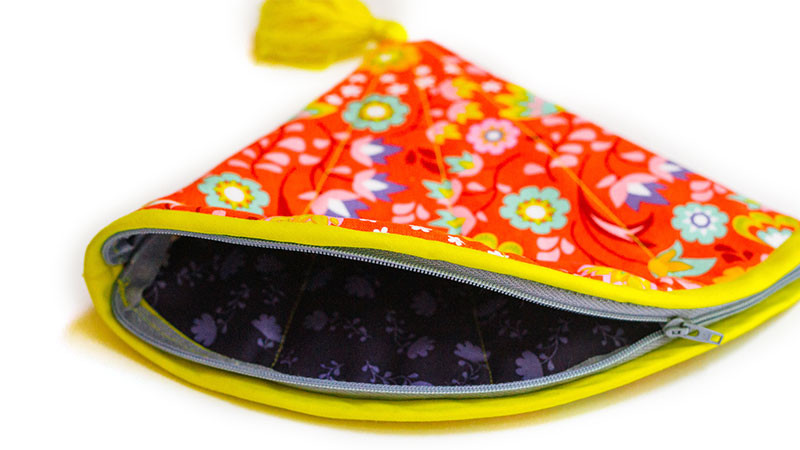
In need of a new clutch? Easily create this unique fan clutch using simple quilting techniques and a pattern from Patty with MODKID. Download printable instructions. Download printable pattern.
Materials:
- 11”x18” outer fabric lining fabric and batting
- 24” (1/2”) double fold binding
- 12” zipper
- Embroidery thread
- Piece of cardboard
- Needle
Tools:
- Baby Lock® sewing machine
Steps:
-
Print the Fan Clutch Pattern Piece on any home printer at 100% (there is a 1" test square on the page for size accuracy).
-
Cut fan pattern on the fold of outer fabric lining fabric and batting.
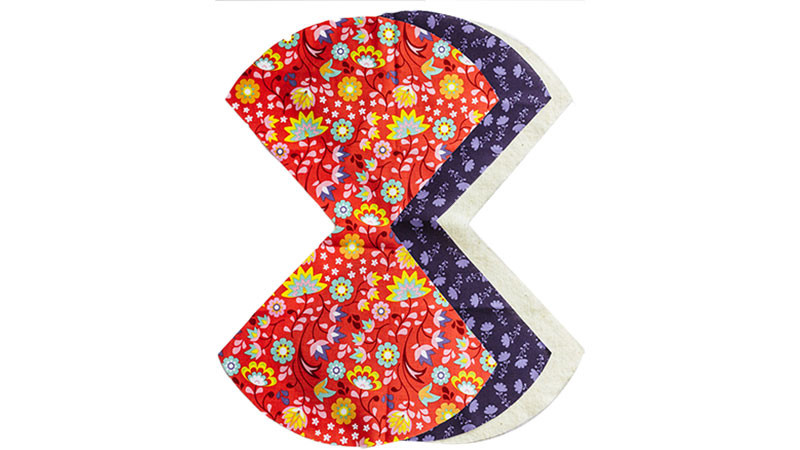
-
Lay batting on a flat surface. Place the outer fabric right side up on batting. Place lining fabric right side down on top of outer fabric.
-
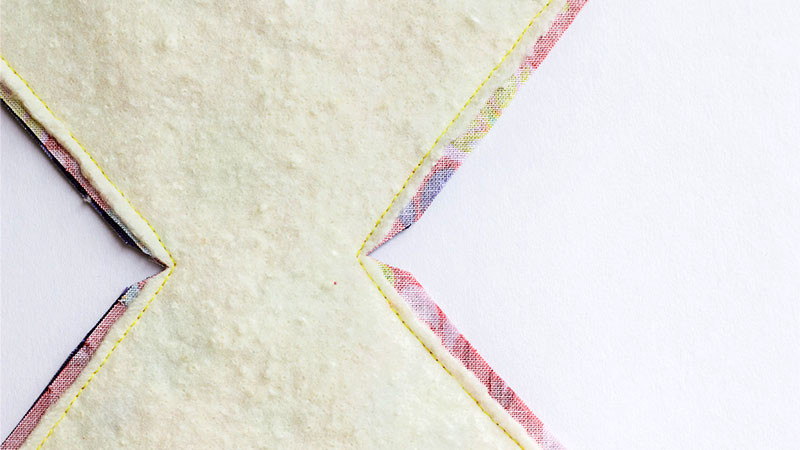
Stitch along straight sides with a ¼" seam allowance.
-
Clip V and trim batting.
-
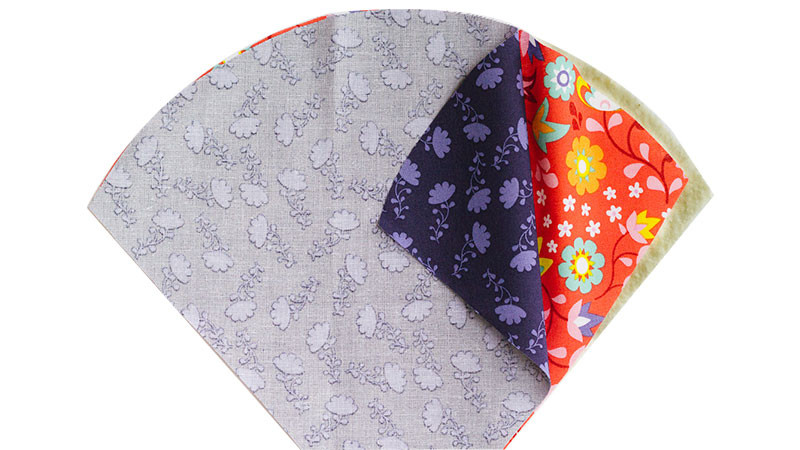
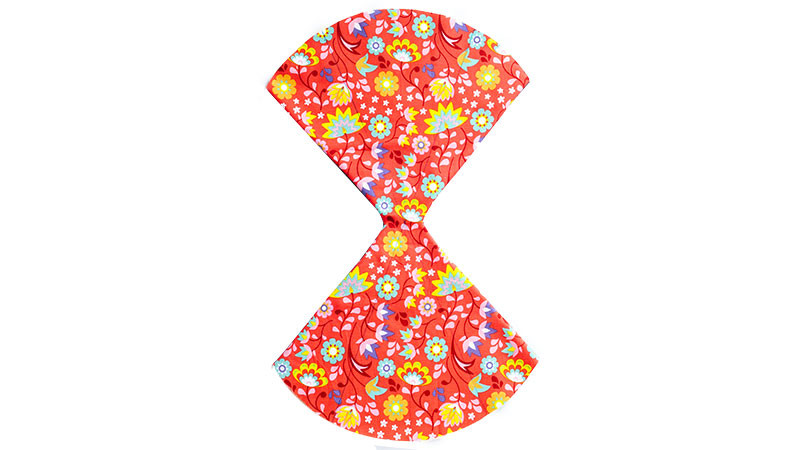
Turn right sides out and press.
-
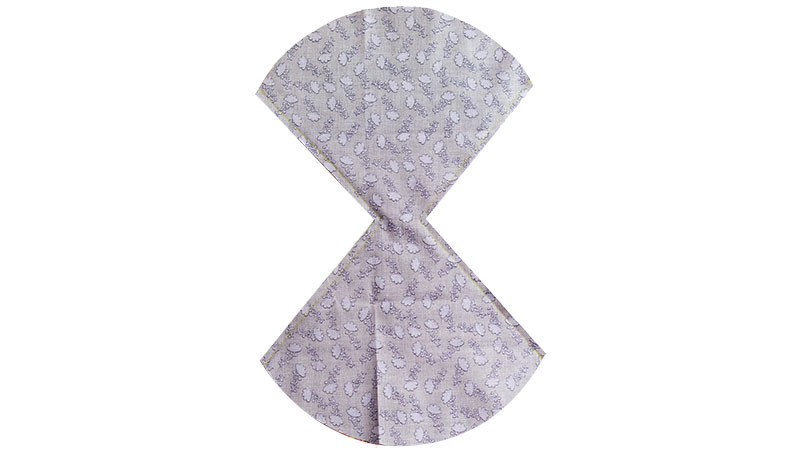
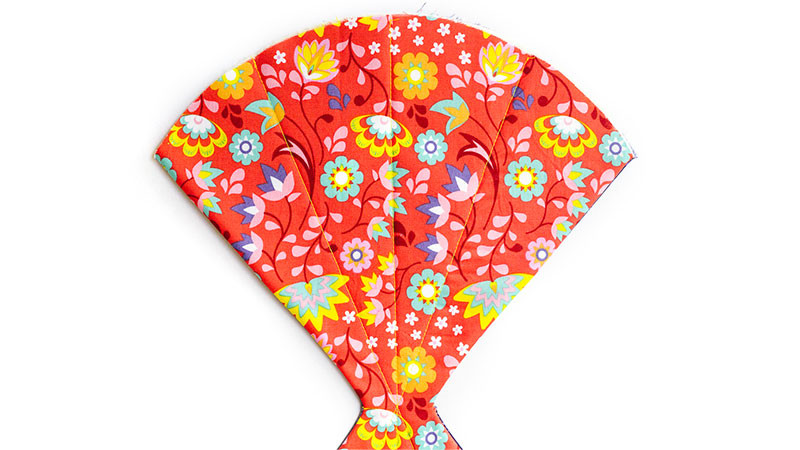
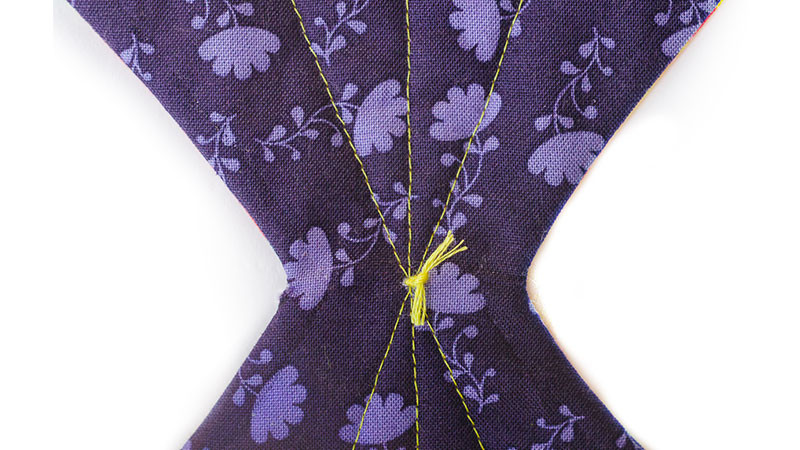
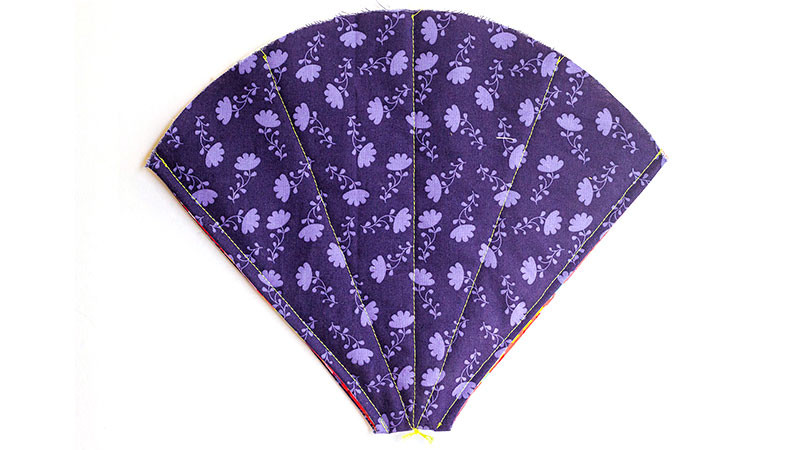
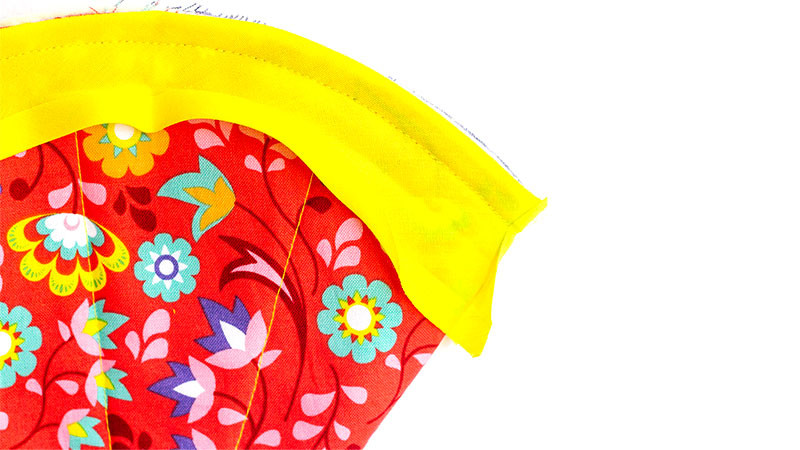
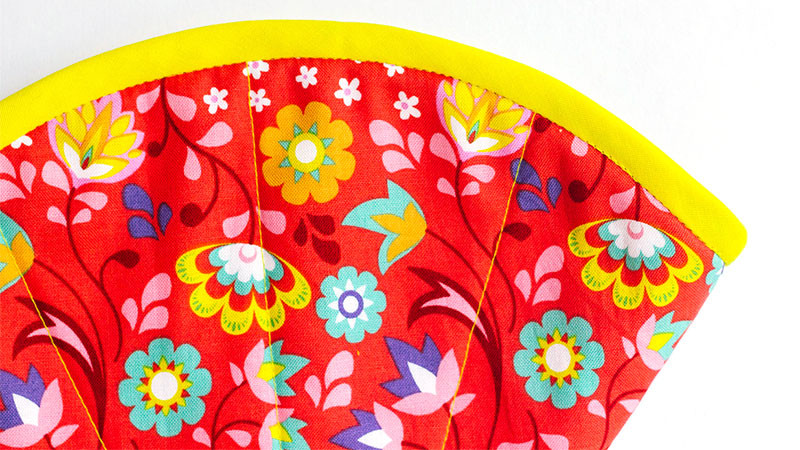
Quilt as desired by stitching through all three layers.
-
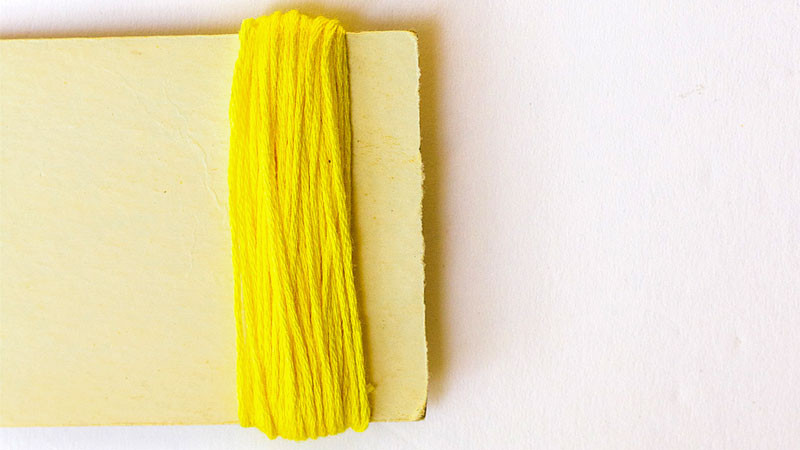
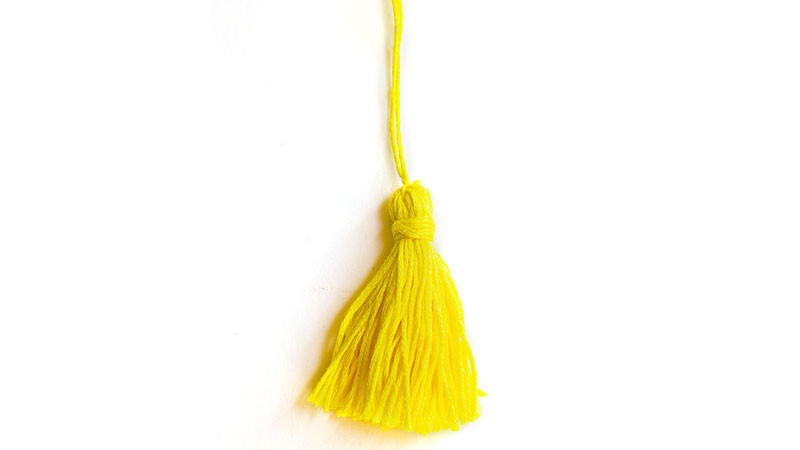
Create a tassel by winding the embroidery thread around a piece of cardboard reserving 24” of thread.
-
Tie a length of thread through the loop of the tassel. Wrap the remainder of thread around the top of the tassel loop and secure. Trim the end of the tassel.
-
Using a needle thread the tassel ties through the clutch layers from the right side at the center of the narrowest point. Knot on the lining side to secure.

-
Fold the clutch in half right sides together with the tassel sandwiched between. Stitch the straight sides together with a ¼" seam allowance.
The tassel adds bulk at the narrow end of the fan so a zipper foot may be helpful.
-
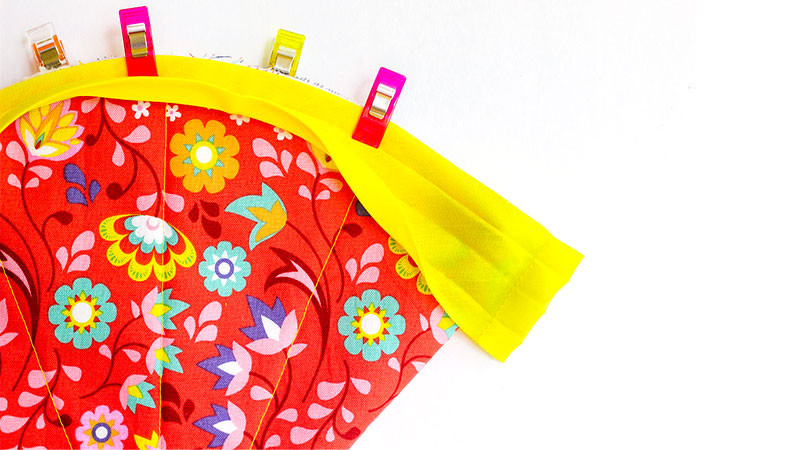
Open up the binding. Pin the raw edge of the binding around the top of the fan right sides together with one end extending beyond the side seam ½".
-
Trim the remaining end to also extend ½" beyond the side seam.
-
Stitch the short ends of the binding right sides together with a ½" seam allowance. Press the ends open.
-
-
Stitch the binding to the top of the fan in the crease of the binding closest to the raw edge.
-
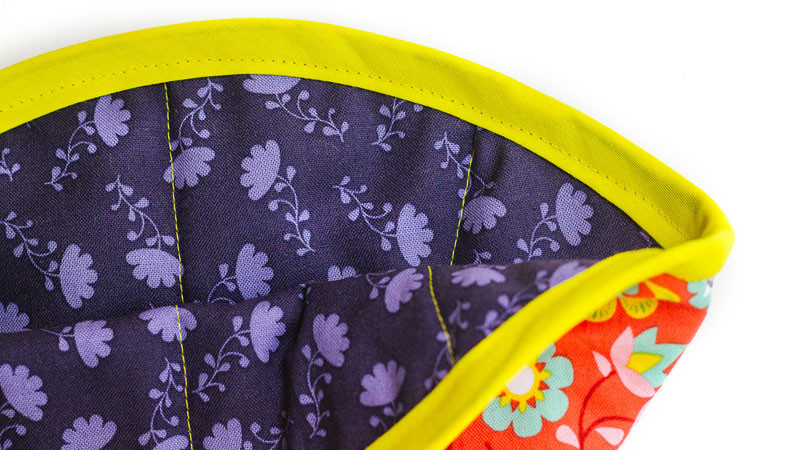
Fold the binding back along the creases until all raw edges are enclosed. Topstitch or stitch in the ditch from the right side catching the edge of the binding on the wrong side.
-
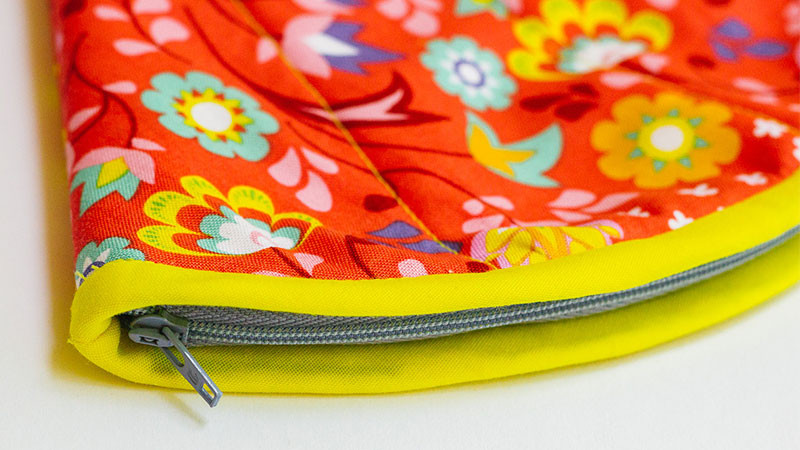
Open up the zipper and pin along each side of the binding.
-
The right side of the zipper should be against the right side of the inside binding.
-
Align the zipper over the topstitching / stitch in the ditch of the previous step.
-
Secure the zipper in place by stitching over the previous topstitching / stitch in the ditch.
-


