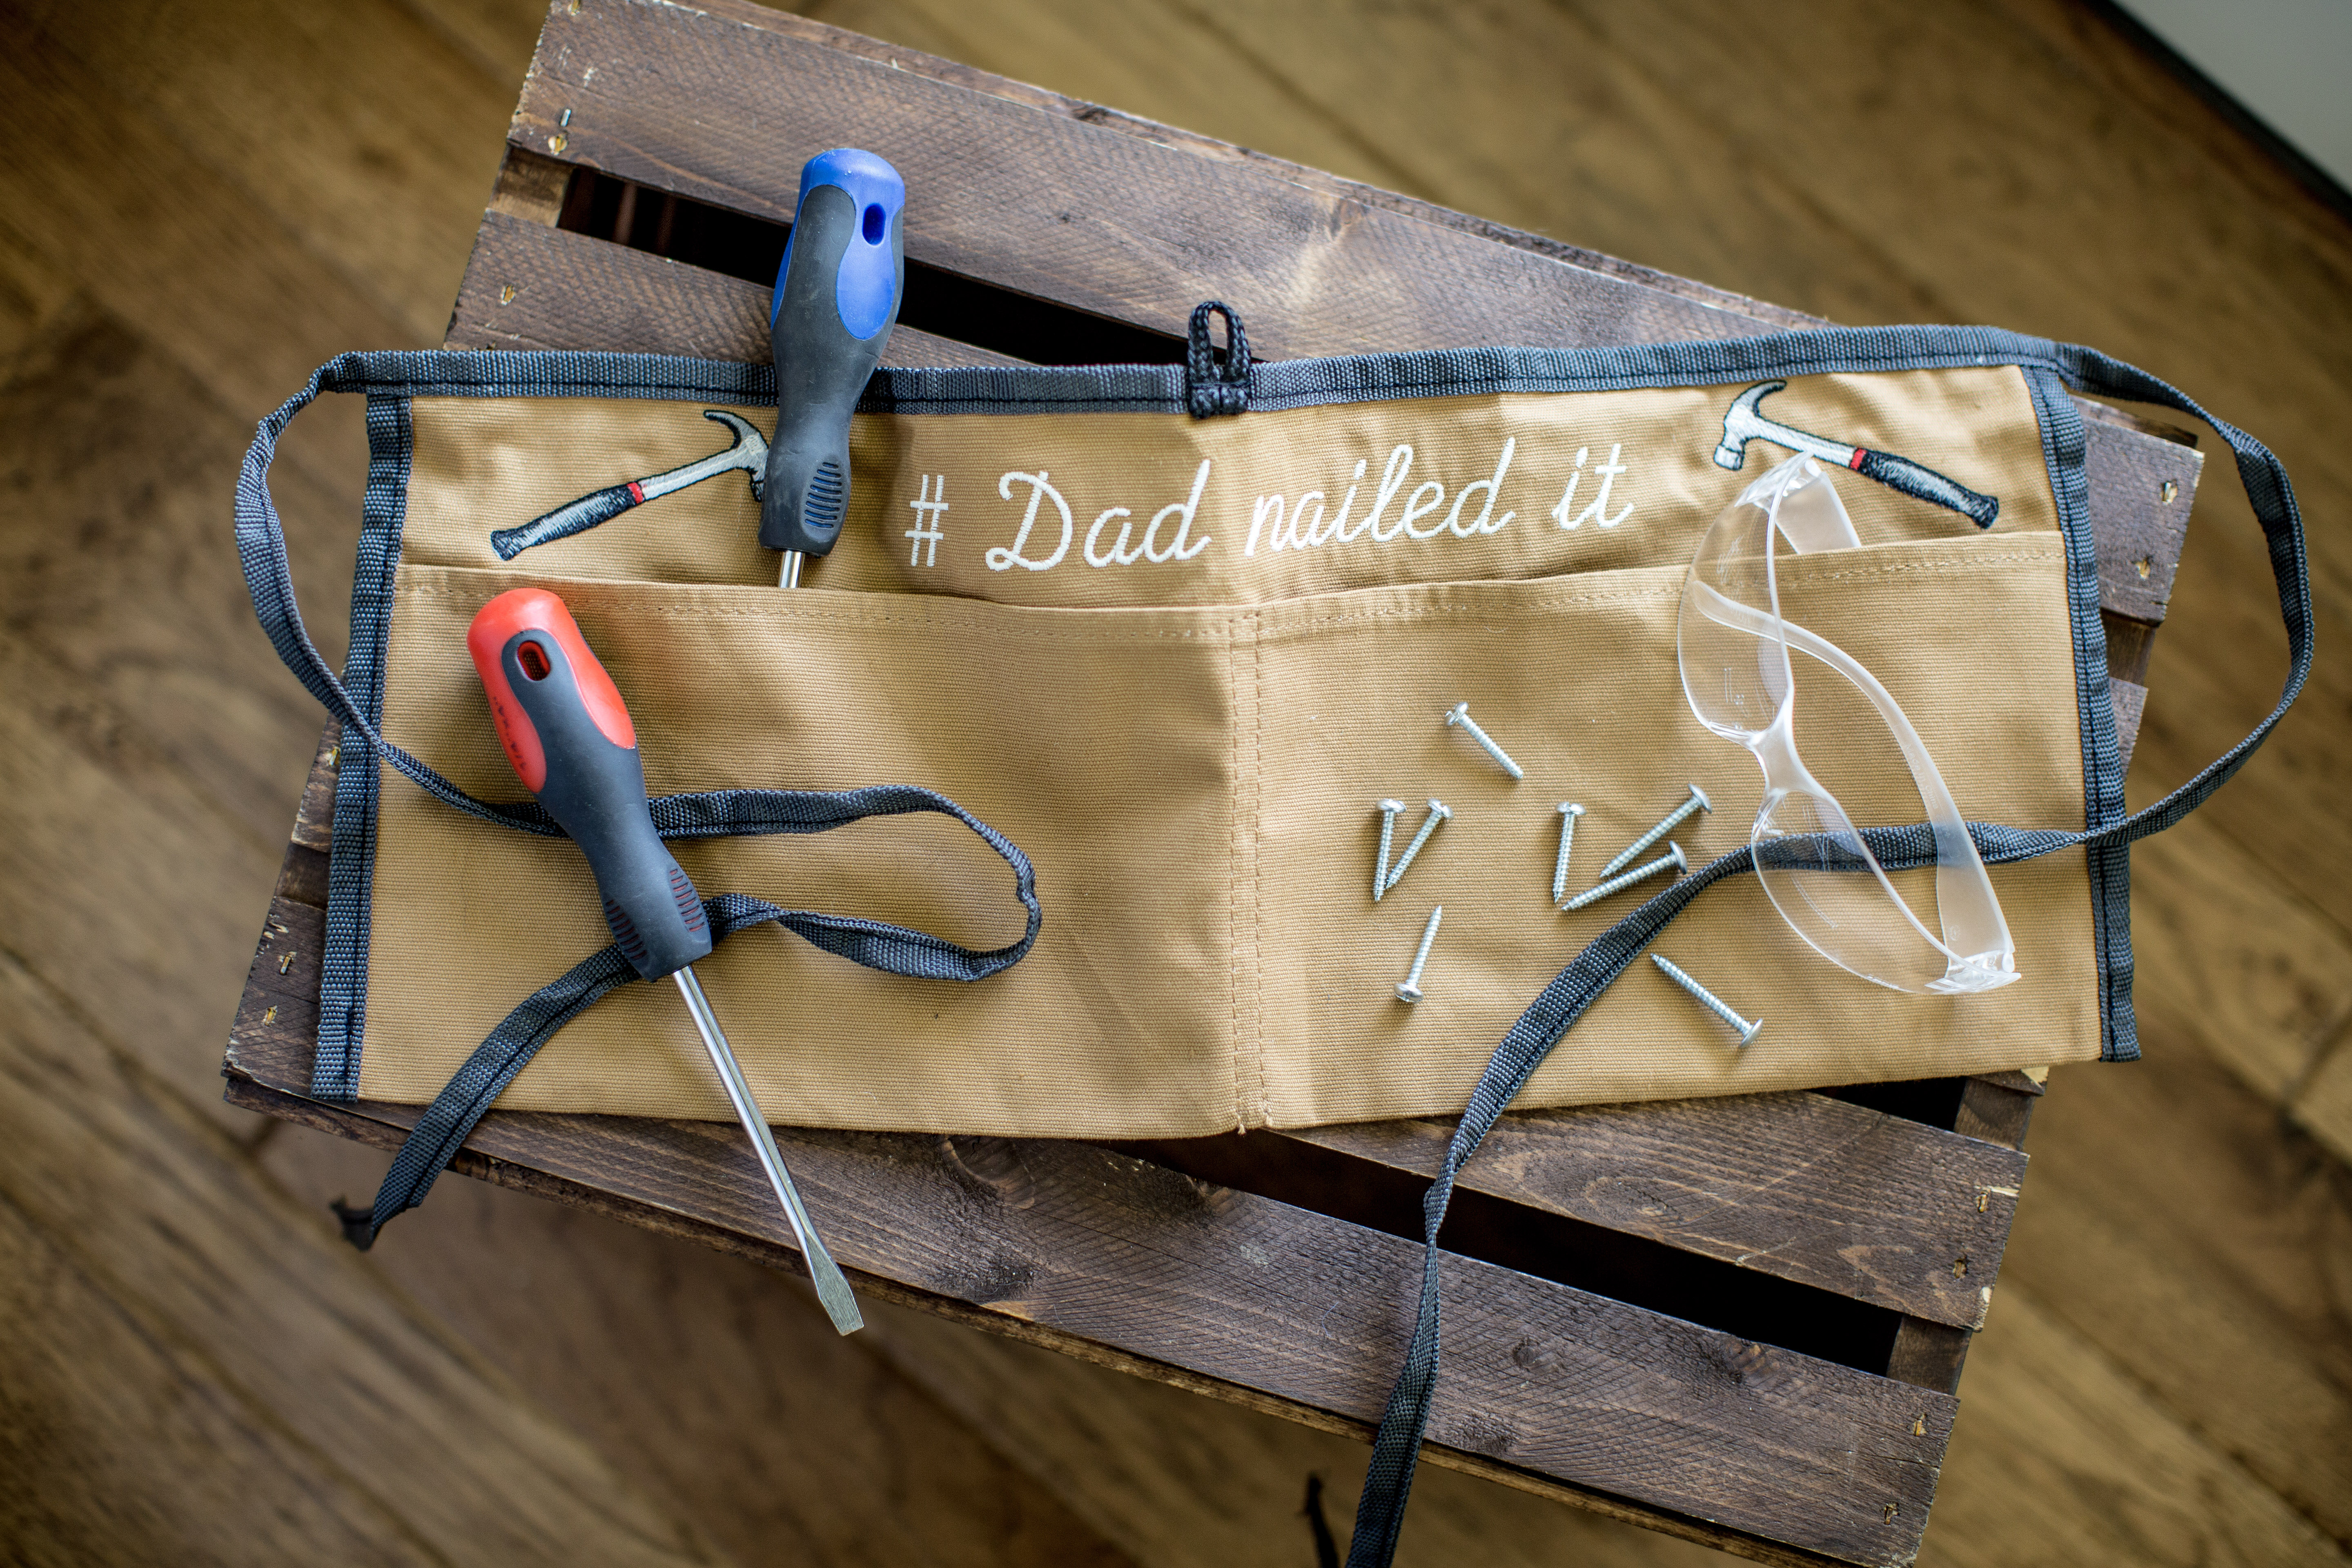
Give the favorite man in your life this one-of-a-kind Father's Day gift.
Materials:
- Baby Lock Stick-Tear Tear-Away Stabilizer
- Purchased blank canvas tool belt
- Chalko marking tool
- USB Thumb Drive
- Madeira® Frosted Matt embroidery thread
Tools:
- Baby Lock Embroidery Machine
- 8" x 12" embroidery hoop
- Designer's Gallery Creator Level 1 Software
- Tool Design (Amazing Designs All About the Tool Design Collection (ADC34) was used)
Steps:
-
With the sewing machine set up for embroidery follow the next set of steps to create the lettering:
-
I. Click on the text icon. II. From the list of fonts select the font of your choice. (In the sample a script font was used.) III. Select the number option under the chosen font. IV. Type in the # symbol. V. Select the upper case option. VI. Type in the first letter of the phrase “Dad nailed it”. VII. Switch to lower case option and type in the remaining letters in the phrase. Be sure to use the space button between each word.
VIII. Click on Embroidery. IX. Place a basting stitch around the phrase.
-
-
Hoop the Baby Lock Stick-Tear Tear-Away Stabilizer in the hoop with the shiny side up.
I. Perforate and tear away the paper covering to expose the sticky side of the stabilizer. II. Determine the center on the tool belt where the lettering will be embroidered and mark with a cross-mark using a chalk marking tool. The lettering should be placed above the pockets on the tool belt. III. Place the tool belt centered over the hoop. Finger press to secure. IV. Attach the hoop to the embroidery unit. V. Before you begin make any positioning adjustments to the lettering. VI. Stitch the basting stitch. This will give you a pretty good idea where the lettering will be embroidered. If it is not centered or positioned from top to bottom correctly make any adjustments at this time. It is easier to tear away the basting stitch than to rip out embroidery stitches.
-
Using the same color thread for each letter embroider the lettering. In the sample a cream color Madeira Matt thread was used.
-
Open the Designer’s Gallery Creator Level 1 program.
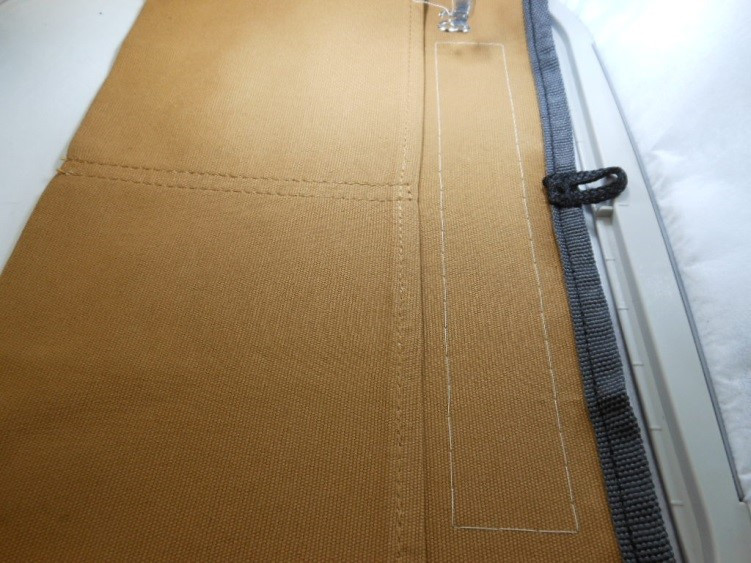
I. Retrieve the Amazing Design # tool08from the “All about the Tool Design Collection” from the saved location. II. Resize the design slightly smaller. (Approximately 3 ½” x 2”). III. Print out a template of the design for placement on the tool belt. IV. Save the design to a USB thumb drive. V. Pin the template to the top side of the tool belt. Adjust the template as needed to make the design fit in the space above the pockets.
-
At the embroidery machine:
-
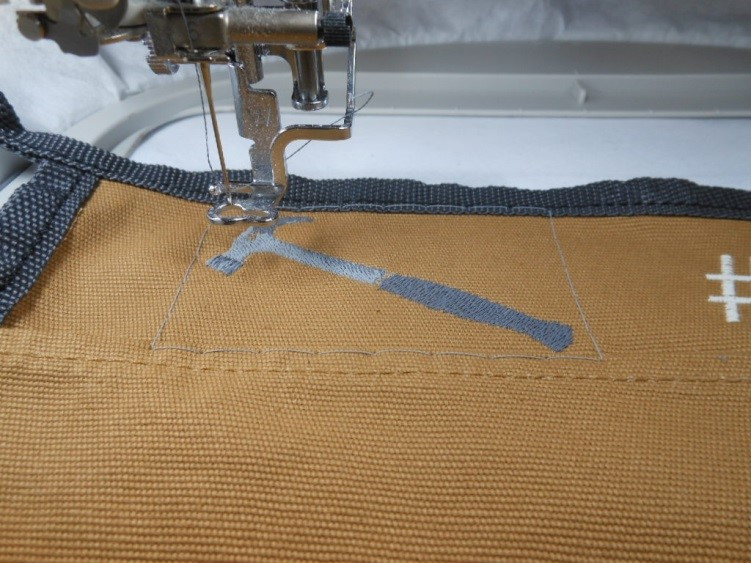
I. Retrieve the design from the USB drive. II. Hoop the stabilizer and finger press the tool belt to the stabilizer to secure. III. Place the hoop on the machine. IV. Center the design over the template so that the needle is placed directly over the cross-marks on the template. You may need to rotate the design slightly. Do so at this time. V. Place a basting stitch around the design.
VI. Embroider the design using the Madeira Matt thread. VII. Repeat for the opposite side of the tool belt so that you will have two hammers embroidered on the belt. Use the mirror image tool to flip the hammer. VIII. Embroider the second hammer. IX. Remove the belt from the stabilizer.
-


