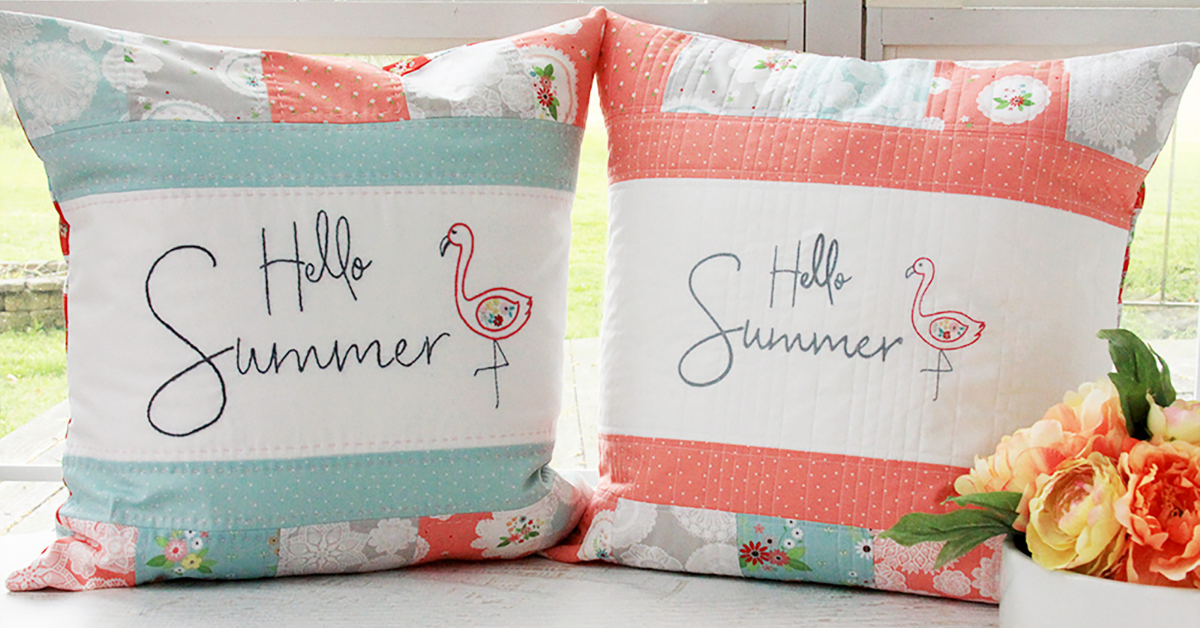
Celebrate summer with a pair of themed pillows! Bev of Flamingo Toes also provided two versions of the same design - one for machine embroidery and one for hand embroidery.
Download the project instructions here.
Download the Machine Embroidery Design here.
Download the Hand Embroidery Design here: Part 1 & Part 2
Materials:
- White background
- Embroidery Stabilizer
- 2 fabric strips
- 10 squares of fabric
- 2 pieces of fabric (for pillow back)
- lightweight batting
- pillow form
- Embroidery thread (for machine)
- embroidery floss (for hand embroidery)
- Basic Sewing Suplies
Tools:
- Sewing & Embroidery Machine
- Embroidery Hoop
Steps:
-
Complete the embroidery portion of the pillow first.
-
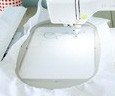
If creating the machine embroidery version load the pattern in the machine.
-
Add embroidery stabilizer behind white back-ground fabric and embroider design on the fabric according to the pattern.
-
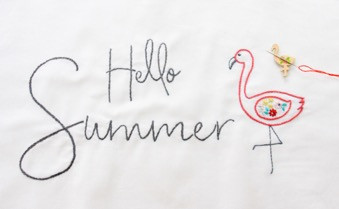
If creating the hand embroidery version embroider the pattern using the stitches listed on the hand embroidery pattern.

-
-
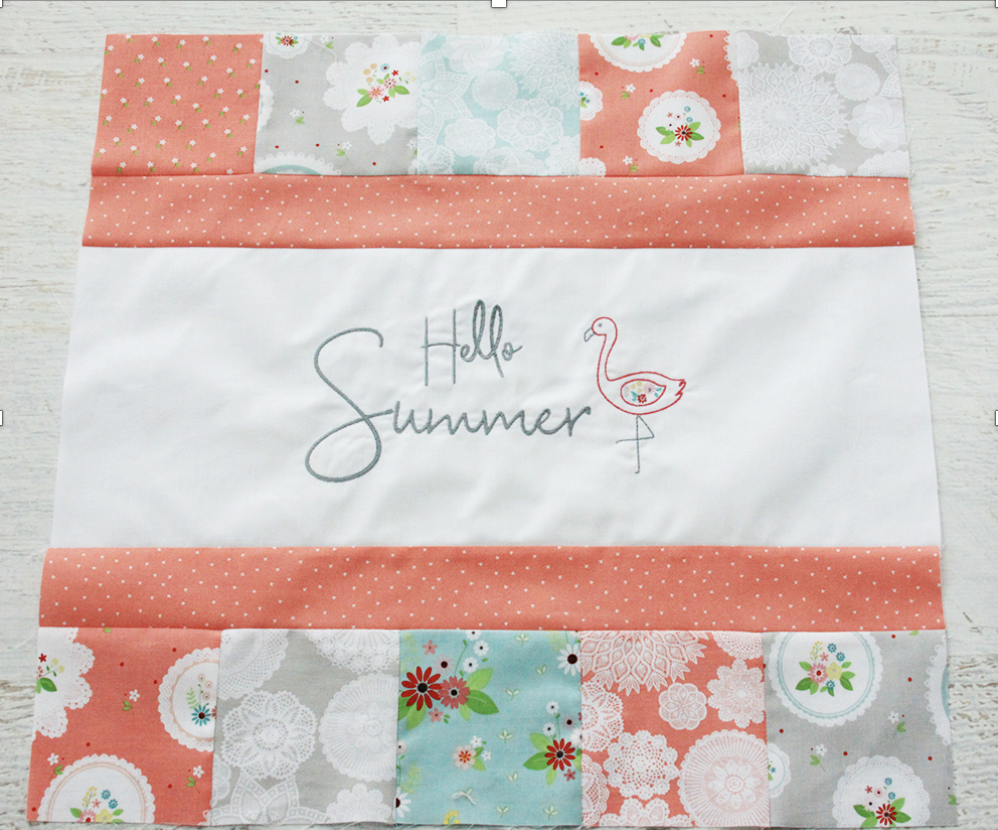
Keeping the embroidery in the center of the background section trim the fabric to 20" x 8-1/2".

-
Use a 1/4" seam allowance on the front of the pillow cover. Sew the two 2-1/4" x 20" strips on either side of the background fabric.

-
Piece together the top and bottom patchwork rows by sewing five squares together in each row. Press the seams to one side.
-
Sew a patchwork row to the top and bottom of the pillow cover.
-
Place the piece of batting behind the pillow front. Quilt the pillow front as desired. For the machine-embroidered pillow I did straight-line quilting.
-
For the hand embroidered version do a 1/4" hand quilting around the seams. For either version trim the batting so it is even with the pillow cover and measures 20" square.
-
-
To create the envelope back hem the bottom edge of one of the fabric pieces by turning up the fabric towards the wrong size 1/4" twice then sewing the hem in place.
-
Repeat for the top edge of the other back piece.
-
-
Overlap the two backing pieces so they create a 20" square.
-
The piece hemmed on the bottom should be on the top and the piece hemmed on the bottom should be on the bottom.
-
-
Place the pillow cover right sides together with the pillow back lining up the edges and corners. Sew around all four sides with a 1/2" seam allowance.
-
Clip the corners and turn right side out. If needed use a tool to make the corners nice and pointy. Press the pillow cover and back.
-
Place the pillow form in the cover. The back should form an envelope so the top layer overlaps the bottom layer.
-
This makes it easy to change out the cover for washing or different seasons.
-


