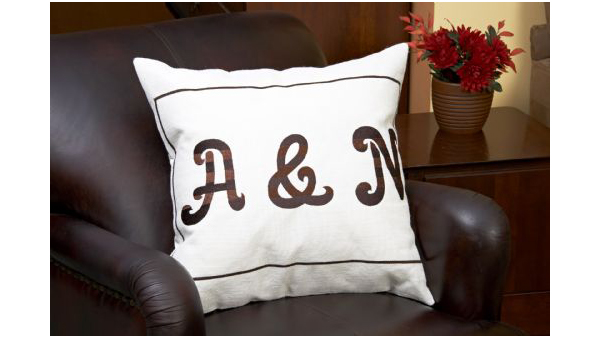
Add fun jumbo lettering to every project! The large monogram adds a fun pop to brighten any space. Easily customizable they're great for a newlywed or housewarming gift.
Materials:
- 1 yard ivory burlap
- 1 yard of Temporary spray adhesivef fusible stabilizer for backing on pillow front
- Madeira® sewing and embroidery threads
- 24” pillow form
- Tear-away stabilizer from Baby Lock
- Frixion pen
Tools:
- Baby Lock® sewing and embroidery machine
Steps:
-
At the Cutting Table:
Cut two 25” squares from the burlap. Cut one 25” square from the fusible stabilizer. Fuse the stabilizer on one of the 25” square burlap sections. Determine the center on the pillow and draw two cross marks from side to-side and from top-to-bottom using a Frixion pen. The cross marks can be removed after embroidery with a hot iron.
-
At the Embroidery Machine:
Since these letters are very large we will embroider one letter at a time. Follow the next set of steps to apply embroidery to the pillow.
Set the machine up for embroidery. Select Embroidery Edit. Select the Infinity icon. Select the ribbon font icon. Select the ampersand character . Use the largest size setting. Hoop the tear-away stabilizer in the hoop and spray with the temporary spray adhesive. Place the interfaced fused burlap section with the cross marks on the pillow front centered over the hooped stabilizer and finger press smooth to hold in place.
-
Embroider the character using two different shades of brown.
Remove the embroidery from the hoop. Remove most of the stabilizer from the back of the embroidery
-
Place the letter that will be embroidered to the left of the ampersand character on the screen.
-
Hoop the tear-away stabilizer in the hoop and place the center of the letter in middle of the hoop.
Embroider this letter using the same thread colors that were used in the first character.
-
Repeat these steps for the letter that will be used to the right of the ampersand.
Iron the section flat using a hot iron. Notice how the ink disappears. If needed square up the embroidered section.
-
Set the machine up for sewing.
-
With right sides together sew the embroidered burlap section to the back section of the burlap. Leave a 12” opening on one side for inserting the pillow form.
-
Hand stitch the opening closed.


