
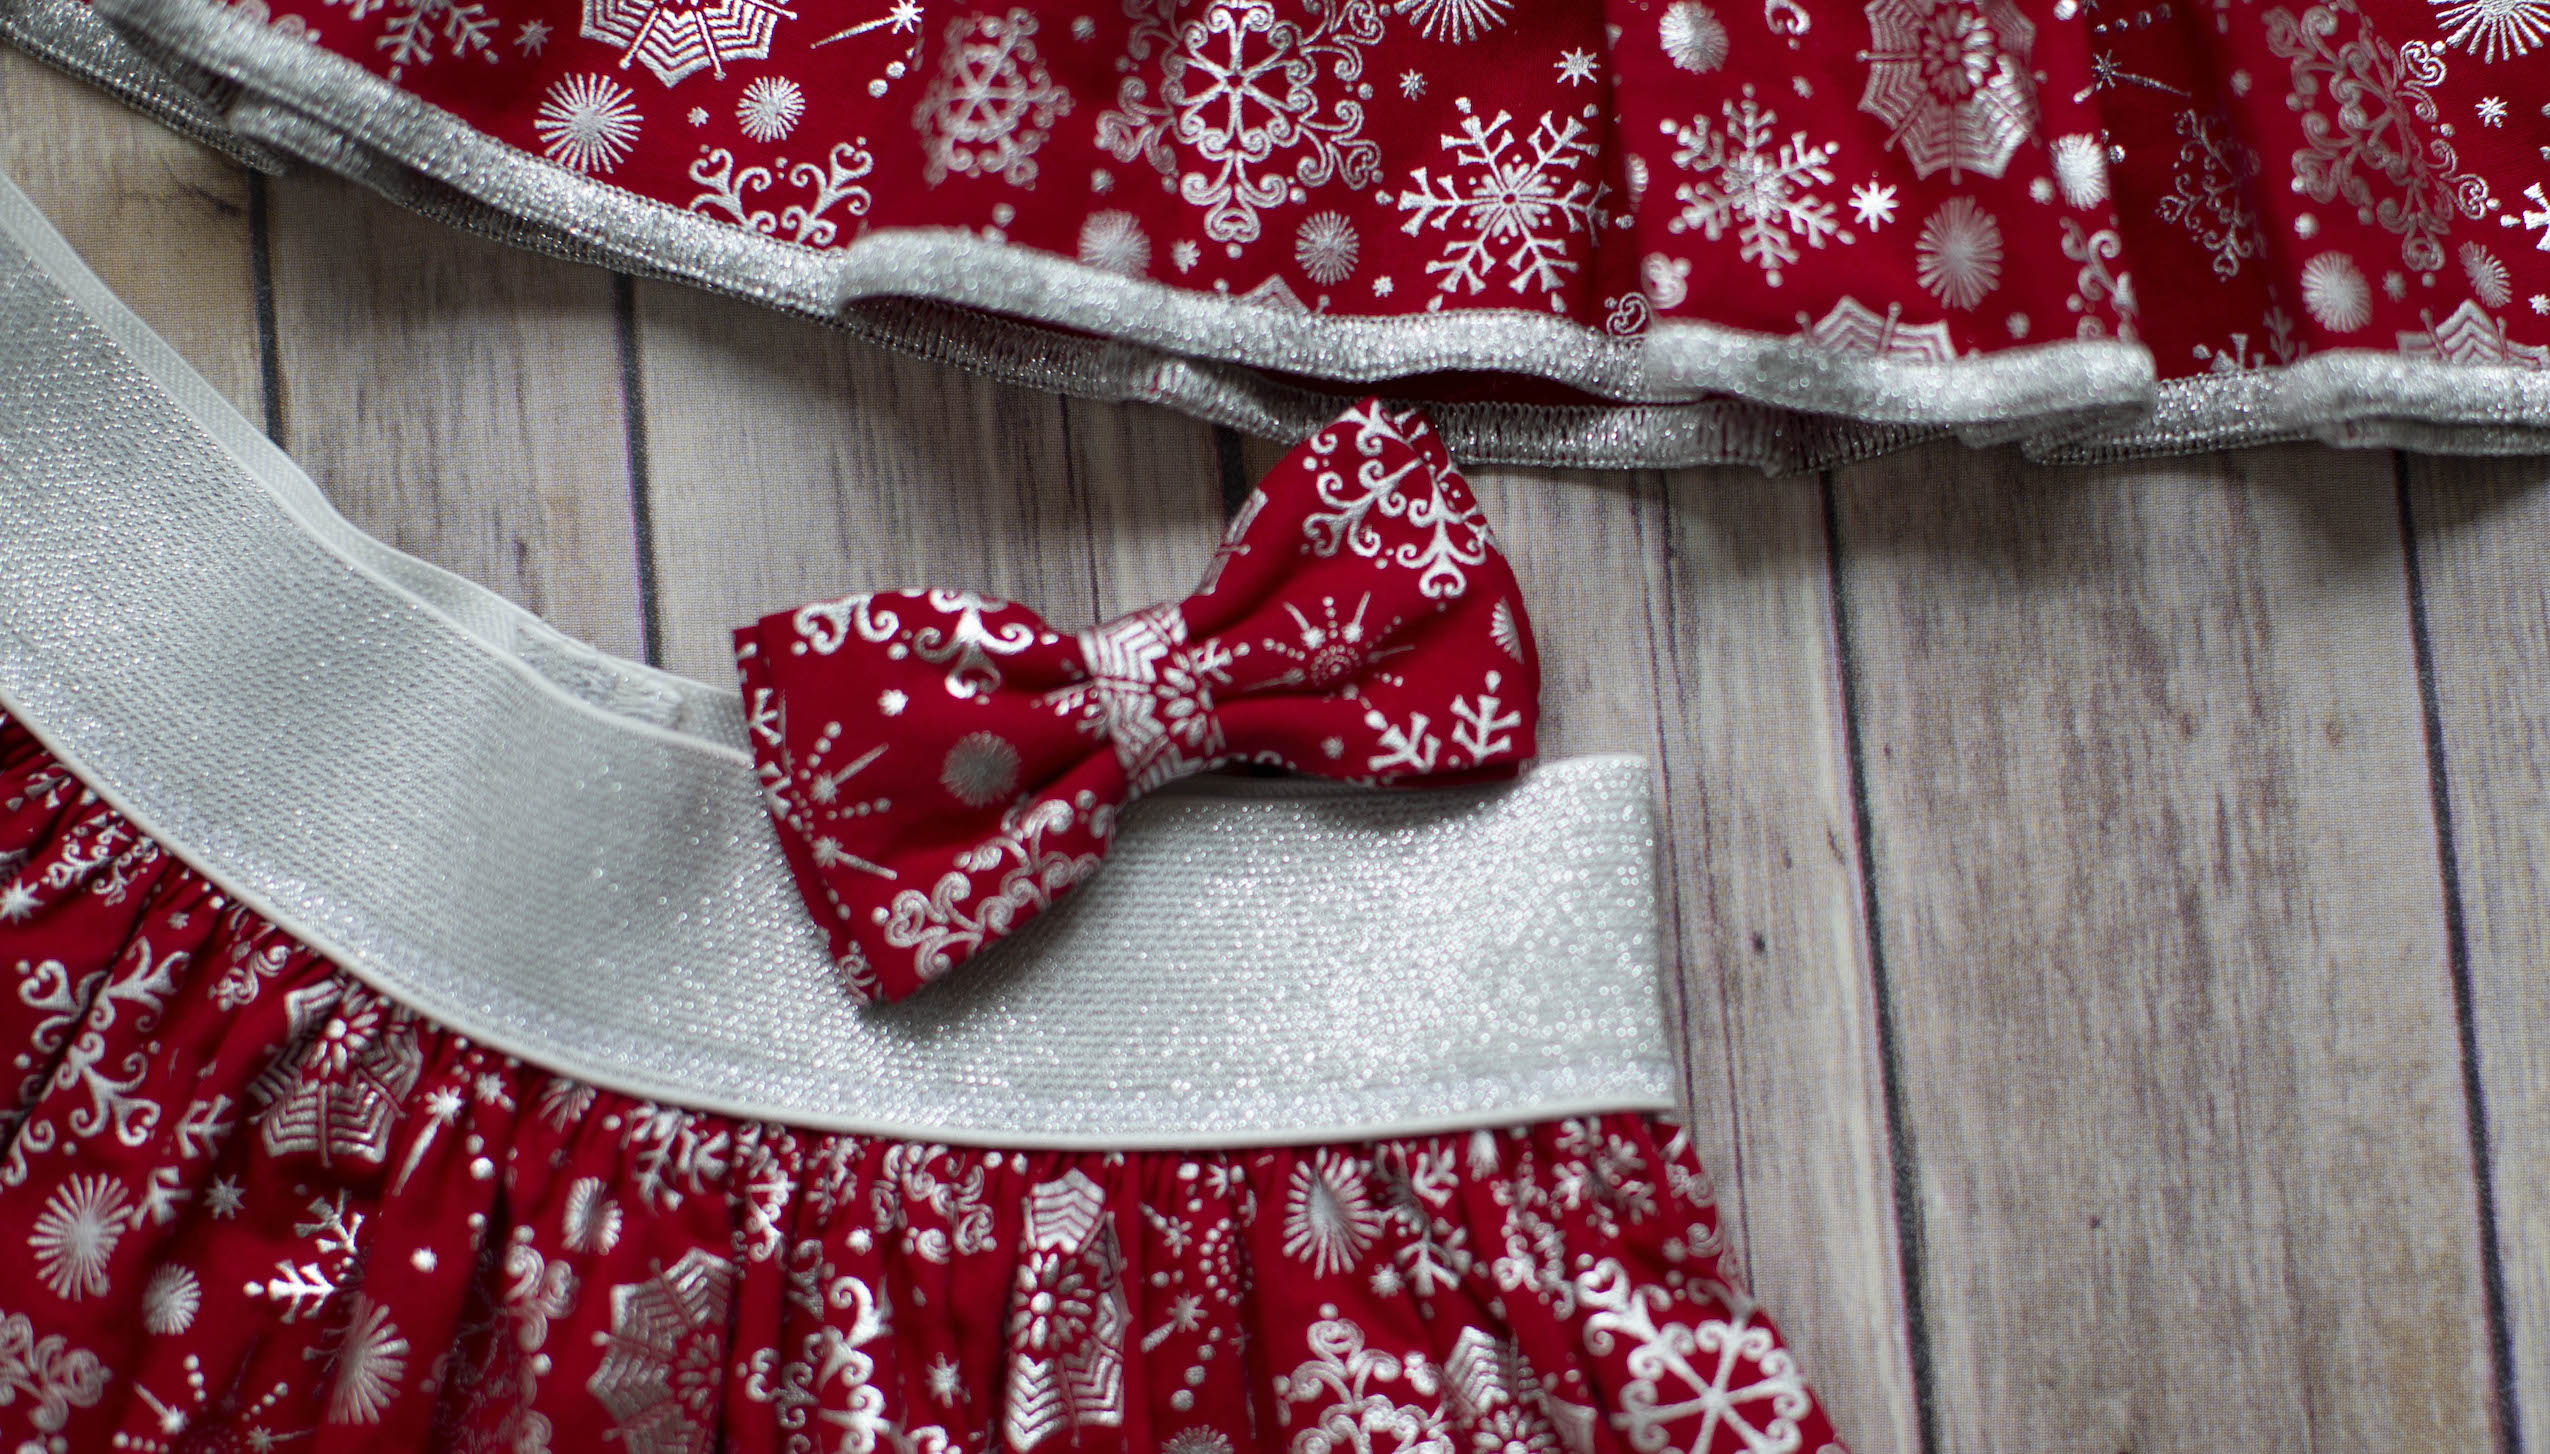
Dress up the kiddos with these cute accessories! You can make a bow tie hair bow with a clip or a headband with an attached hair bow in this tutorial. Download printable instructions. View matching skirt instructions. View matching suspenders instructions.
Materials:
- ½ yard of woven fabric
- Matching Madeira Aerofil Sewing Thread
- For bow tie: Two small pieces of hook and loop closure (⅝” x ½”)
- For headband: ¼” or ⅜” elastic to fit head circumference
- For hair bow: metal hair clip
- Hand sewing needle
- Teflon Foot optional (for fabrics that create drag with the standard foot – i.e. the metallic snowflakes on the fabric I used for this project)
Tools:
- Baby Lock Sewing Machine
Steps:
-
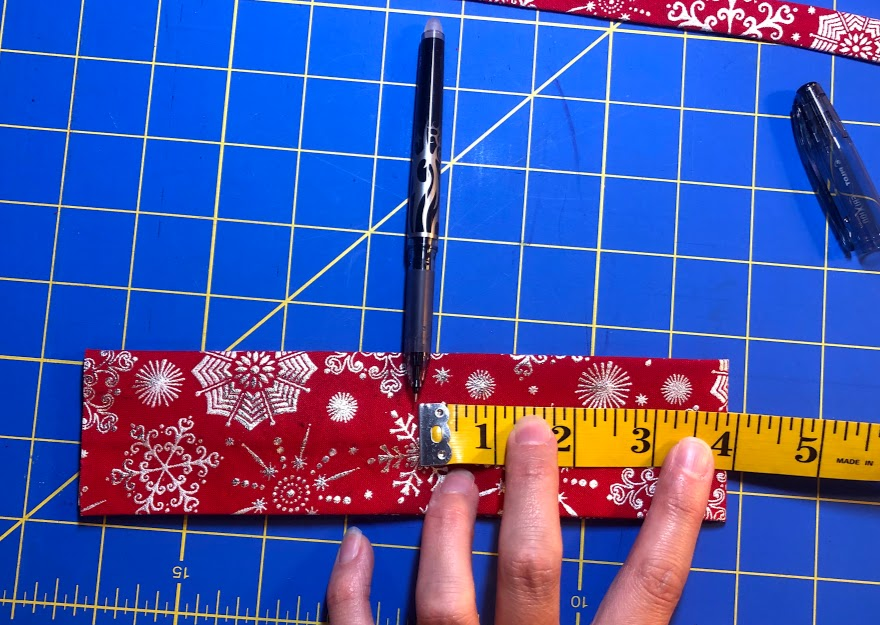
Cut a 5” x 16” strip on the 45̊ angle bias for the double bow. Cut out a 2 ¼” x 6” strip with the grain of the fabric for the center bow band.
If making a bow tie cut a 2 ¼” x 16” strip of fabric with the grain of the fabric for the neckband.
-
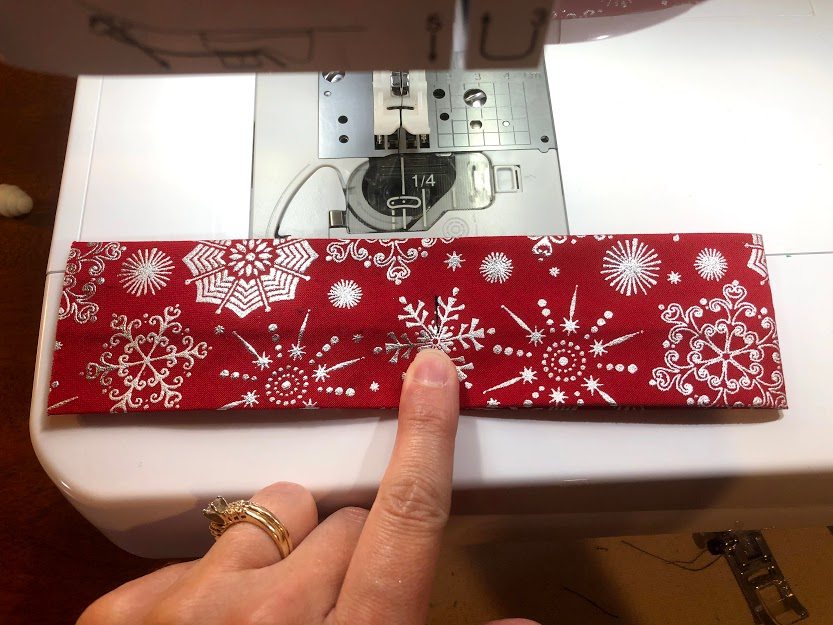
For the double bow take the 5” x 16” strip and fold it lengthwise in half right sides together and pin.
-
Stitch a ½” seam allowance along the long end trim the seam allowance down to a ¼” and turn the tube right-side out.
-
Press the seam to the center back.
-
-
Fold it in half and mark 3 ¾” from the center fold.
-
Stitch a ½” long stitch line along the marked line starting about ¾” down from the top edge and stopping ¾” from the lower edge. This will just tack the center of the bow.
-
-
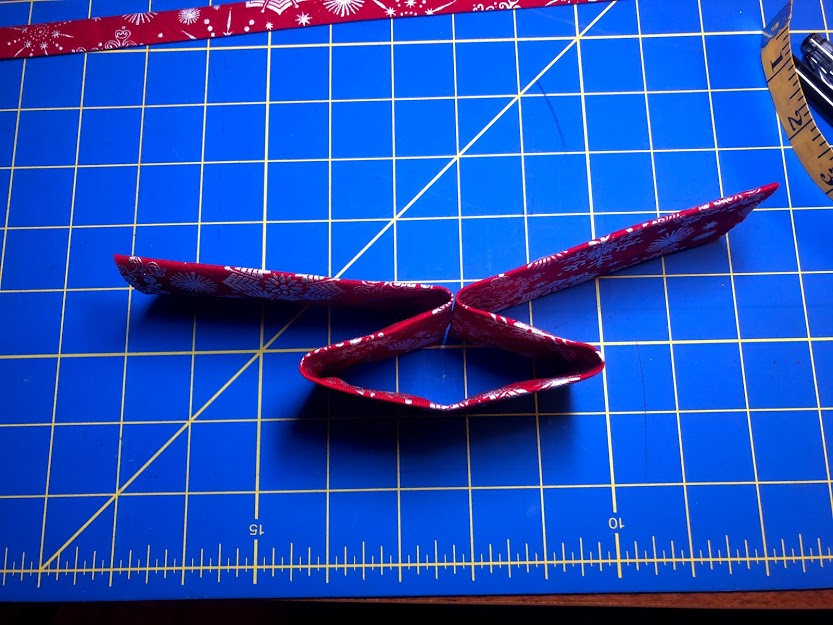
Open up the front and match the center front with the tacked stitch.
-
Then bring the two raw edges to meet edge to edge in the center back.
-
-
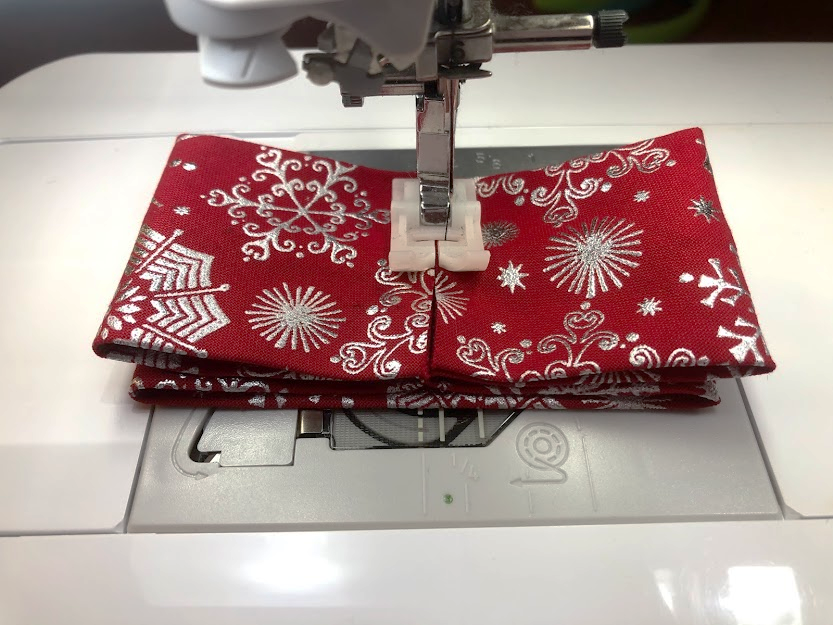
Zig-zag with a 4.5mm stitch width and a 2.0 stitch length through all the layers stitching the two raw edges together from top to bottom!
-
Take the center bow band and fold it pretty sides together and stitch a ½” seam allowance along the long edge.
-
Trim the seam allowance down to a ¼”. With a skinny loop turner turn the tube right side out.
-
Press the seam to the center back.
-
-
If you are creating the bow tie either sew a tube like you did for the center bow band (and then turning it inside out and pressing the seam to the center back).
Or (more simply) press it lengthwise wrong-sides together and then press the raw edges inside to the center to create a ½” band.
-
Then topstitch closely along both long edges.
-
-
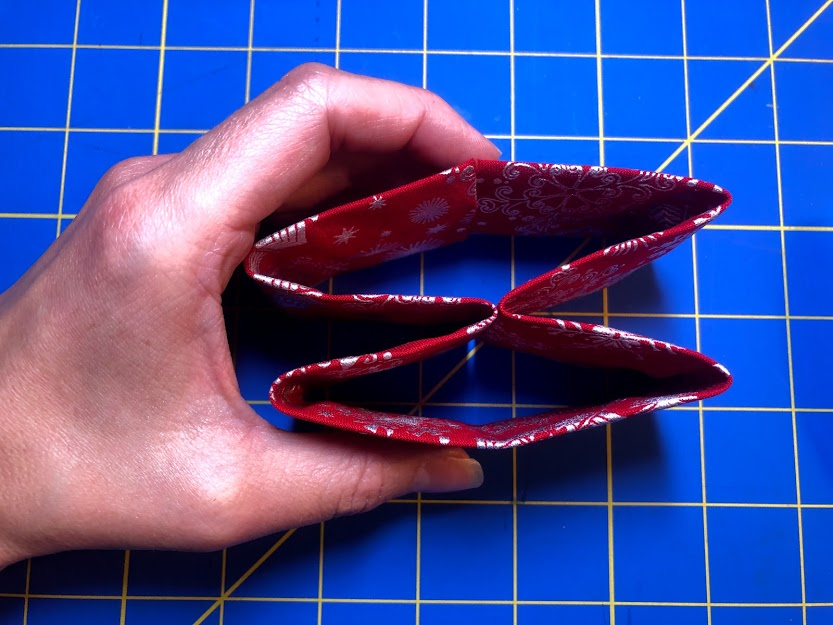
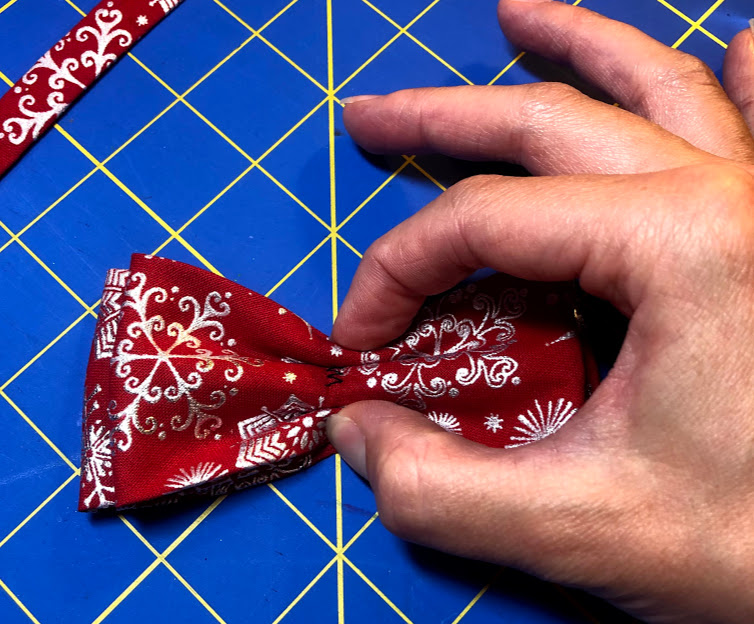
Next pinch the center front upward and then pinch the top and bottom edges of the bow in to create three slight folds pulling the entire center in as tightly as you can.
-
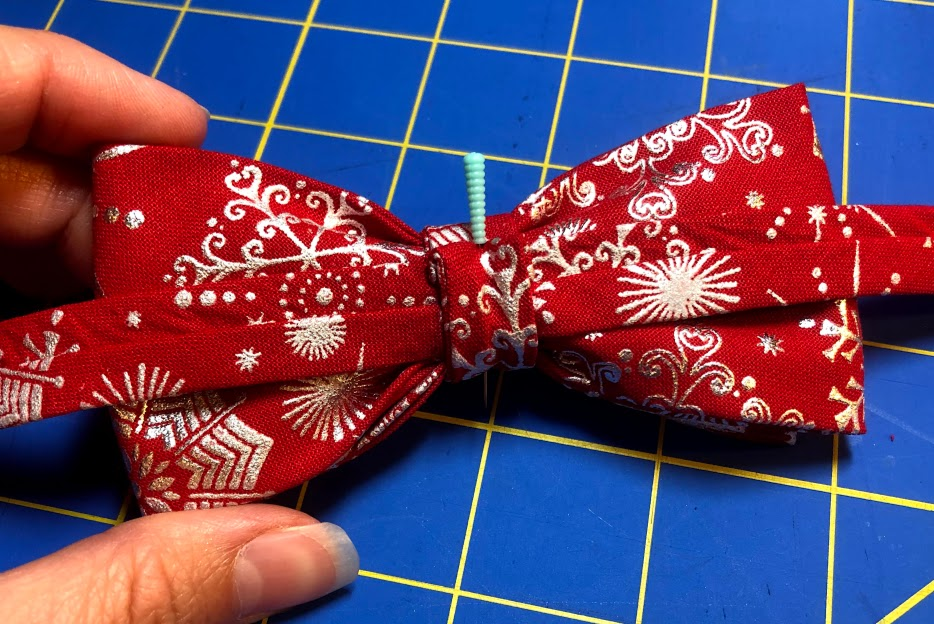
Wrap the center bow band around the center of the bow tightly and pin in place folding the overlapping end under.
If you are making the bow tie slip the band behind the center bow band before hand sewing with the center seam towards the neck when on the body. Hand sew the band snugly in place. Keep in mind that if you are doing the headband or hair bow you can still slip the elastic or hair clip underneath the back of the bow band. In other words don’t hand sew it to where you can’t slip those in.
-
If you are making the hair bow slip the hair clip in or hand sew it to the clip.
-
If you are creating the elastic headband measure and cut the elastic so that it fits the head correctly with a ¾” overlap.
-
Slip the elastic in the back of the center bow band.
-
Overlap the two elastic ends and just straight stitch in the center to hold the overlapped ends together.
You can slide the overlap into the bow band to conceal the raw edges of the elastic.
-
-
If you are doing the bow tie have your little one try it on with the shirt they are going to wear it with.
-
Make sure that you build extra into it so that it fits with the shirt correctly and you have a ¾” overlap.
-
Cut it evenly on both sides with an extra ¾” on each end (so that we can fold the raw edge under on each end and still have a ¾” overlap).
-
-
Fold that ¾” under on each end.
But overlap the straps to visualize that the band end underneath will fold out and the band end on top will fold under.
-
Press.
-
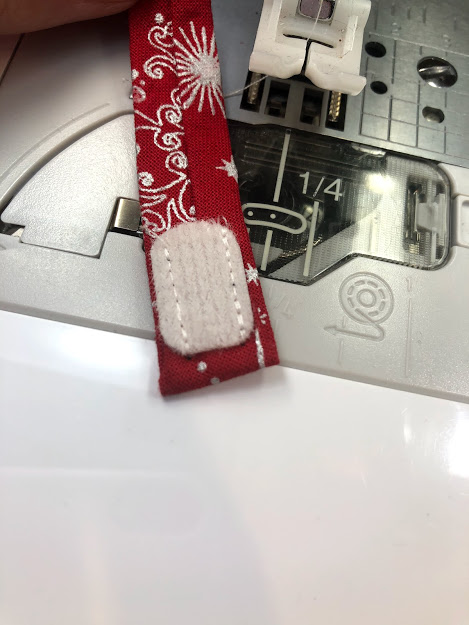
Clip each end (within the ¾” excess) to a point to take out some bulk and stitch the hook and loop closure on to conceal the raw ends.
-
Make sure to stitch the hook and loop closure on the correct sides so that the band does not twist.

-


