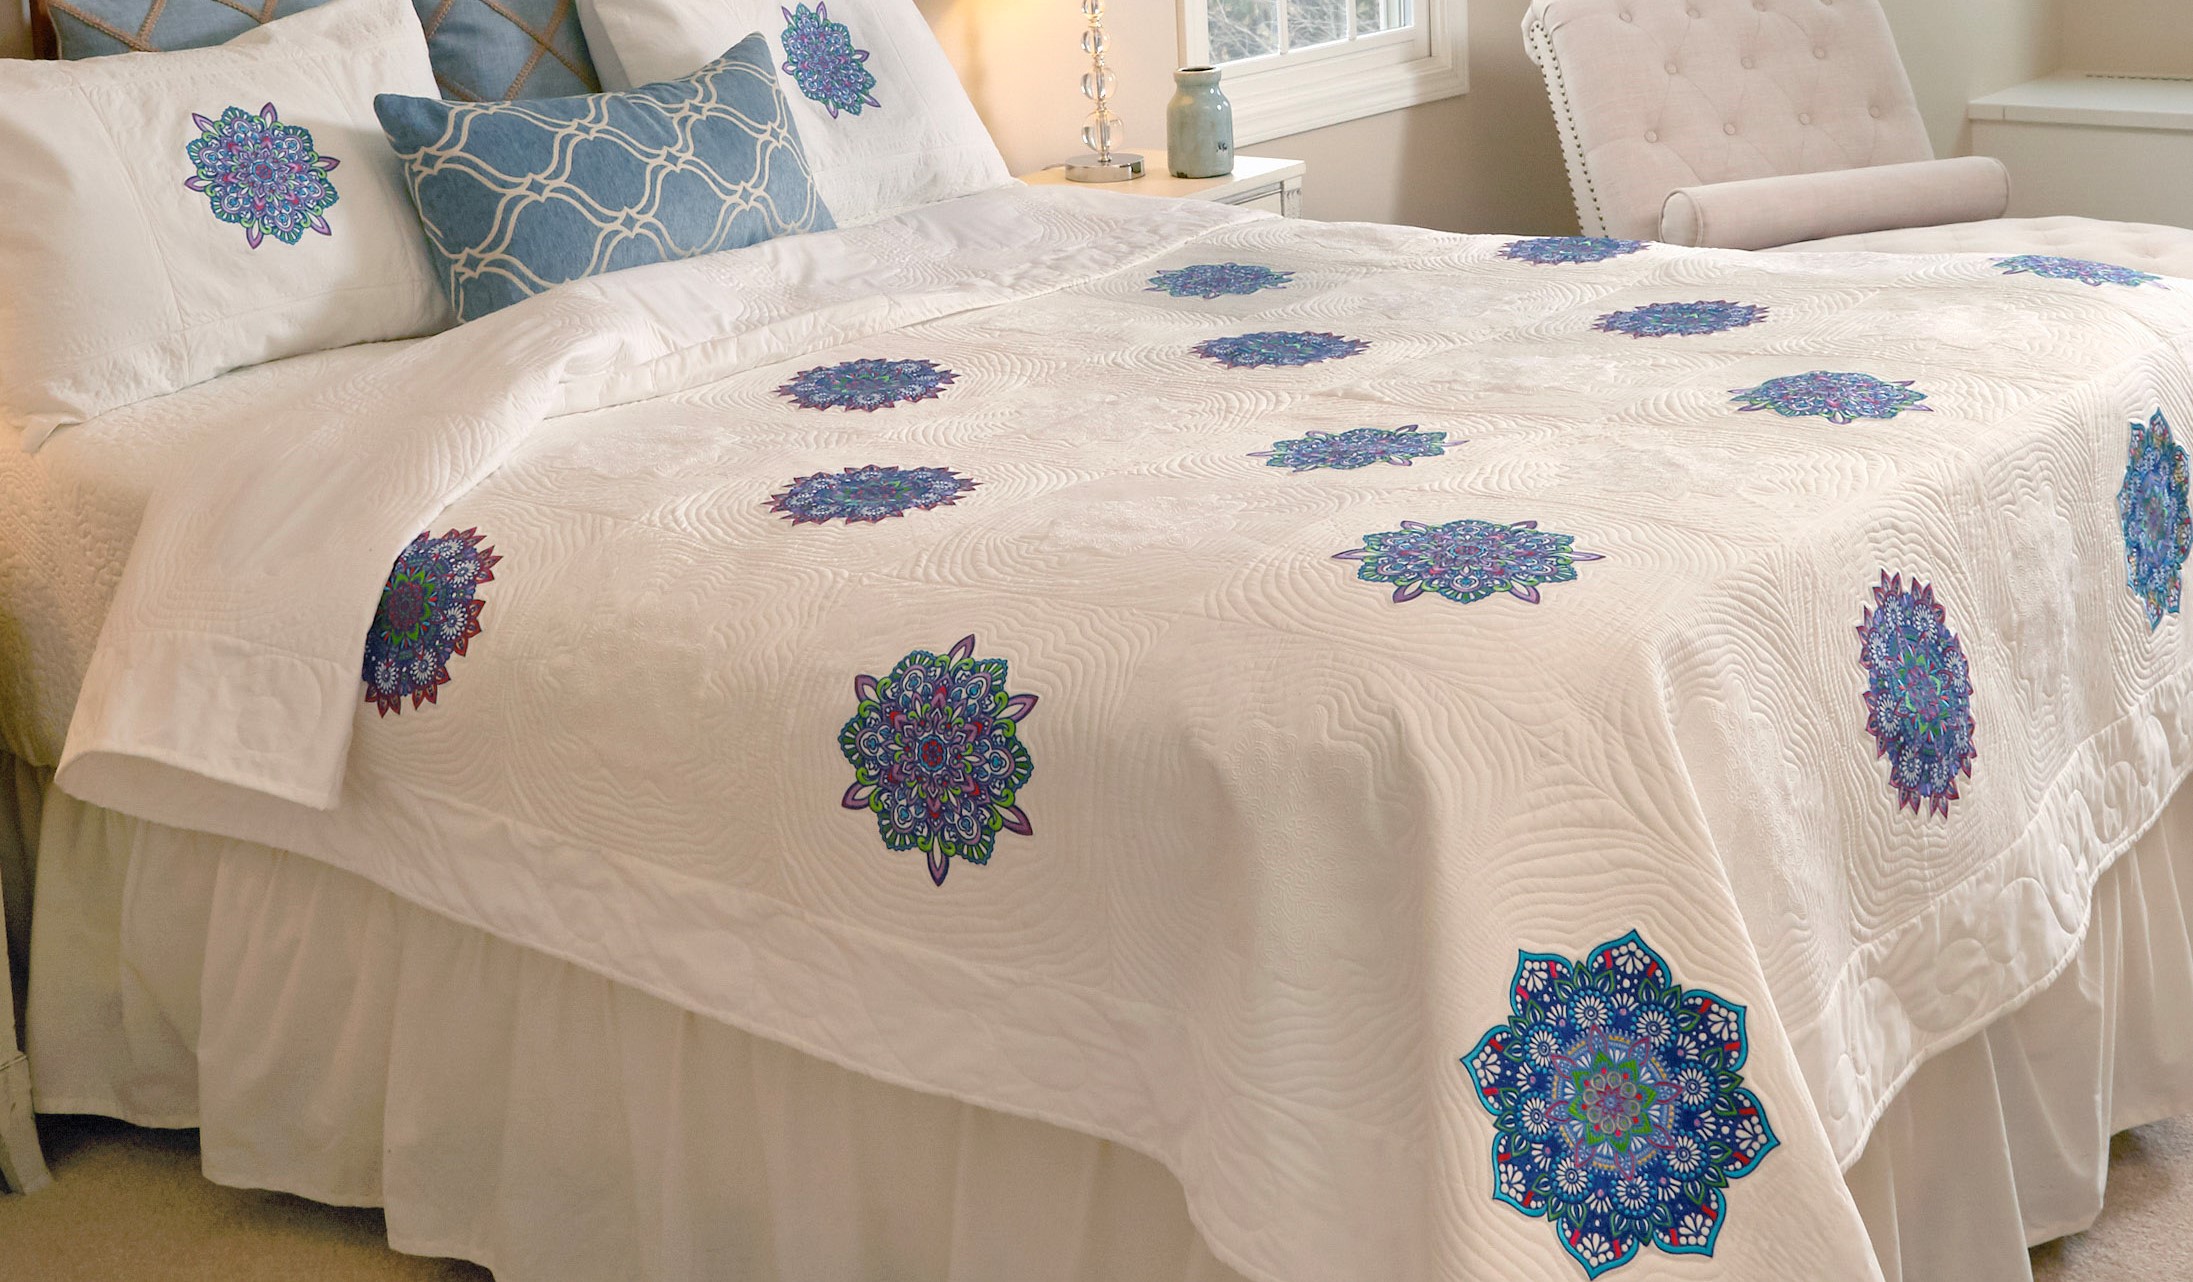
Create a beautiful and unique quilt for your bed using the Baby Lock Solaris’s exclusive embroidery designs. This project will help you get the most out of your new machine’s amazing embroidery quilting and sewing features. Download printable instructions.
Materials:
- 9 ½” x 9 ½” Embroidery hoop
- Baby Lock Tear-Away Soft Stabilizer
- 7 Yards of 108” wide white backing fabric
- Queen sized batting
- Madeira® embroidery thread
- Madeira quilting thread
- Quilting pins
- Basic sewing and embroidery supplies
Tools:
Steps:
-
From the fabric cut out 50 15-inch blocks. These blocks will be cut down to size after they have been embroidered.
-
From the Baby Lock Tear-Away Soft Stabilizer cut 50 15-inch wide sections.
-
Hoop the one piece of the Baby Lock Tear-Away Soft Stabilizer along with one piece of the 15-inch fabric square. Center the fabric in the hoop.
-
Select the thread colors you wish to use for the designs. These same threads will be used for each of the 25 colored blocks. White thread will be used for the other 25 blocks.
-
Set up the machine for embroidery.
-
Wind several bobbins using the Finishing Touch Thread that comes packaged with the machine.
-
-
Place the hoop onto the embroidery unit.
-
To retrieve the design follow the next set of steps:
-
Click on the Embroider option on the opening screen.
-
Select Exclusives.
-
Select the Quilting category.
-
Then select design 001. The designs that were used in the quilt are design numbers 001 002 003 and 006. If you prefer use one or more of these designs.
-
Click on Set to place the design on the workspace.
-
Click on Embroidery.
-
Embroider the design while changing colors as desired.
-
Gently remove the stabilizer from the backside of the embroidered section.
-
Repeat until you have embroidered 25 sections from this design.
-
-
For the next 25 quilt blocks select design number 006 from the Exclusive Quilting category:
-
Using single thread color (white) embroider the remaining quilt blocks.
-
Trim each of the embroidered blocks to 12 ½” square.
-
On a flat surface lay the blocks in the desired rotation. In the sample start with a multi-colored embroidered block then a white embroidered block. Place seven blocks in the first row.
-
Alternate the rotation in the second rows with the white embroidered blocks and end with the multi colored embroidered design block. Repeat the next rows until all have been placed.
-
You will end with one extra block. You can use this block to make a contrasting pillow sham. Embroider additional blocks if you choose to make any other pieces for your bed.
-
-
Set up the machine for sewing.
-
Select a straight stitch center position.
-
Snap on the 1/4” Quilting Foot to on the machine.
-
Thread the machine with a thread color that matches the lining material.
-
-
Using a ¼” seam allowance piece the blocks together to form rows.
-
Piece the rows together.
-
Measure the length of the quilt top. Cut two sashing strips 6” wide by length of the quilt top. If the strips are not long enough piece the sections together.
-
Sew the sashing to each side of the quilt top.
-
Measure the width on the quilt top.
-
Cut another two sections from the fabric 6” wide by the width measurement.
-
Sew one of the sashing strips to the top and one to the bottom of the quilt top.
-
Press well.
-
Make a sandwich with the backing fabric batting and the quilt top. Lay on a flat surface in that order and smooth out any wrinkles.
-
To hold the layers together during quilting pin the three sections together using quilting pins.
-
Set up the machine with the Even Feed Foot:
-
Starting on center seam on the quilt stitch-in-the-ditch through each of the vertical seams on the quilt. Remove the quilt pins as you sew. Repeat for the horizontal seams.
-
-
Trim around the edge of the quilt to even up the edges.
-
From the remaining white fabric cut several strips 2 ½” wide.
-
Attach the ¼” foot. Piece the strips together to make one long strip that will reach all the way around the outer edge of the quilt.
-
With wrong sides together fold the strip lengthwise and press.
-
Place the binding strip to the top side of the quilt along the outer edge 8” down from one of the corners and follow the next set of steps:
-
Pin in place.
-
Sew the strip to the quilt starting 4” down from the start of the binding. Stop sewing ¼” from the corner and cut the thread.
-
Fold the strip up and over the sewn corner away from the quilt and finger press. (This will create a 45˚ corner on the quilt.)
-
Fold the binding strip down over the corner along the raw edge on the next side of the quilt. Pin in place.
-
Starting at the corner sew the binding to the quilt. Stop ¼’ from the second corner and cut the thread.
-
Fold the strip up and away from the quilt corner as you did for the first corner. Finger press.
-
Fold the strip back over its self and pin along the next raw edged side.
-
Once again start to sew from the corner to the next corner to repeat this process.
-
Repeat until you have turned the last corner.
-
Trim the end of the binding so that it overlaps inside the beginning of the starting point on the binding.
-
Tuck the unsewn binding sections inside the binding section at the starting point. Pin in place.
-
Starting from the corner sew the last edge of the binding.
-
Fold the edge of the binding to the backside of the quilt.
-
My preferred method is to hand-sew the binding to the back of the quilt. But if you wish you can sew with the machine.
-


