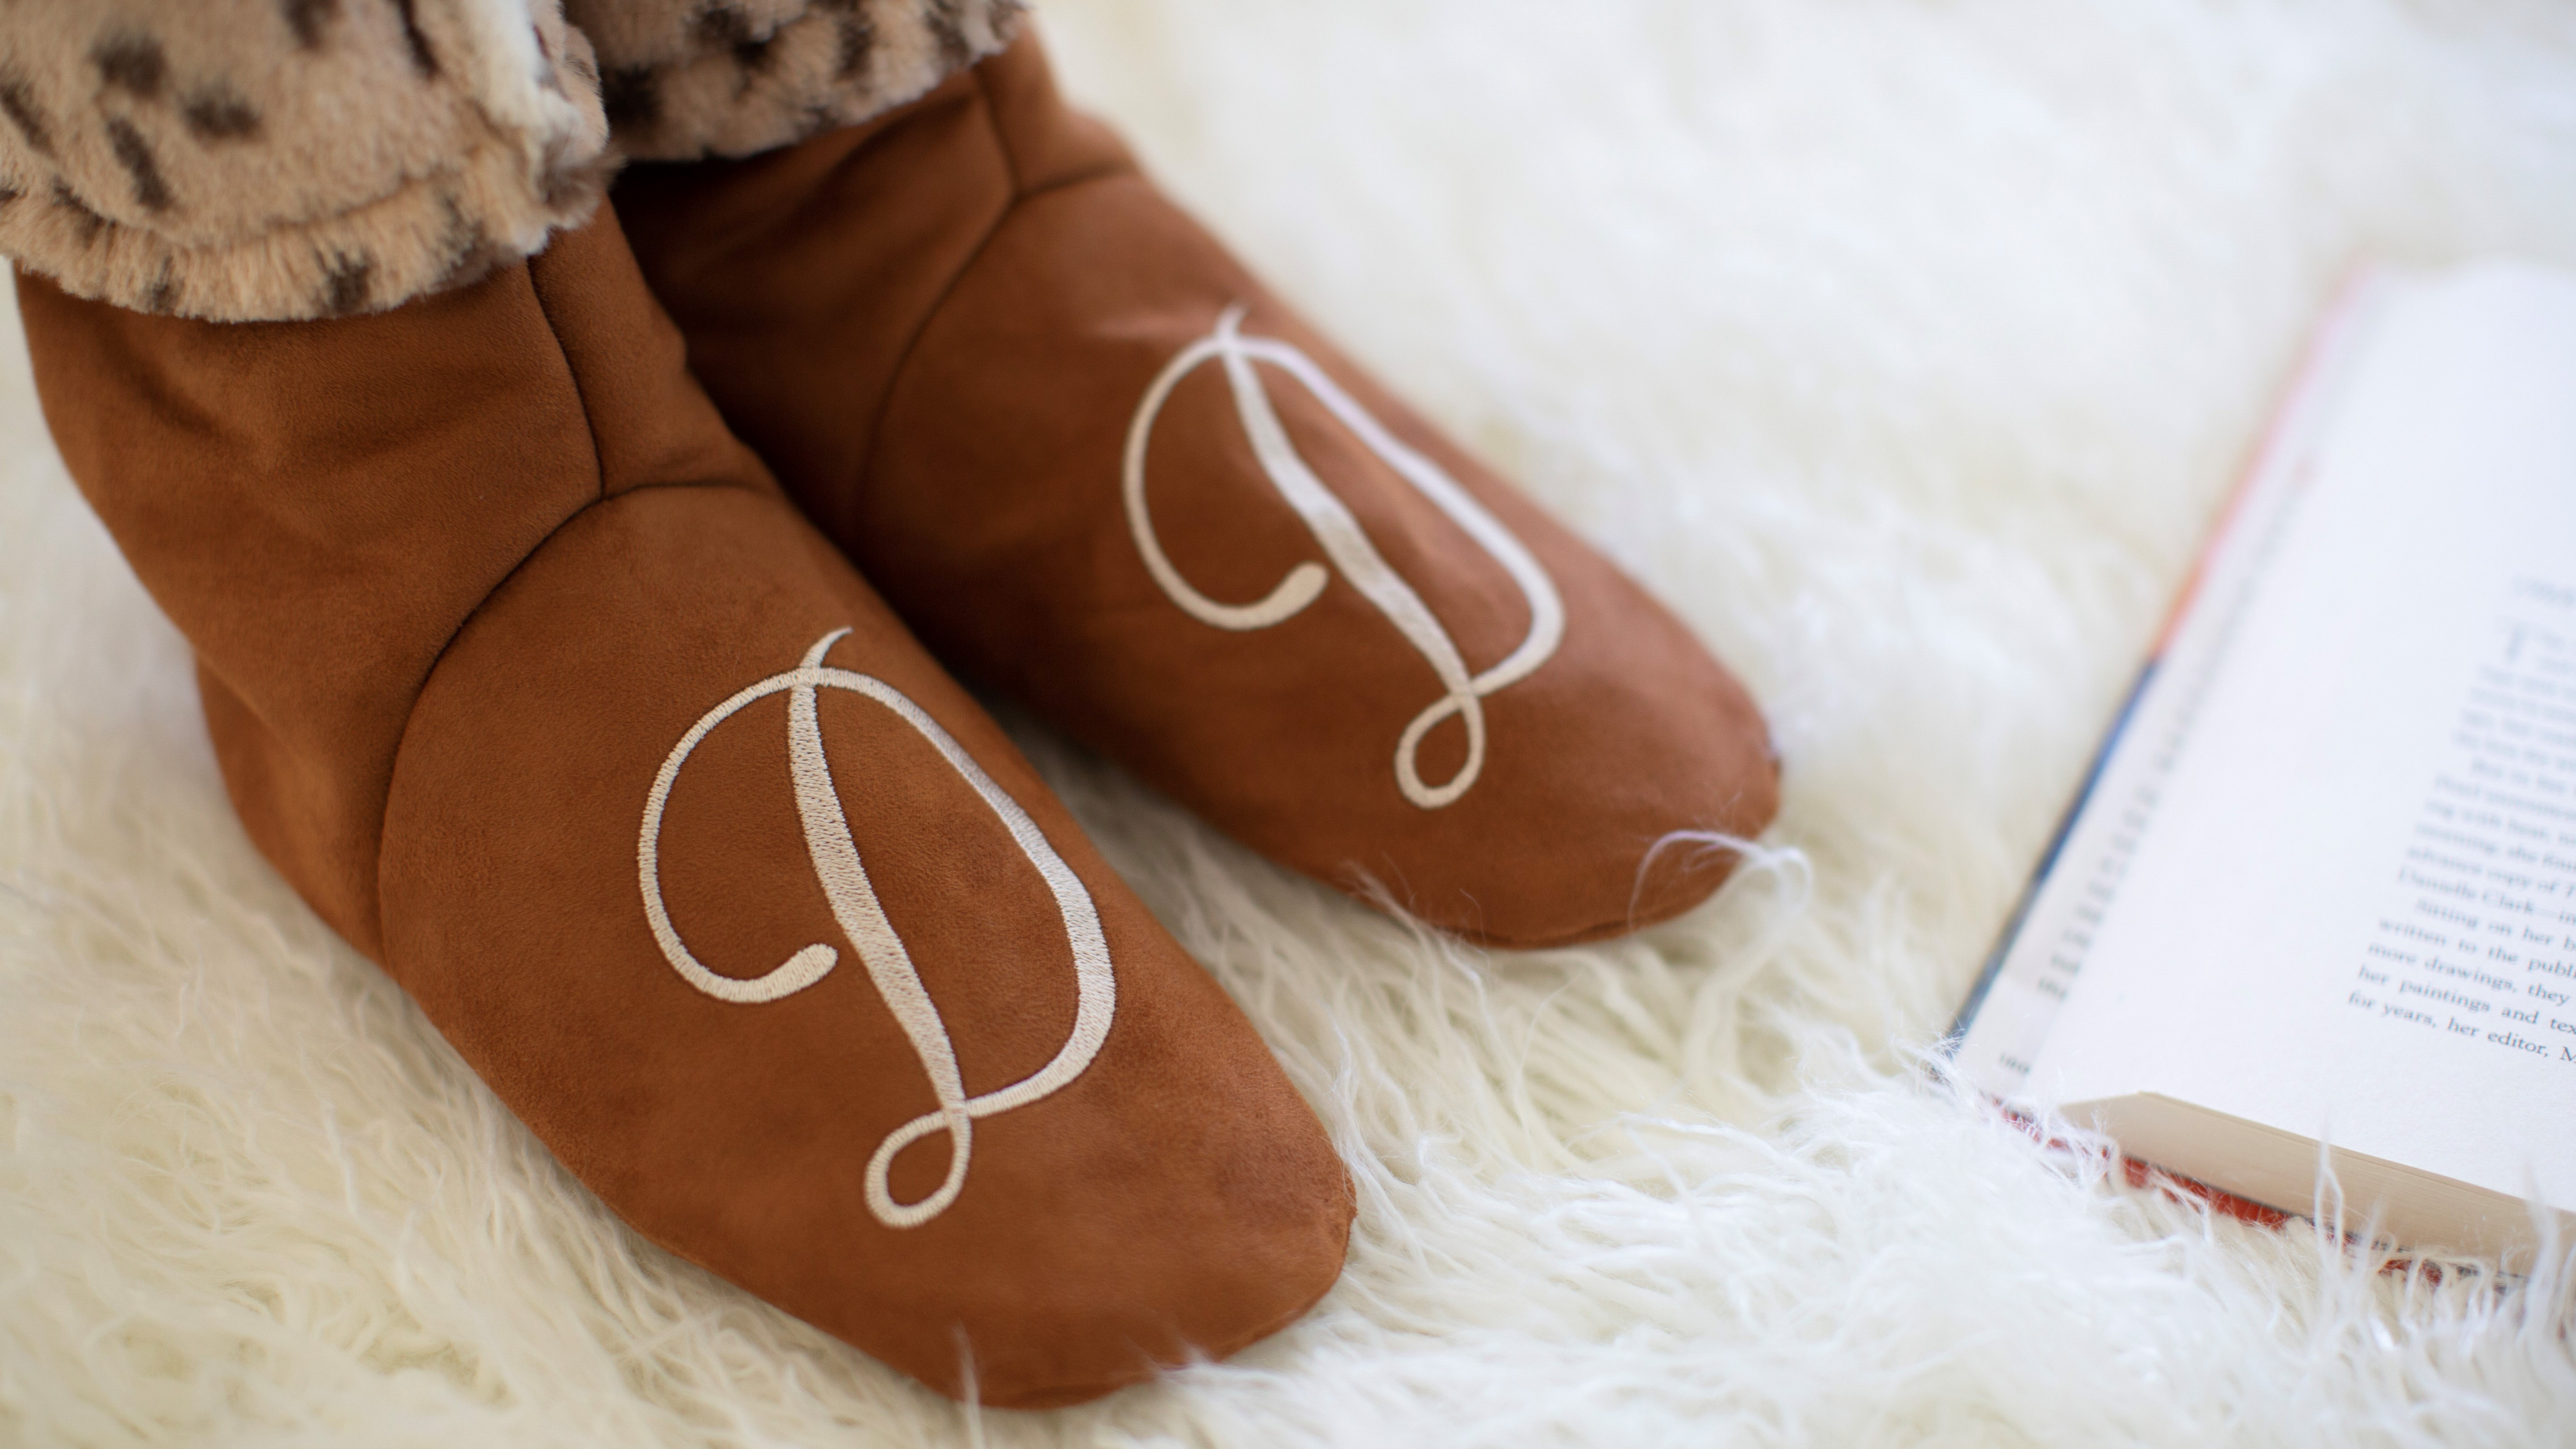
Make these embroidered booties and give a gift that is personalized and comfy for your loved ones. Download the project instructions here.
Materials:
- Bedtime Boots pattern by Indygo Junction
- Cuddle Suede and Printed Faux Fur fabrics from Shannon Fabrics (see pattern for yardage)
- Annie’s Soft and Stable for inner soles
- Baby Lock Ultra Soft Fusible Fleece Stabilizer
- Madeira® Cotona thread for sewing and embroidery thread
- Basting Spray Adhesive
Tools:
- Baby Lock Sewing and Embroidery Machine
- Basic Sewing Supplies
- Sewing clips
Steps:
-
Using the pattern pieces cut out boot sections while following Version C.
The main fabric will be cut from the cuddle fabric and the cuffs should be cut from the faux fur fabric. The lining can also be cut from the cuddle fabric. Be sure to following the pattern directions for cutting out each of the pieces.
-
Set up the machine for embroidery
-
Then select Size.
-
-
To retrieve the monogram follow the next set of steps:
-
Click on Embroidery.
-
Select the number 4 font option
-
Scroll over and select the last font in the row (7).
-
Select the letter of your choice. In the sample the letter “D” was selected.
-
Click on Set.
-
Then select Size.
-
Select the second option under size as shown. This option will recalculate the stitches based on the size of the letter.
-
Click on the button with the arrows pointing inward as shown
Click on the arrows several times to resize the letter smaller. In the sample the letter was sized to 3.336” x 2.76”.
-
Click on OK.
-
Click on Embroidery.
-
-
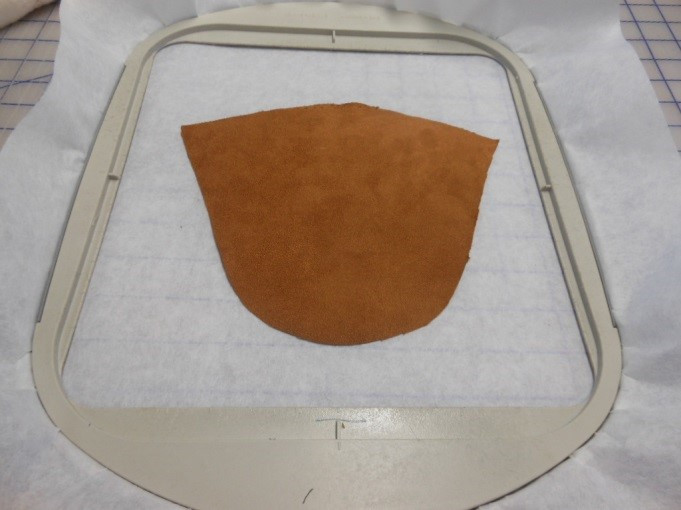
Hoop the Baby Lock Ultra Soft Fusible Fleece stabilizer in the 9 ½” x 9 ½” hoop.
Using the temporary basting spray lightly spray the inside of the stabilized hoop. Take the Upper Foot section and center it in the hoop so that the small rounded toe area is facing toward you.
-
Place the hoop on the machine.
-
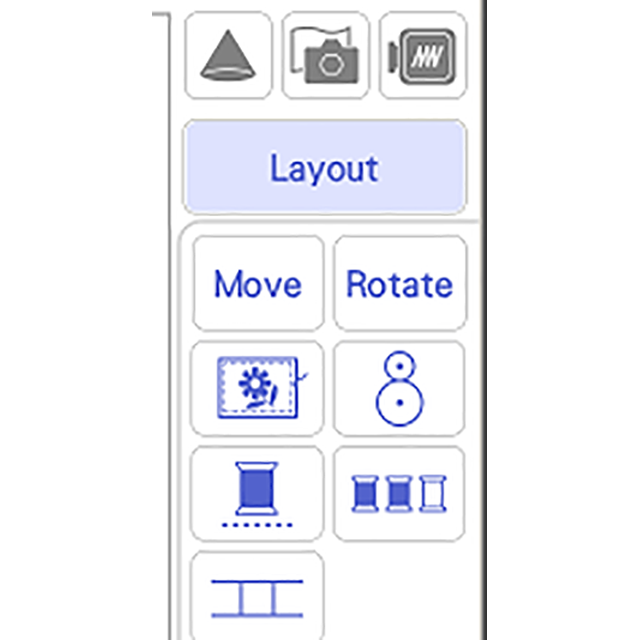
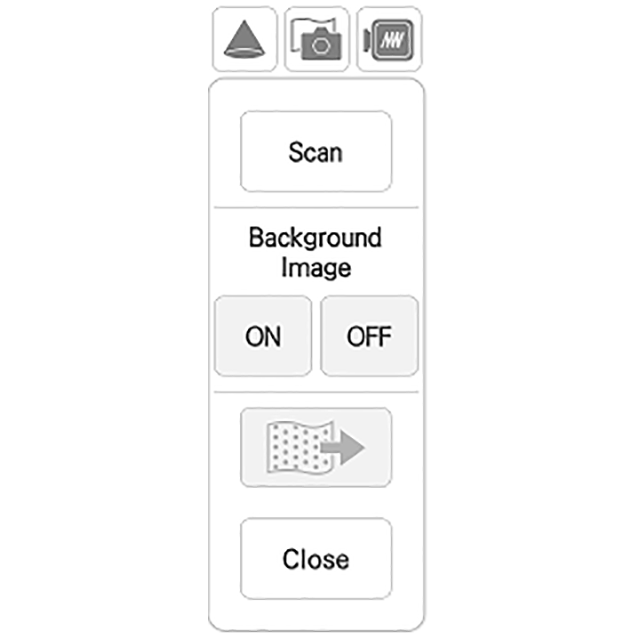
To scan the area in the hoop click on Edit in the Embroidery field.
Click on the Camera Scan icon as shown below. Click on Scan as shown in the second illustration. Once the scan is complete the area will be shown on the screen.
-
Center the design on the section.
-
Thread the machine with the embroidery thread color of your choice.
Click on start.
-
Repeat Steps 4-8 for the other section.
-
Follow the pattern directions for assembly of the boots.
-
Lay fabric on cutting surface wrong side up. Use pattern weights to hold patterns on fabric and trace with a ballpoint pen or felt marker.
-
Use a 1/2” seam allowance with your walking foot attachment.
-
Pin well with long flower-head pins.
Pin parallel to hold down more fabric and sew slowly being careful to keep raw edges together. This will help to hold the layers together so that they do not slip and slide. I also like to use clips.
-
Use a 90/14 or 100/16 Stretch needle and polyester or poly-cotton blend thread for sewing the seams.
-
Increase stitch length to 3.5mm. Sew with a straight stitch.
-
After sewing seams pull out the fur fibers caught in the stitches on the outside of the seam with a stiletto.
-
Vacuum up any stray fibers.
-


