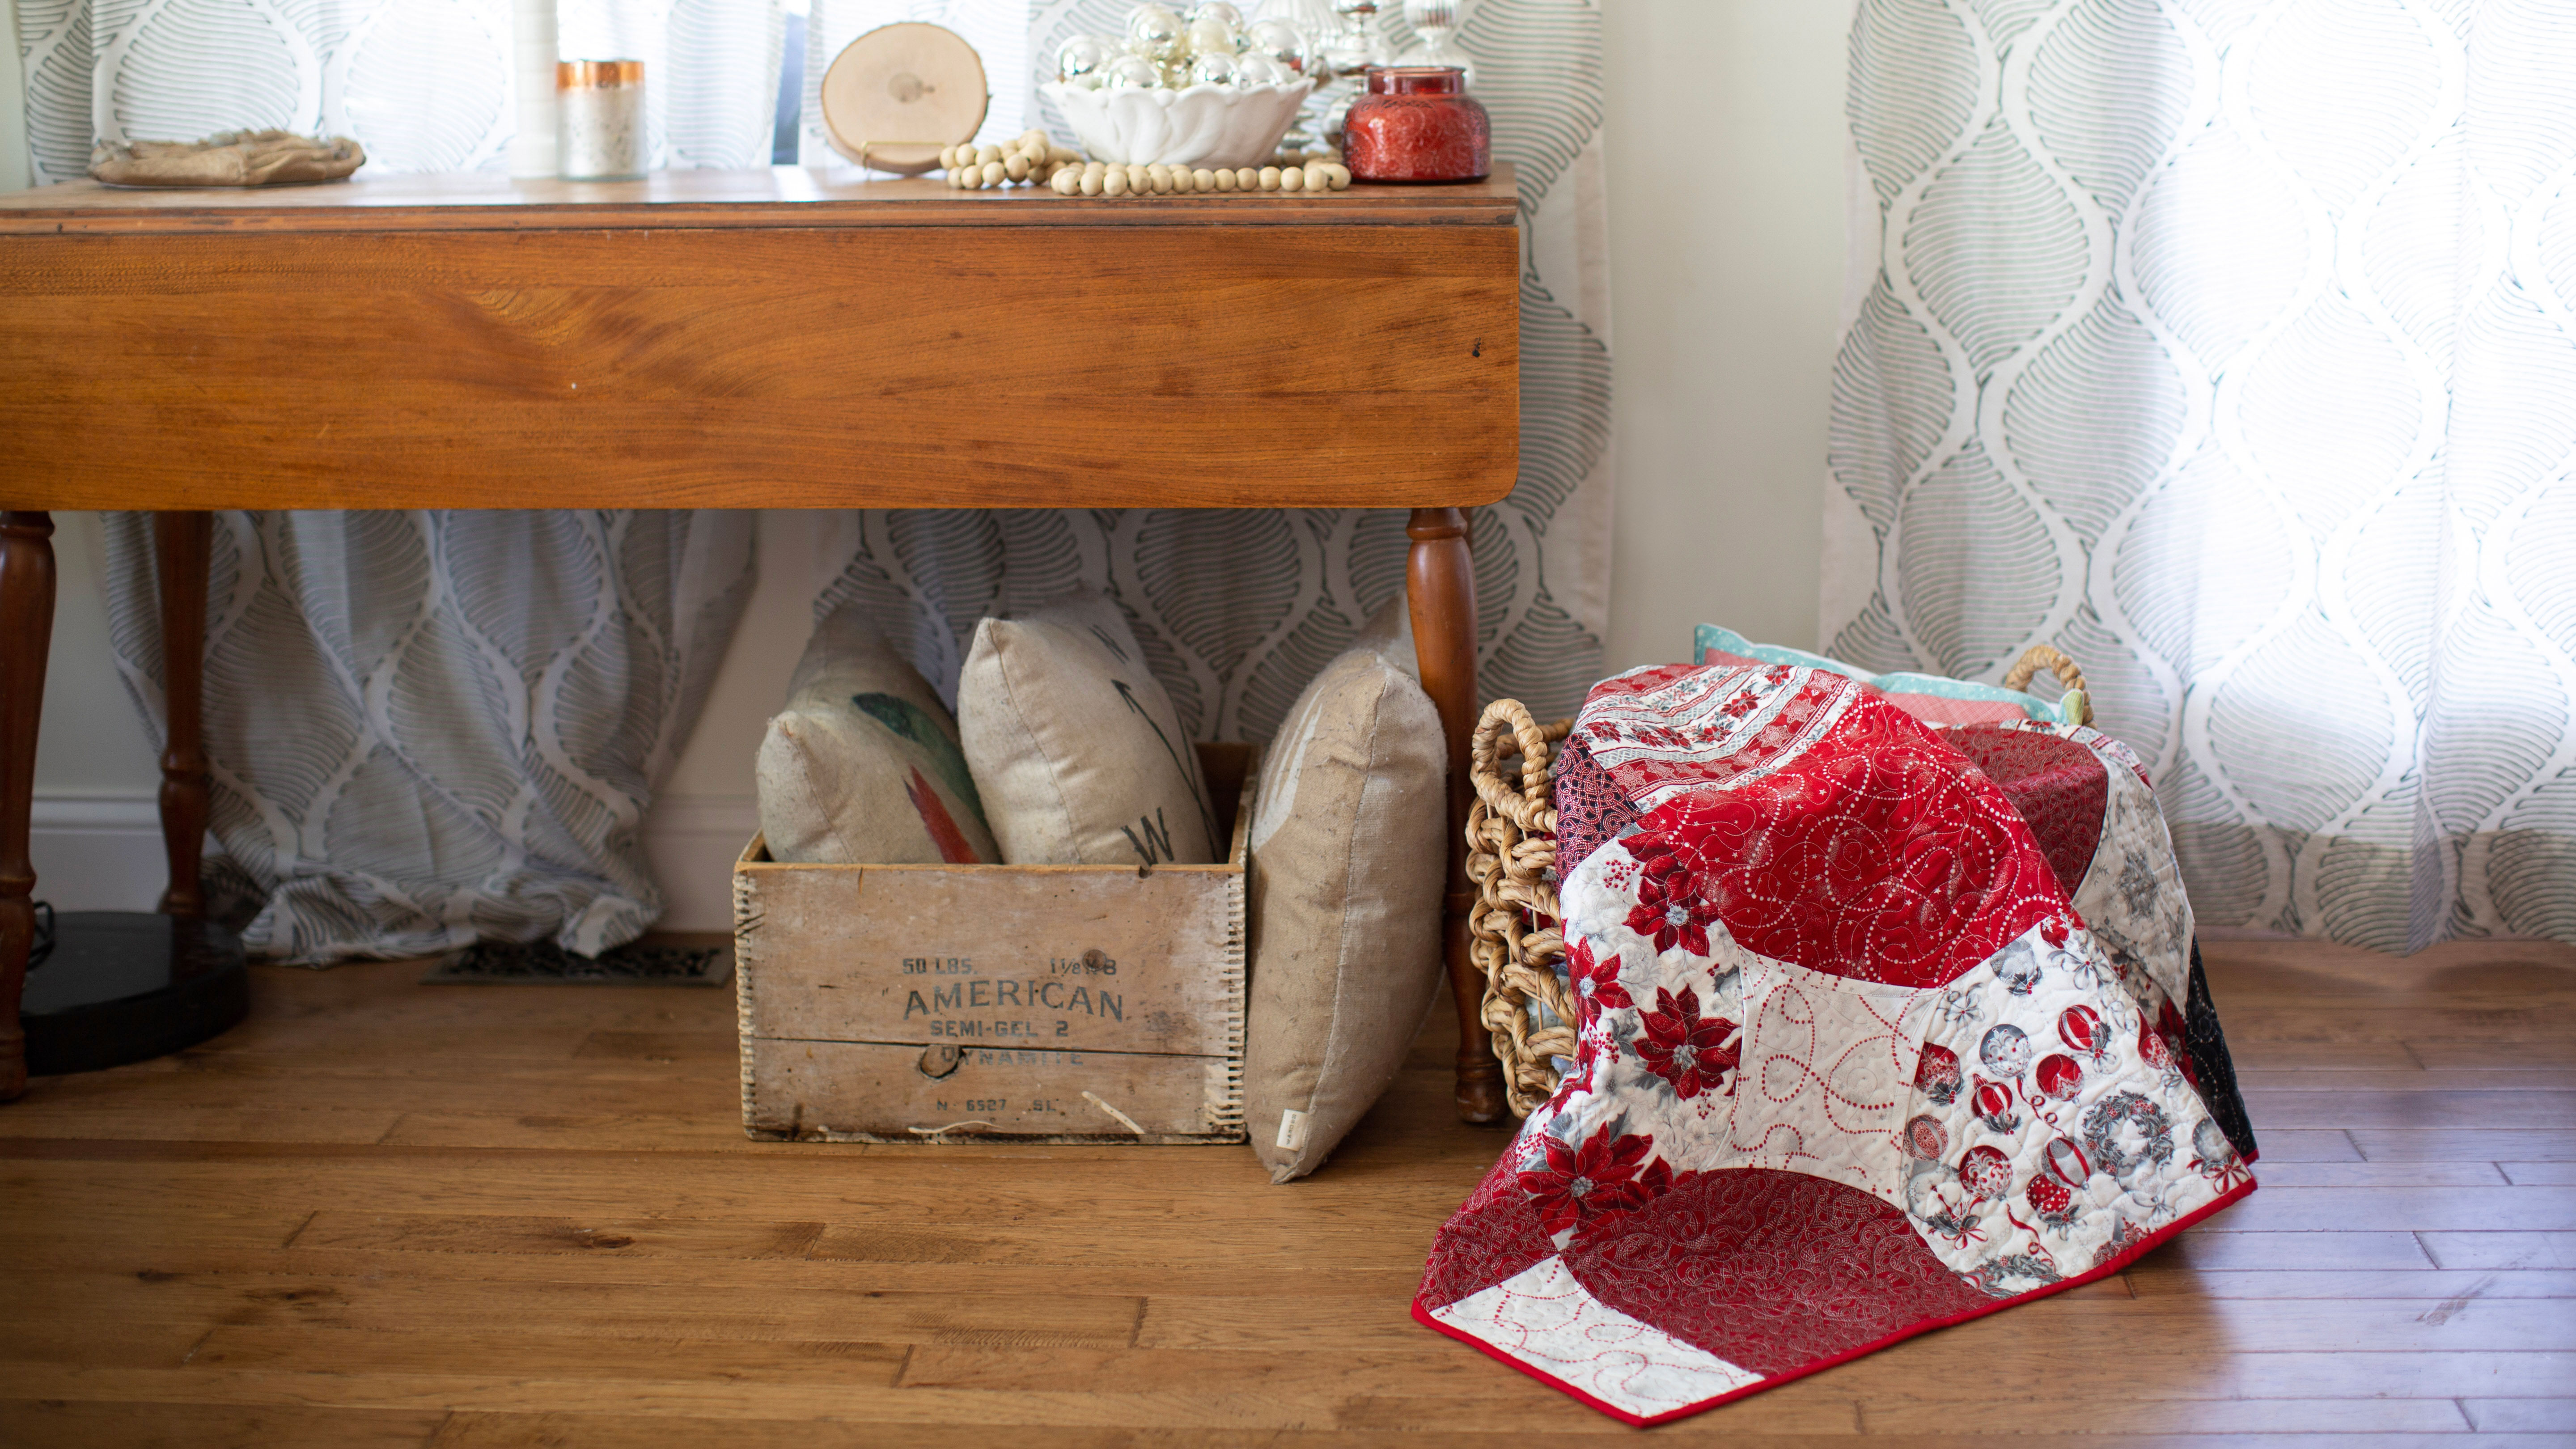
Looking for a quick quilting project for Christmas? Create this pretty wall hanging! Each block in this quilt has only three seams and takes 10 minutes to complete. In no time at all you are on your way to create a quilt that you could snuggle up with during the holidays or pretty enough to hang on your wall. Download printable instructions.
Materials:
- Christmas Layer Cake print fabric (10” cut squares)
- Backing fabric
- ½ Yard of red cotton fabric for binding
- Madeira® Cotona and quilting thread
- Batting
- Temporary spray adhesive
- Quilt Size: 47” x 57”
Tools:
- Baby Lock sewing machine
Steps:
-
Separate the 10” layer cake squares by colors (lights and darks). Six of the light colors will be used for the stained glass sections.
-
The darks squares will be used to form the larger sections around the stained glass areas. Follow the next set of directions to complete the one block:
-
Take one of the light colored squares and fold it in half. Lay it on a flat surface with the folded edge facing away from you.
-
With right sides together place one of the darker squares under the folded section and one on top
-
Sew the right edge using ¼” seam allowance.
-
Take two more of the darker fabrics and place one under and one over the folded section as done in the prior step.
-
Pin the sections together.
-
Sew the second seam.
-
Press the seams.
-
• With the three sewn pieces laying on a flat surface bring the two top large side pieces together with right sides facing. Pin in place. Do the same for the other side.
-
The light colored section in the center should open out to form a triangle shape inside the sandwiched area. Center the seam on the top with the seam on the bottom.
-
Smooth out the center section so that it lies flat with the edges lining up with the edges on the darker sections. Pin in place.
-
Using a ¼ seam allowance sew the third seam on the block.
-
On the front of the block press the block carefully lining up the points with the each of the seams. Set aside.
-
-
Make 5 more blocks following the same directions as above.
-
Cut six fabric squares in half to create 12 pieces that measure 10” x 5”.
-
Lay the six blocks on a flat surface. Place the 10” x 5” pieces on each side. Create three rows. Sew sections together to make rows. Sew the rows together to form the quilt top.
-
Make a sandwich with the backing batting and the quilt top.
-
Lightly spray between the layers using the temporary spray adhesive or you can pin the quilt with quilt safety pins.
-
Starting in the middle of the quilt roll the four edges on each of the six light colored diamond areas toward the center of the block. Pin to hold in place.
-
Stitch through all of the layers to secure.
-
Set up the machine for quilting:
-
Lower the feed dogs.
-
Wind several bobbins using the same thread that will be used for the top thread.
-
Attach the quilting foot.
-
Thread the machine.
-
Place the bobbin in the bobbin case.
-
Select a straight stitch.
-
Make a small sandwich using the same fabrics as used in the quilt.
-
Do a test sew to see the tension and to become comfortable with the quilting of the stippling stitch.
-
Adjust the tension as needed.
-
Quilt the quilt as desired.
-
-
Trim all four edges.
-
To make the binding follow the next set of steps:
-
Cut several 2 ½” wide strips across the width of the fabric.
-
Piece the sections together to make on long strip that will fit around the outer edge of the quilt.
-
Fold the long sides with wrong sides together and iron.
-
Turn in one of the short ends at a 45˚ angle.
-
Place the short end 6” down from the top corner on the front of the quilt with the raw edges even and pin in place.
-
Start to sew the binding to the quilt 4” down from the beginning of the binding strip.
-
Stop sewing and cut the thread ¼” from the corner.
-
Fold the binding strip up and away from the quilt making a 45˚ angle at the corner. Finger press. Fold the binding down over the second side so the raw edges are even.
-
Sew down the second side of the quilt and stop ¼” from the corner and cut the thread. Repeat these steps to finish sewing the binding to the quilt.
-
After you turn the last corner cut the end of the binding so it will fit inside the starting point at the bias strip starting point. Continue to sew the binding to the quilt.
-
Fold the binding to the back of the quilt.
-
Hand or machine sew the binding in place.
-


