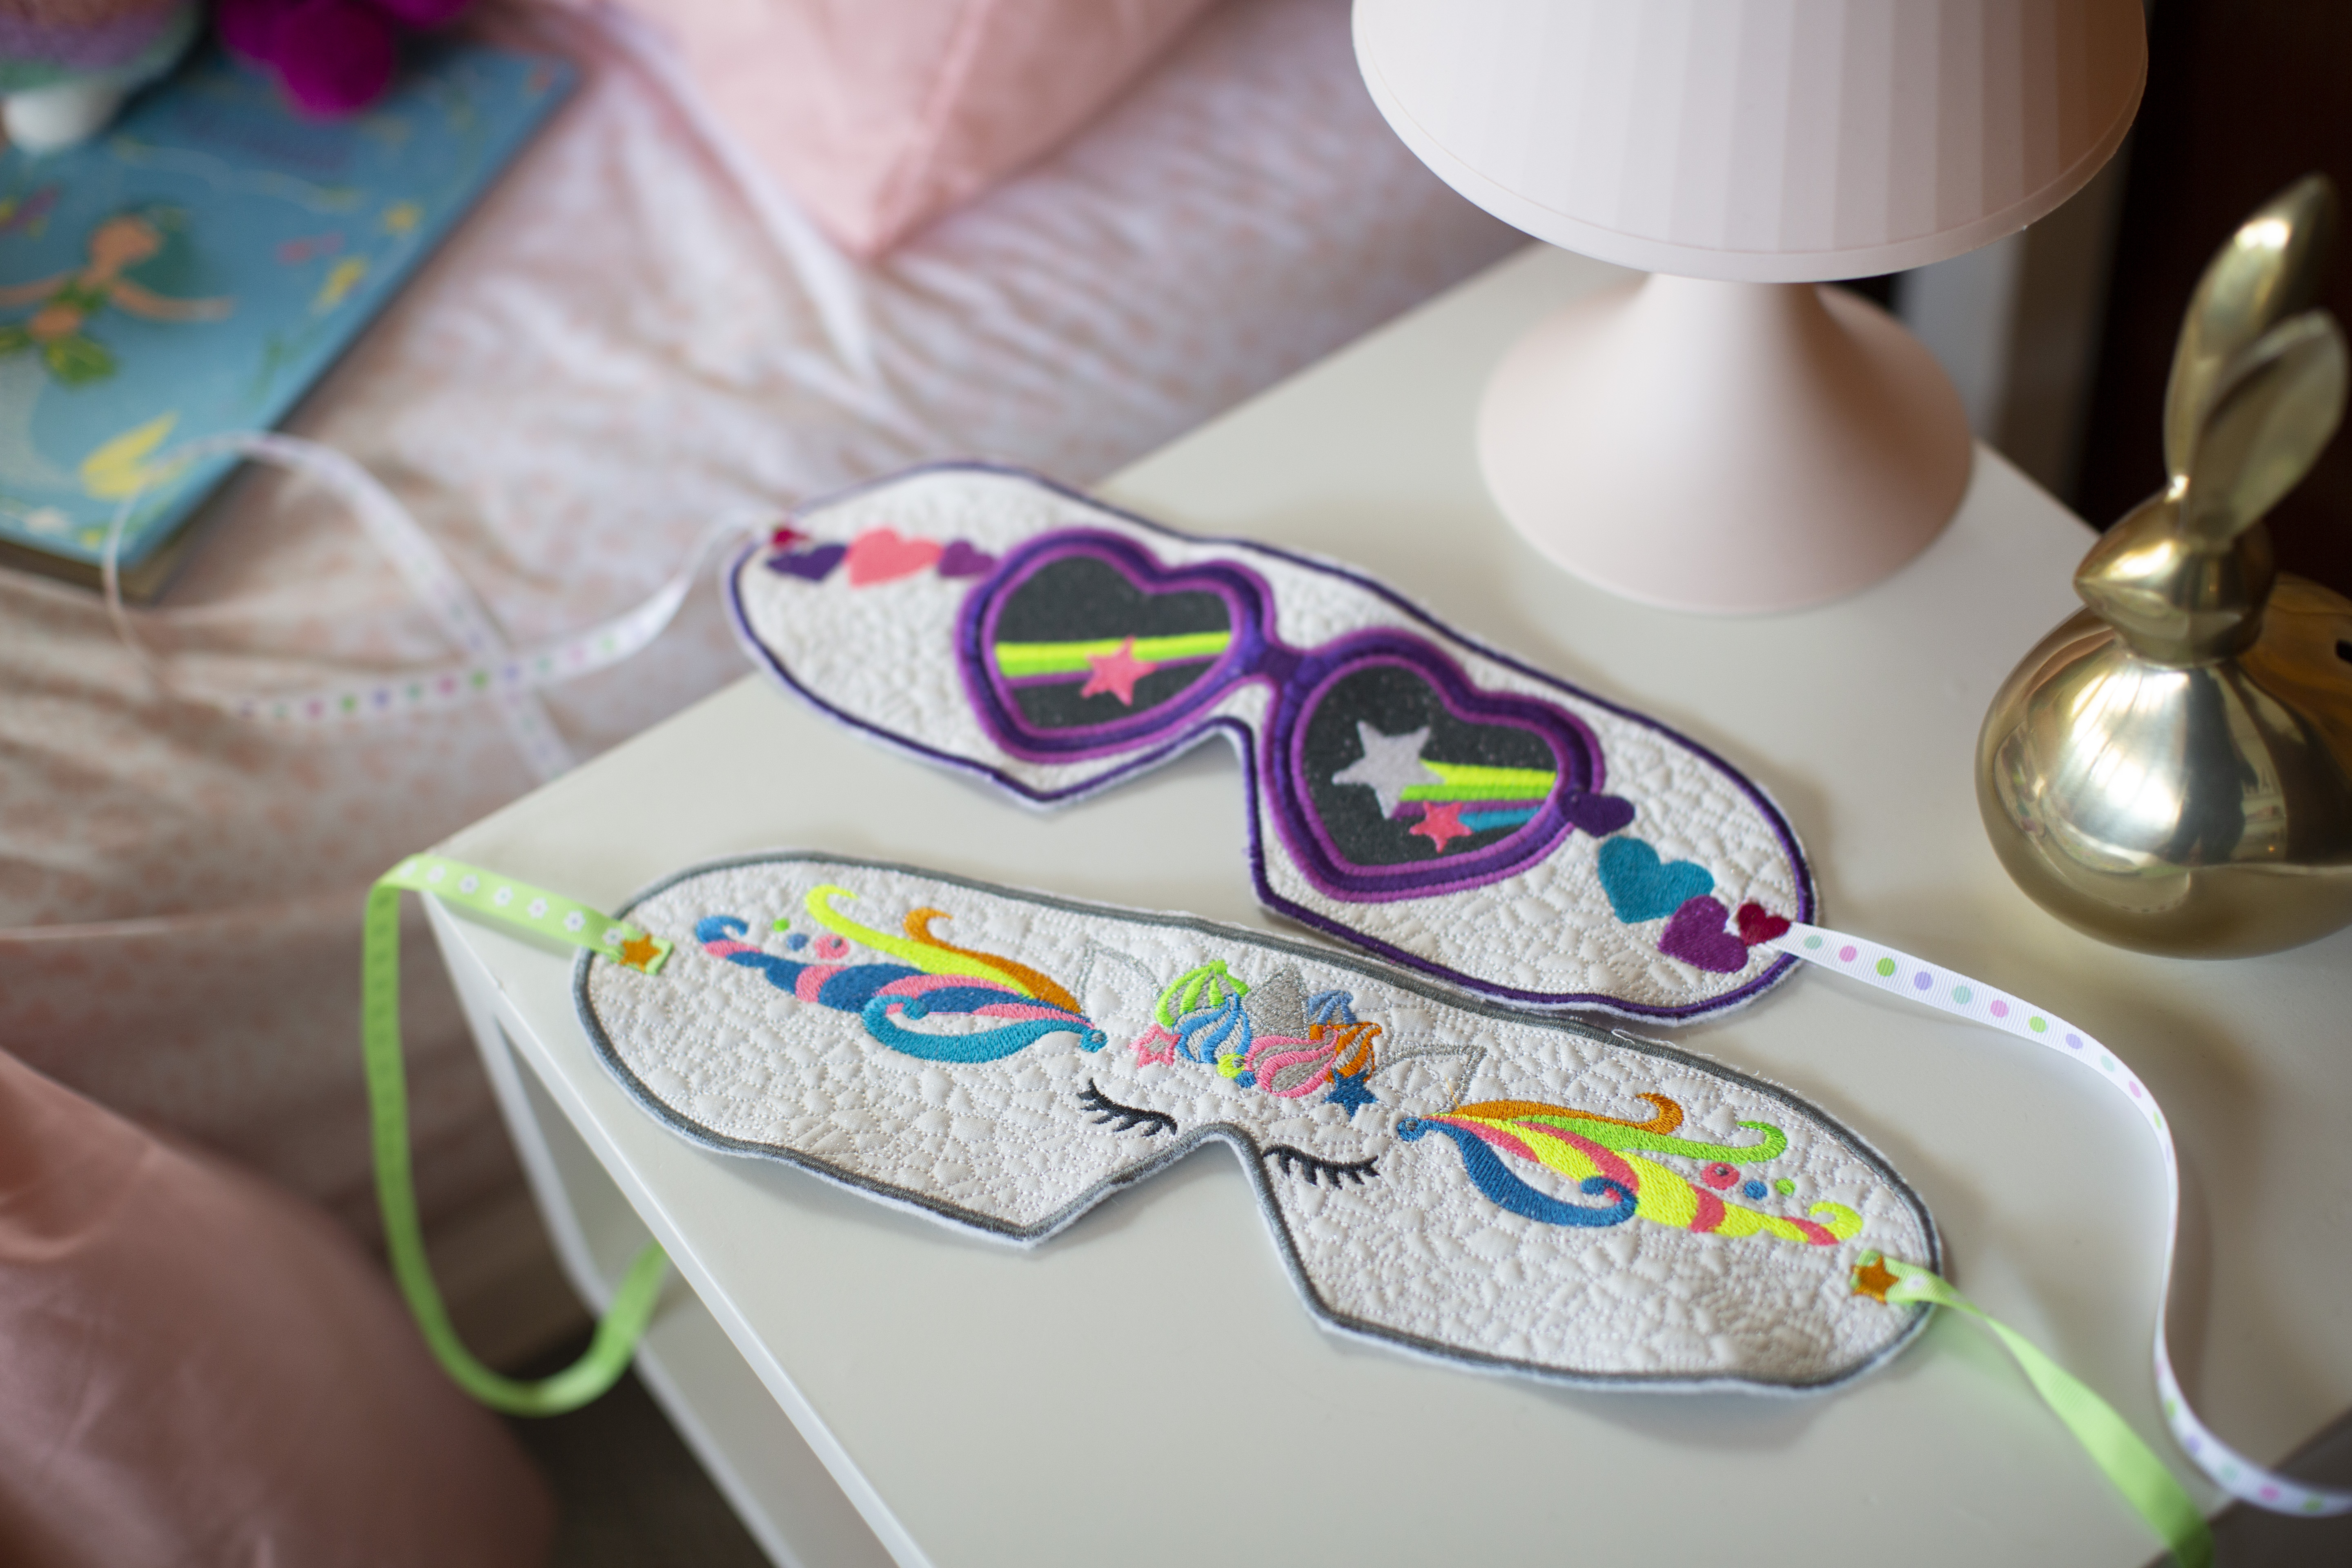
Sleep is important for everyone so why not make one of these fun sleep masks and be styling while snoozing. Unicorn design for adult and the sunglasses for child size. Download printable instructions.
Materials:
- Choose from unicorn built in design found on the Baby Lock Venture
- ¼ yard neutral or white fabric
- Batting – 12x9 scrap works wonderful
- Embroidery thread to stitch out design and 2 prewound bobbins
- 1 yard ribbon for ties to use for wearing mask
- Spray adhesive
- Baby Lock Tear-Away Firm stabilizer for applique
- Large hoop for stitching 14”x7 7/8”
- Glue stick or small pieces of fusible web for holding ribbon in place while stitching
Tools:
- Baby Lock Venture Multi-Needle Embroidery Machine
- Setting Pages: Change grid and center mark hoop size 14” X 7 7/8”
- Set machine for thread colors using magic wand
- USB stick to save design on while creating in IQ
Steps:
-
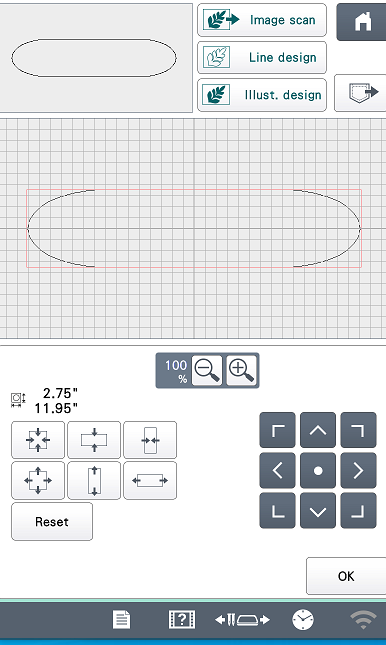
Click on IQ Designer: Click Shapes Icon. Click last design on the third row.

-
Click OK.
-
-
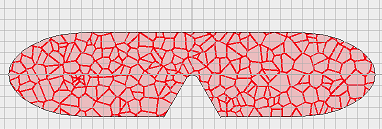
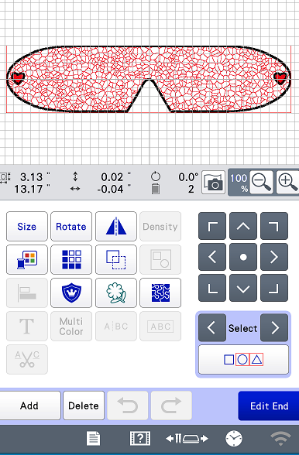
Click Size. Click resize width increase icon and change size to 11.95”. Click on height and decrease size to 2.75”. Click OK.
-
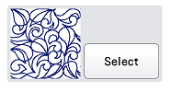
In the fill’s property section click fill bucket and select a decorative fill stitch.
-
Click on Select.
-
Click on #10 fill or select your favorite fill. Click OK. Click inside the shape.
-
-
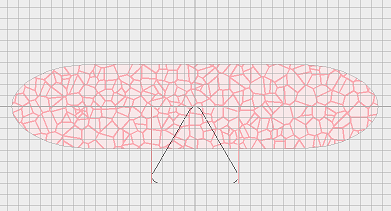
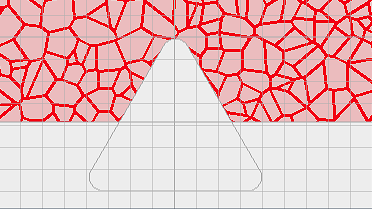
Click on the Shapes Icon. Click the last design in the second row.
-
Click Size Icon. Resize smaller 3.00” X 3.28”.
-
Move the triangle shape to line up center and the top of the triangle lined with the center horizontal marking.
-
-
In the fill’s property click on Regions Property Icon. Click on the no fill icon. Click OK. Click in the triangle shape and remove the fill.
-
Click on zoom 200%. Click on Eraser Icon. Change size to large. Remove the lines below and between the triangle open space. Zoom out to 100%.
-
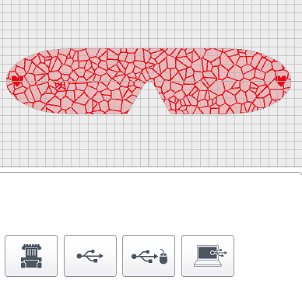
Click on Shapes Icon. Click on Heart Shape. Resize smaller to be .50” X .52”. Click OK. Zoom in to see heart larger on screen.
-
Click on Regions Properties Icon.
Click on Fill. Click color red and fill. Click OK. Click Fill Bucket Icon. Click inside heart. Click Lines Property fill bucket. Using the move arrows position the heart on the sides of the mask shape. Repeat making heart and place on opposite side of the mask shape. These will be stitched on top of ribbon to secure in place.

-
-
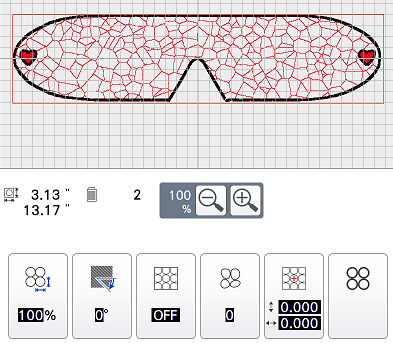
Click Save to Memory Icon to the machine or USB stick. This will give you the ability to edit in the IQ screen so that you do not need to start again from scratch.
-
Click Next. Resize the fill stitch to 50%. Click OK.
Click Set. Check to ensure the outline is turned on. Click Set. Click OK. You have just created the sleep mask shape to design on.
-
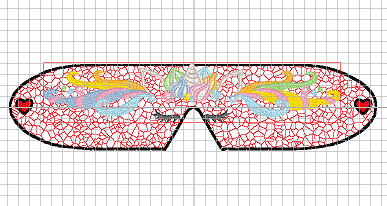
Click on Embroidery Design Icon. Click on design #19 Unicorn. Click Set.
Click on Size Icon. Click on Stitch Recalculation Icon. Resize 1.90” X 11.34". Center in the mask shape and height towards the top of mask. Click OK.
-
Prepare the embroidery machine to embroider Unicorn load selected colors.
-
Cut two pieces 13” x 16” piece of neutral/white cotton for the top and back of the mask. Cut the same size piece of tearaway stabilizer and felt.
-
Mark the center of both the width (16”) and the height (13”) of the neutral/white cotton fabric.
-
Lightly spray the stabilizer (felt) with the spray adhesive. Place the neutral/white cotton panel on top of the felt and smooth away any wrinkles.
-
Click on Applique’ Icon. This project is not applique selecting this allows you to add a back to the mask.
-
Click End Edit. Click Save to the Pocket.
-
Stitch out fill stitch 1st stain stitch and Unicorn.
-
Stitch out applique’ adding the second piece of fabric to the back finishing the mask.
Instead of adding fabric to the top you are going to add it to the back with the stain stitch finishing the edges off. These will remain raw edges and create a fun texture.
-
The last item to stitch will be the hearts and attachments for the ribbon.
One on each side. Hold in place with glue stick or fusible web. You want to position so that the heart stitches the ribbon in place.
-
Now it’s time to take a nap.


