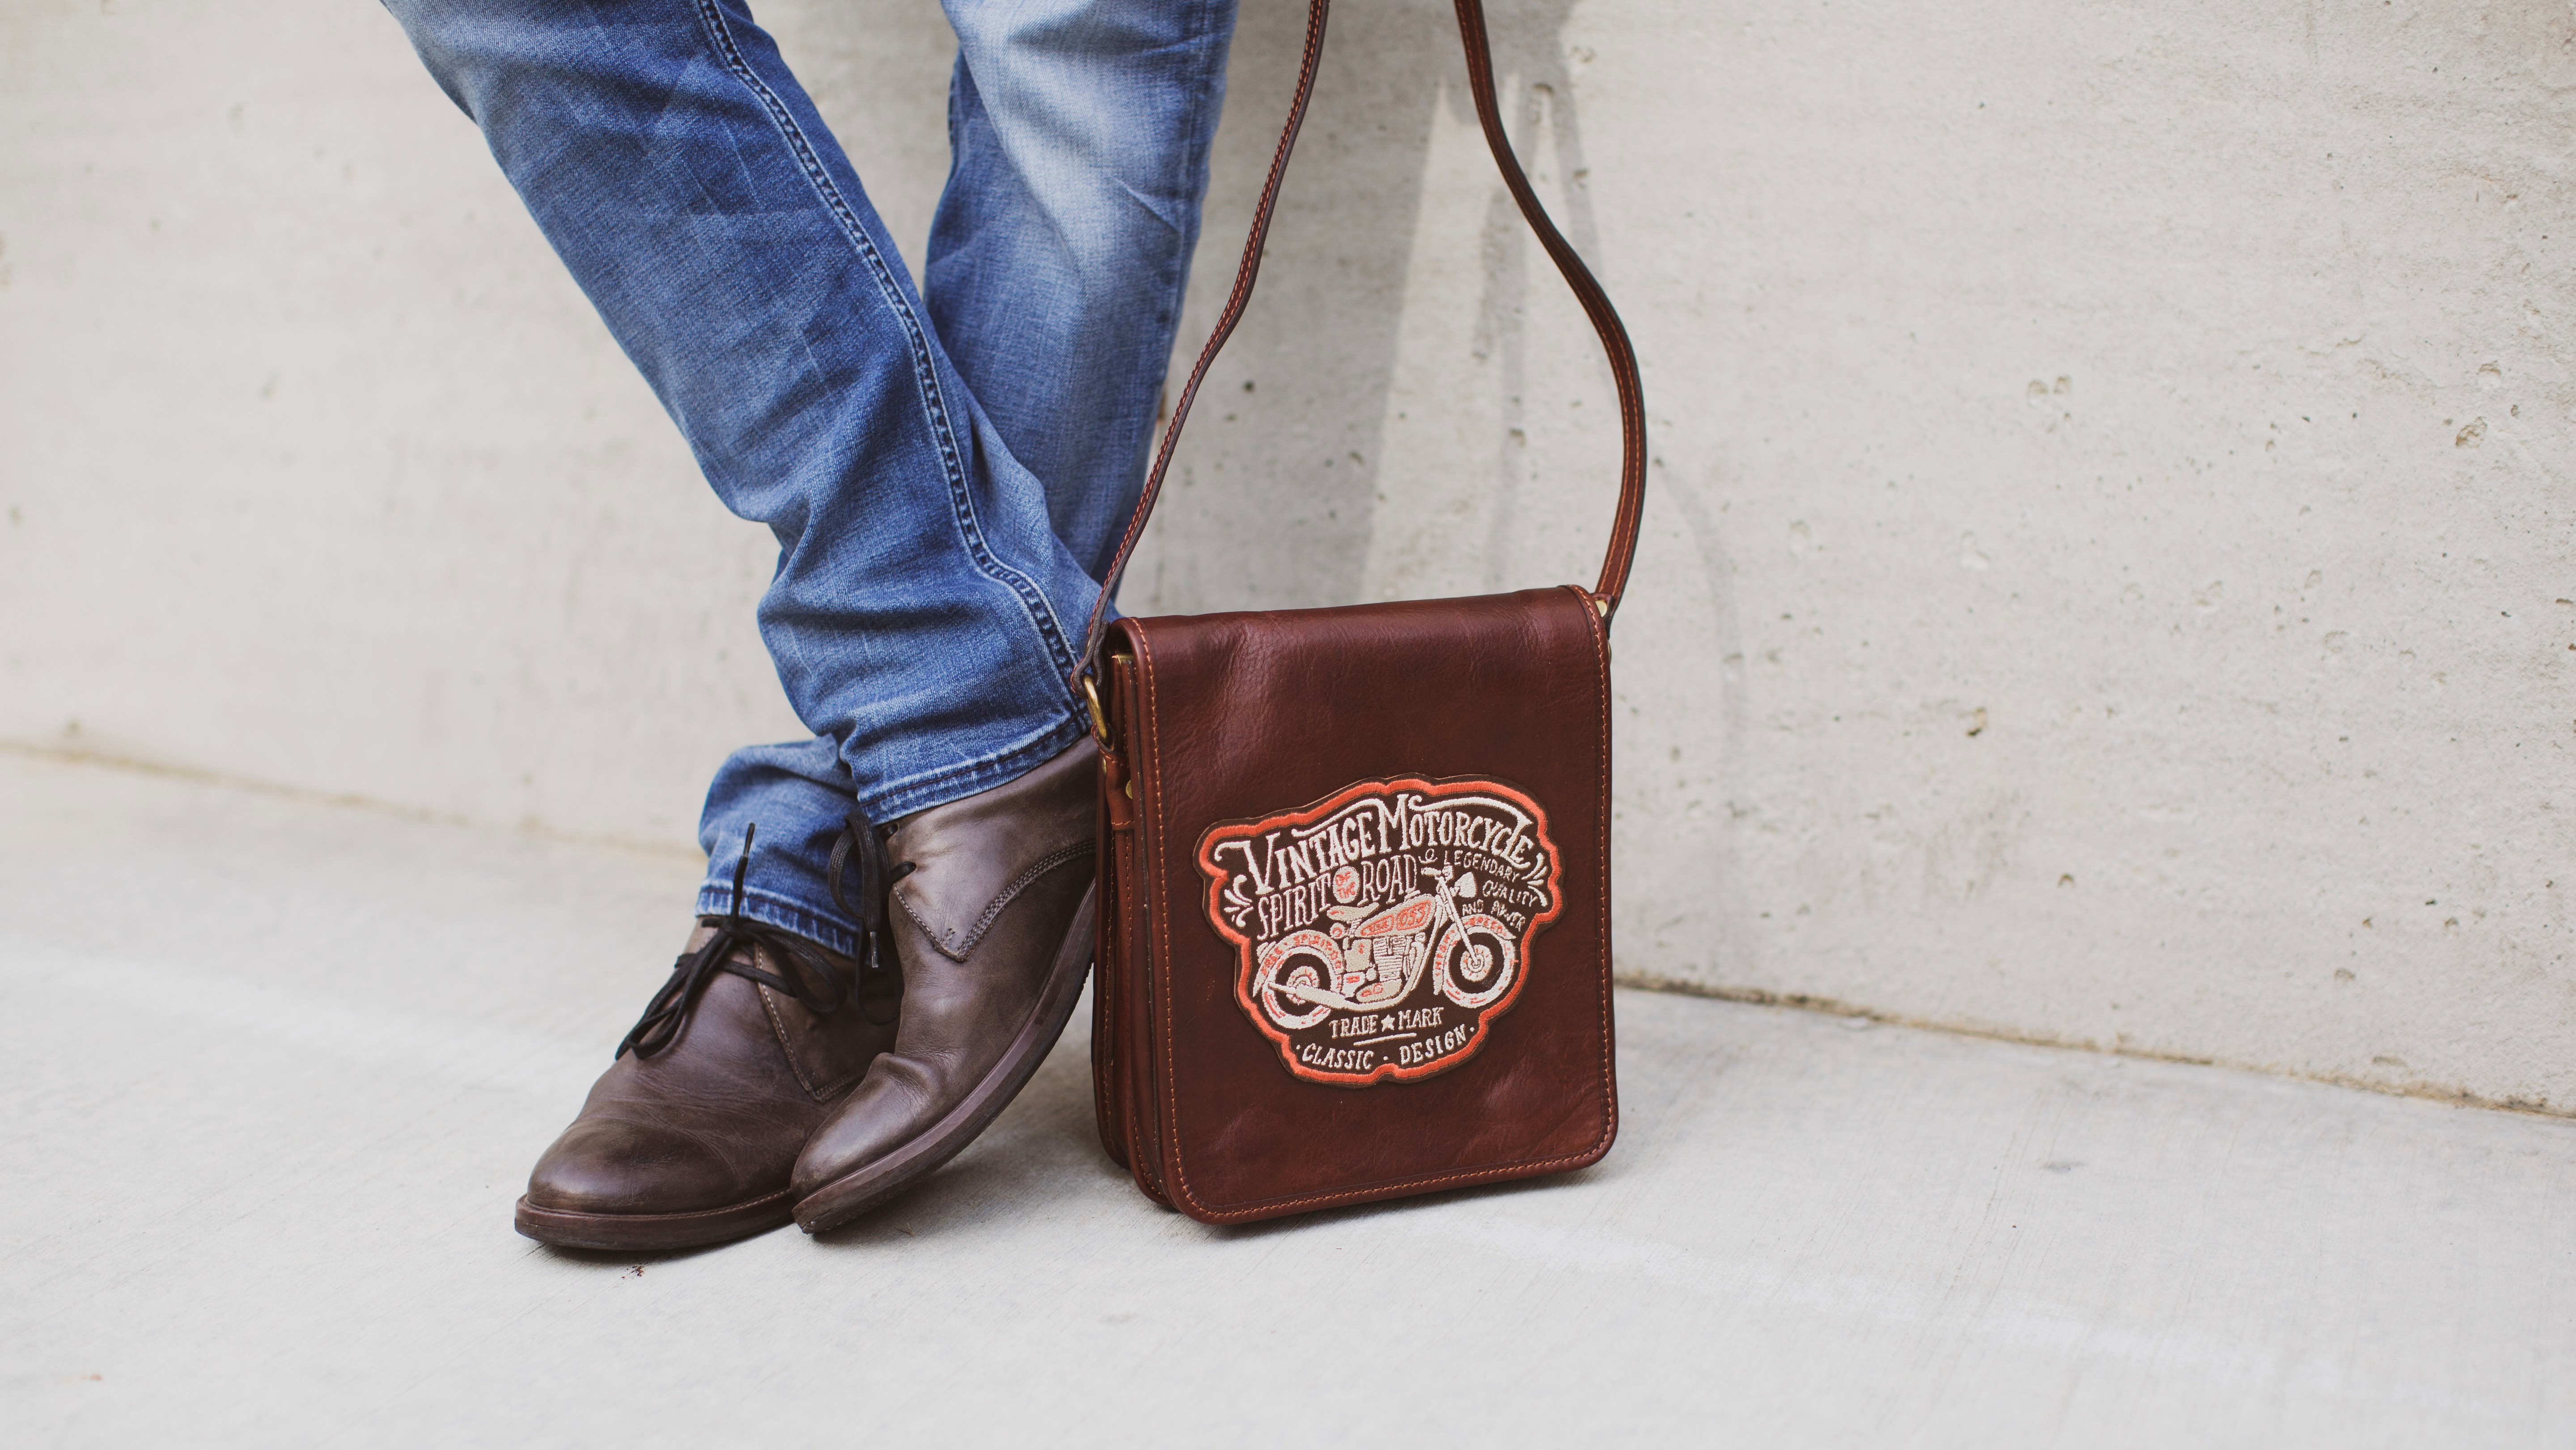
Show off your edgy side with this unisex embroidered leather bag. Perfect for men or women this carry-all works well for anyone with a love of vintage things or motorcycles. The embroidery design is exclusive to the Baby Lock Solaris making this project extra special. Download printable instructions.
Materials:
- 1 purchased leather bag
- 1 small piece of very thin leather that matches the bag but is large enough to have a 9 ½” x 9 ½” design embroidered on it
- Madeira® embroidery thread
- Baby Lock Tear-Away Firm Stabilizer
- Temporary spray adhesive
- E6000 Adhesive
- Sharp needle Size 14
- Basic sewing and embroidery supplies
Tools:
Steps:
-
Hoop the one piece of the Baby Lock Tear-Away firm Stabilizer in the 9 ½” x 9 ½” hoop and lightly spray with the temporary spray adhesive.
-
Place the leather piece centered in the hoop and finger press to secure.
-
Set up the machine for embroidery:
-
Wind two bobbins using the Finishing Touch Thread that comes packaged with the machine.
-
-
Place the hoop onto the embroidery unit.
-
To retrieve the design follow the next set of steps:
-
Click on the Embroidery option on the opening screen.
-
Select Exclusives.
-
Select the Vintage category.
-
Select design number 001.
-
Click on Set to place the design on the workspace.
-
Resize the design smaller so that it fits in the chosen hoop.
-
Click on the Edit tool.
-
Select the second sizing function. This option will resize the design so that the original density is maintained.
-
Then click on the sizing option where the four arrows point inward. Resize the design to 6.37” x 8.85”.
-
Click on OK.
-
-
To create a badge from the design follow the next set of steps:
-
Select the shield (Applique) icon.
-
In this field you can adjust the distance that the satin stitch will be placed around the design. Click on the Minus option to place the outline closer to the design (0.100”).
-
Click OK to advance to the Embroidery screen.
-
This might be a good time to use the Projector. Place the design centered onto the leather section.
-
Click on Embroidery.
-
-
Embroider the design using the chosen thread colors. When you get to the colors for the applique skip over them by advancing through to the last color listed.
-
Remove the design from the hoop
-
Tear away the stabilizer from the backside of the embroidered design section.
-
Using a sharp pair of scissors cut around the outer edge close to the satin stitches. Do not cut into the stitches.
-
Glue the patch to the front of the bag. Allow the glue to dry.


