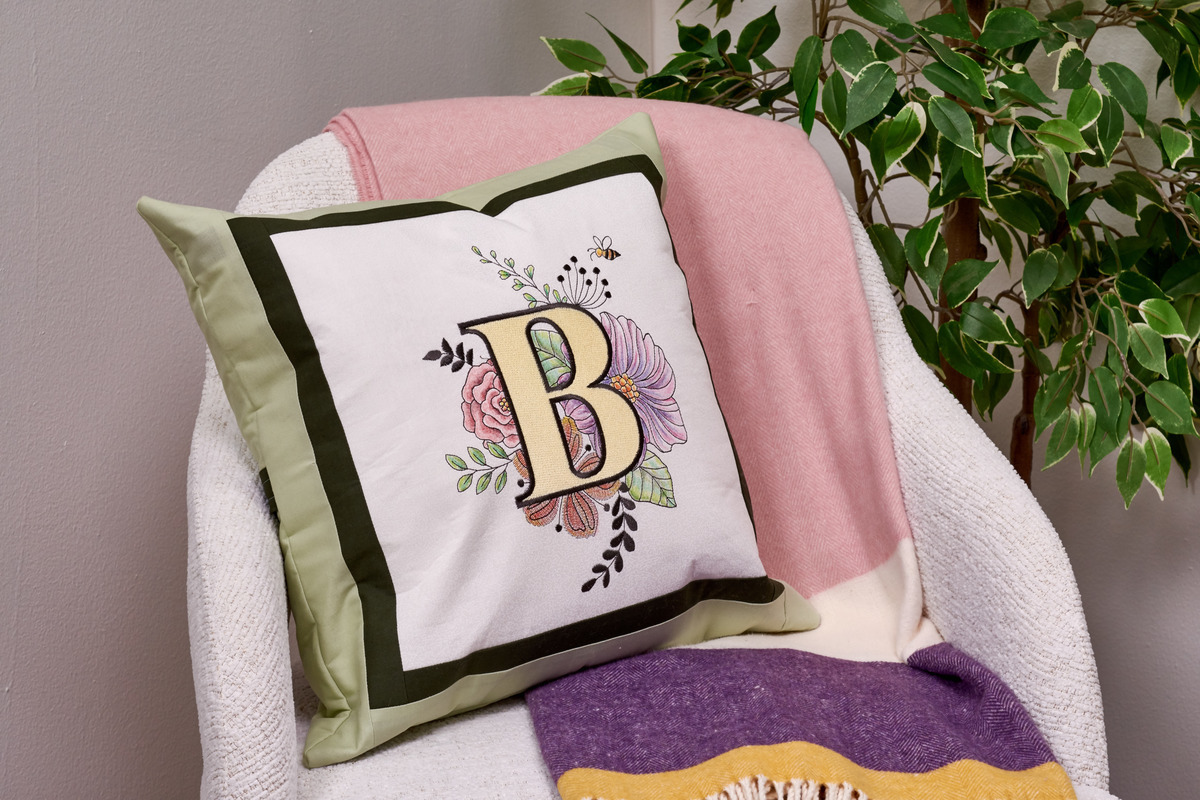
Personalize a Pillow with Embroidery
Time for a home decor refresh? Add a personal touch to your home using the large letter font found in both the Baby Lock Ursa Embroidery Only Machine and the Luna, the combination Sewing & Embroidery Machine. Embellish this embroidered project by adding a touch of color to the outline font using watercolor pencils! These can instantly add pizzaz to an outline stitch image. Use this for a pillow project, or take this idea and apply it to any other embroidery project. The sky is the limit when you explore what's included on the Ursa or Luna.
Supplies
- Printable instructions
- Baby Lock Luna Sewing and Embroidery machine or Ursa Embroidery Machine and Sewing machine
• 8” X 14” Embroidery Hoop
• UH+ Embroidery Foot
• Standard J Foot for Sewing
• Zipper Foot
• Stabilizer of Choice- Baby Lock Fabric Fuse fused to fabric and Tear Away Firm BLT103.
• Pillow form-18” x18”
• Main Fabric for Pillow front – 20” X 20“square fused with Fabric Fuse
• Green Accent Strip, 2-1.5”x44”
• Light Green Accent Strip, 2 -2.5”x44”
• Faber Castell Watercolor pencils or other watercolor pencils
• 16” Zipper
• Paintbrush
• Madeira 40wt. Rayon Embroidery Thread to match embroidery guide (see photos below).
• Sewing Notions; scissors, pins
• Iron, pressing mat, rotary cutter, ruler, cutting mat
Instructions
Embroidering the Pillow Front
1. Mark the center of the fabric using a marking pen.
2. Hoop the 20” pillow front piece in the 8” X 14” hoop along with a piece of Tear-Away Firm Stabilizer
3. Place the hooped fabric on the machine.
4. From the Embroidery Menu, select the Large Font Category #4.
5. Select the Font #1.
6. Choose the Letter or floral design of your choice. Touch Set.
7. The design comes in at 5.88” X 4.59” For your pillow, you can resize this to make it larger or smaller.
8. If you choose to resize, be sure to resize using stitch recalculation to adjust the stitches as you increase/decrease the design size.
9. Once the size is determined, touch Embroidery.
10. On the Embroidery Layout screen, use the Move Keys, Needle Beam or Two-Point Placement options to position your design with the marked center.
11. Thread the machine with the first color and stitch out the design.
12. Follow the embroidery steps until the design is completed.
13. Once stitching is completed, remove the fabric from the hoop.
Add Visual Interest with Watercolor Pencils
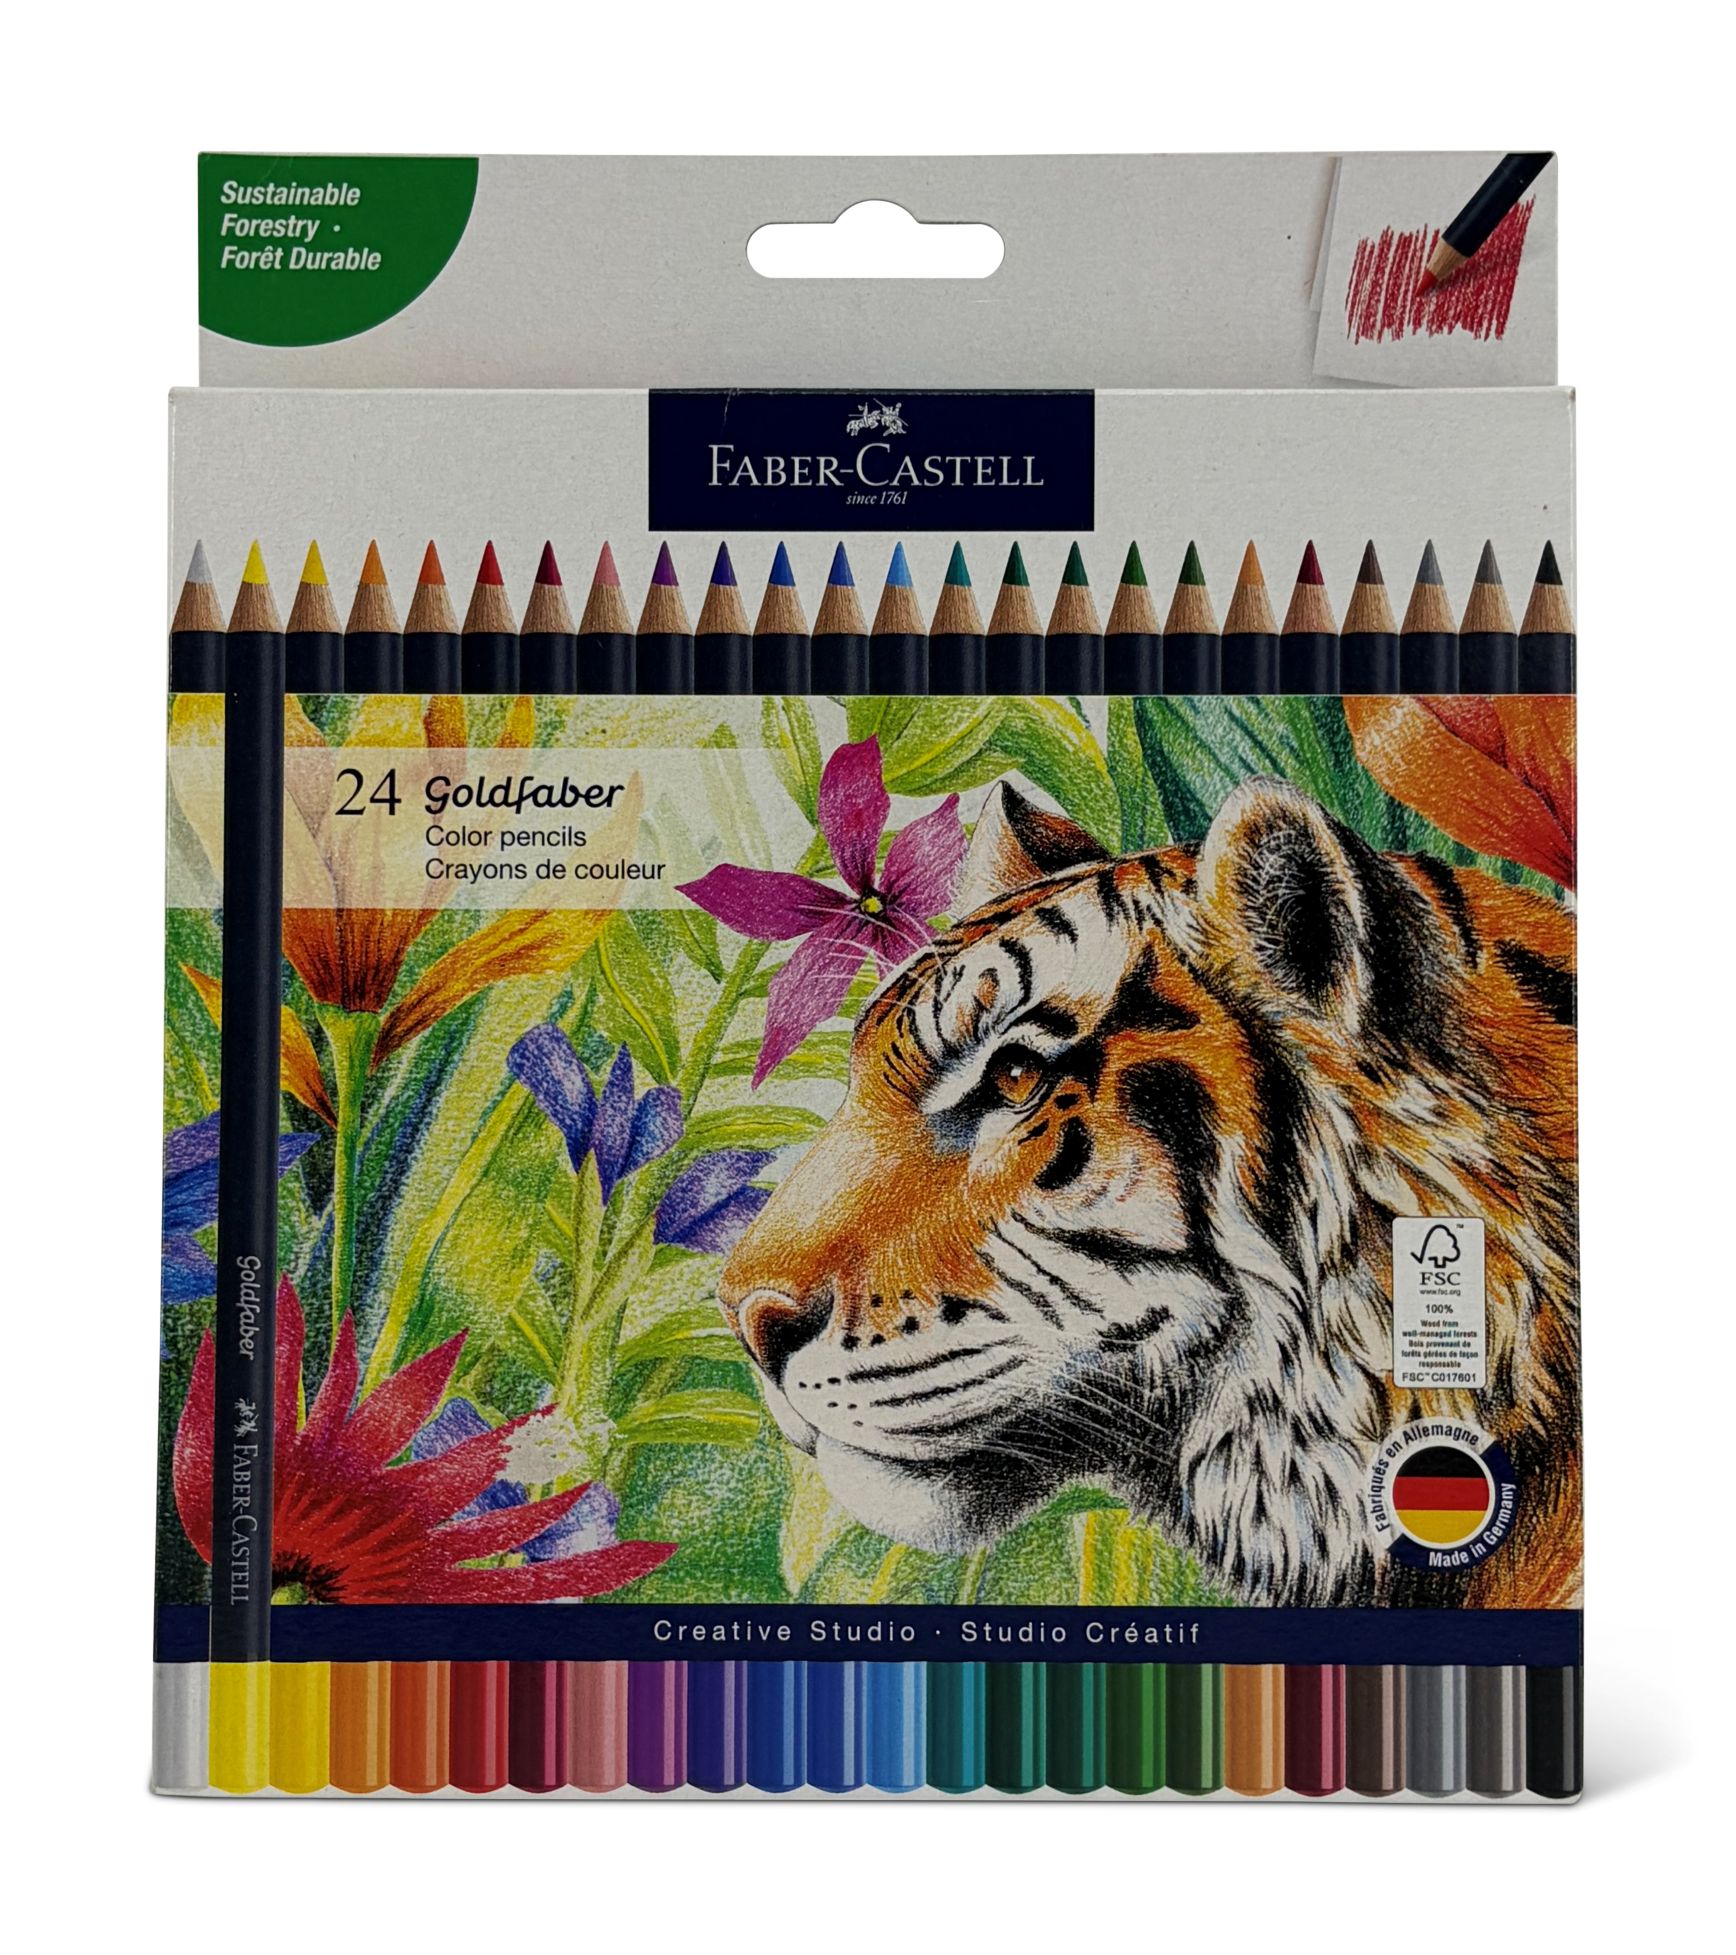
14. Next is the option to use watercolor pencils to color in the open areas of the design.
15. Once completed, you can lightly apply water on a paint brush or small sponge/cotton to help blend the colors.
16. Allow the fabric to dry once this is completed before stitching the pillow together.
Note: There are several designs in the Baby Lock Luna and Ursa that benefit from this technique!
Constructing the Pillow Cover
1. Once the fabric has dried, cut the center piece down to13” X 13”.
2. Switch over to sewing and add the 1.5” dark green strips to the side and top of the center front. Press and trim excess fabric.
3. Repeat the process adding the 2.5” border to the pillow front. Press and trim excess fabric.
4. With the Zipper foot attached, prepare the backing for the pillow, and insert a zipper.
5. Piece the two back sections using a straight stitch about 2” at the beginning and end then switch to the basting stitch Q-5 through the center.
6. Press the fabric in half and pin the zipper along the wrong side of the pressed seam.
7. Stitch the zipper into place using the zipper foot and a straight stitch. Ensure the zipper pull is accessible inside the stitched area.
8. Once in place, use you seam ripper to remove the basting stitches and expose the zipper.
9. Place the pillow front and the zipper pillow back right sides together. Use wonder clips or pins to hold in place. Open the zipper towards the middle of the pillow back to allow for ease in turning.
10. Stitch the layers together. Trim corners.
11. Turn and press the pillow front.
12. Insert a purchased pillow form or use stuffing to stuff the pillow.
For other exciting projects like this one, visit Baby Lock at www.babylock.com
©2026 Baby Lock USA. This project may be freely used by individuals for non-commercial purposes. Project instructions may not be sold or distributed without approval from Baby Lock. Baby Lock must be acknowledged as the source of the project instructions through copyright or online link.