Woodland Pillowcase with Luna and Ursa Designs
Bring a smile to your favorite littles with a woodland inspired pillowcase. Two of the built-in designs from the Baby Lock Ursa and Luna are companion designs that look darling when placed side-by-side. Getting the design exactly where you want it to go is easily achieved with the two-point placement capability in both the Baby Lock Ursa Embroidery Only Machine and the Luna, the combination Sewing & Embroidery Machine.
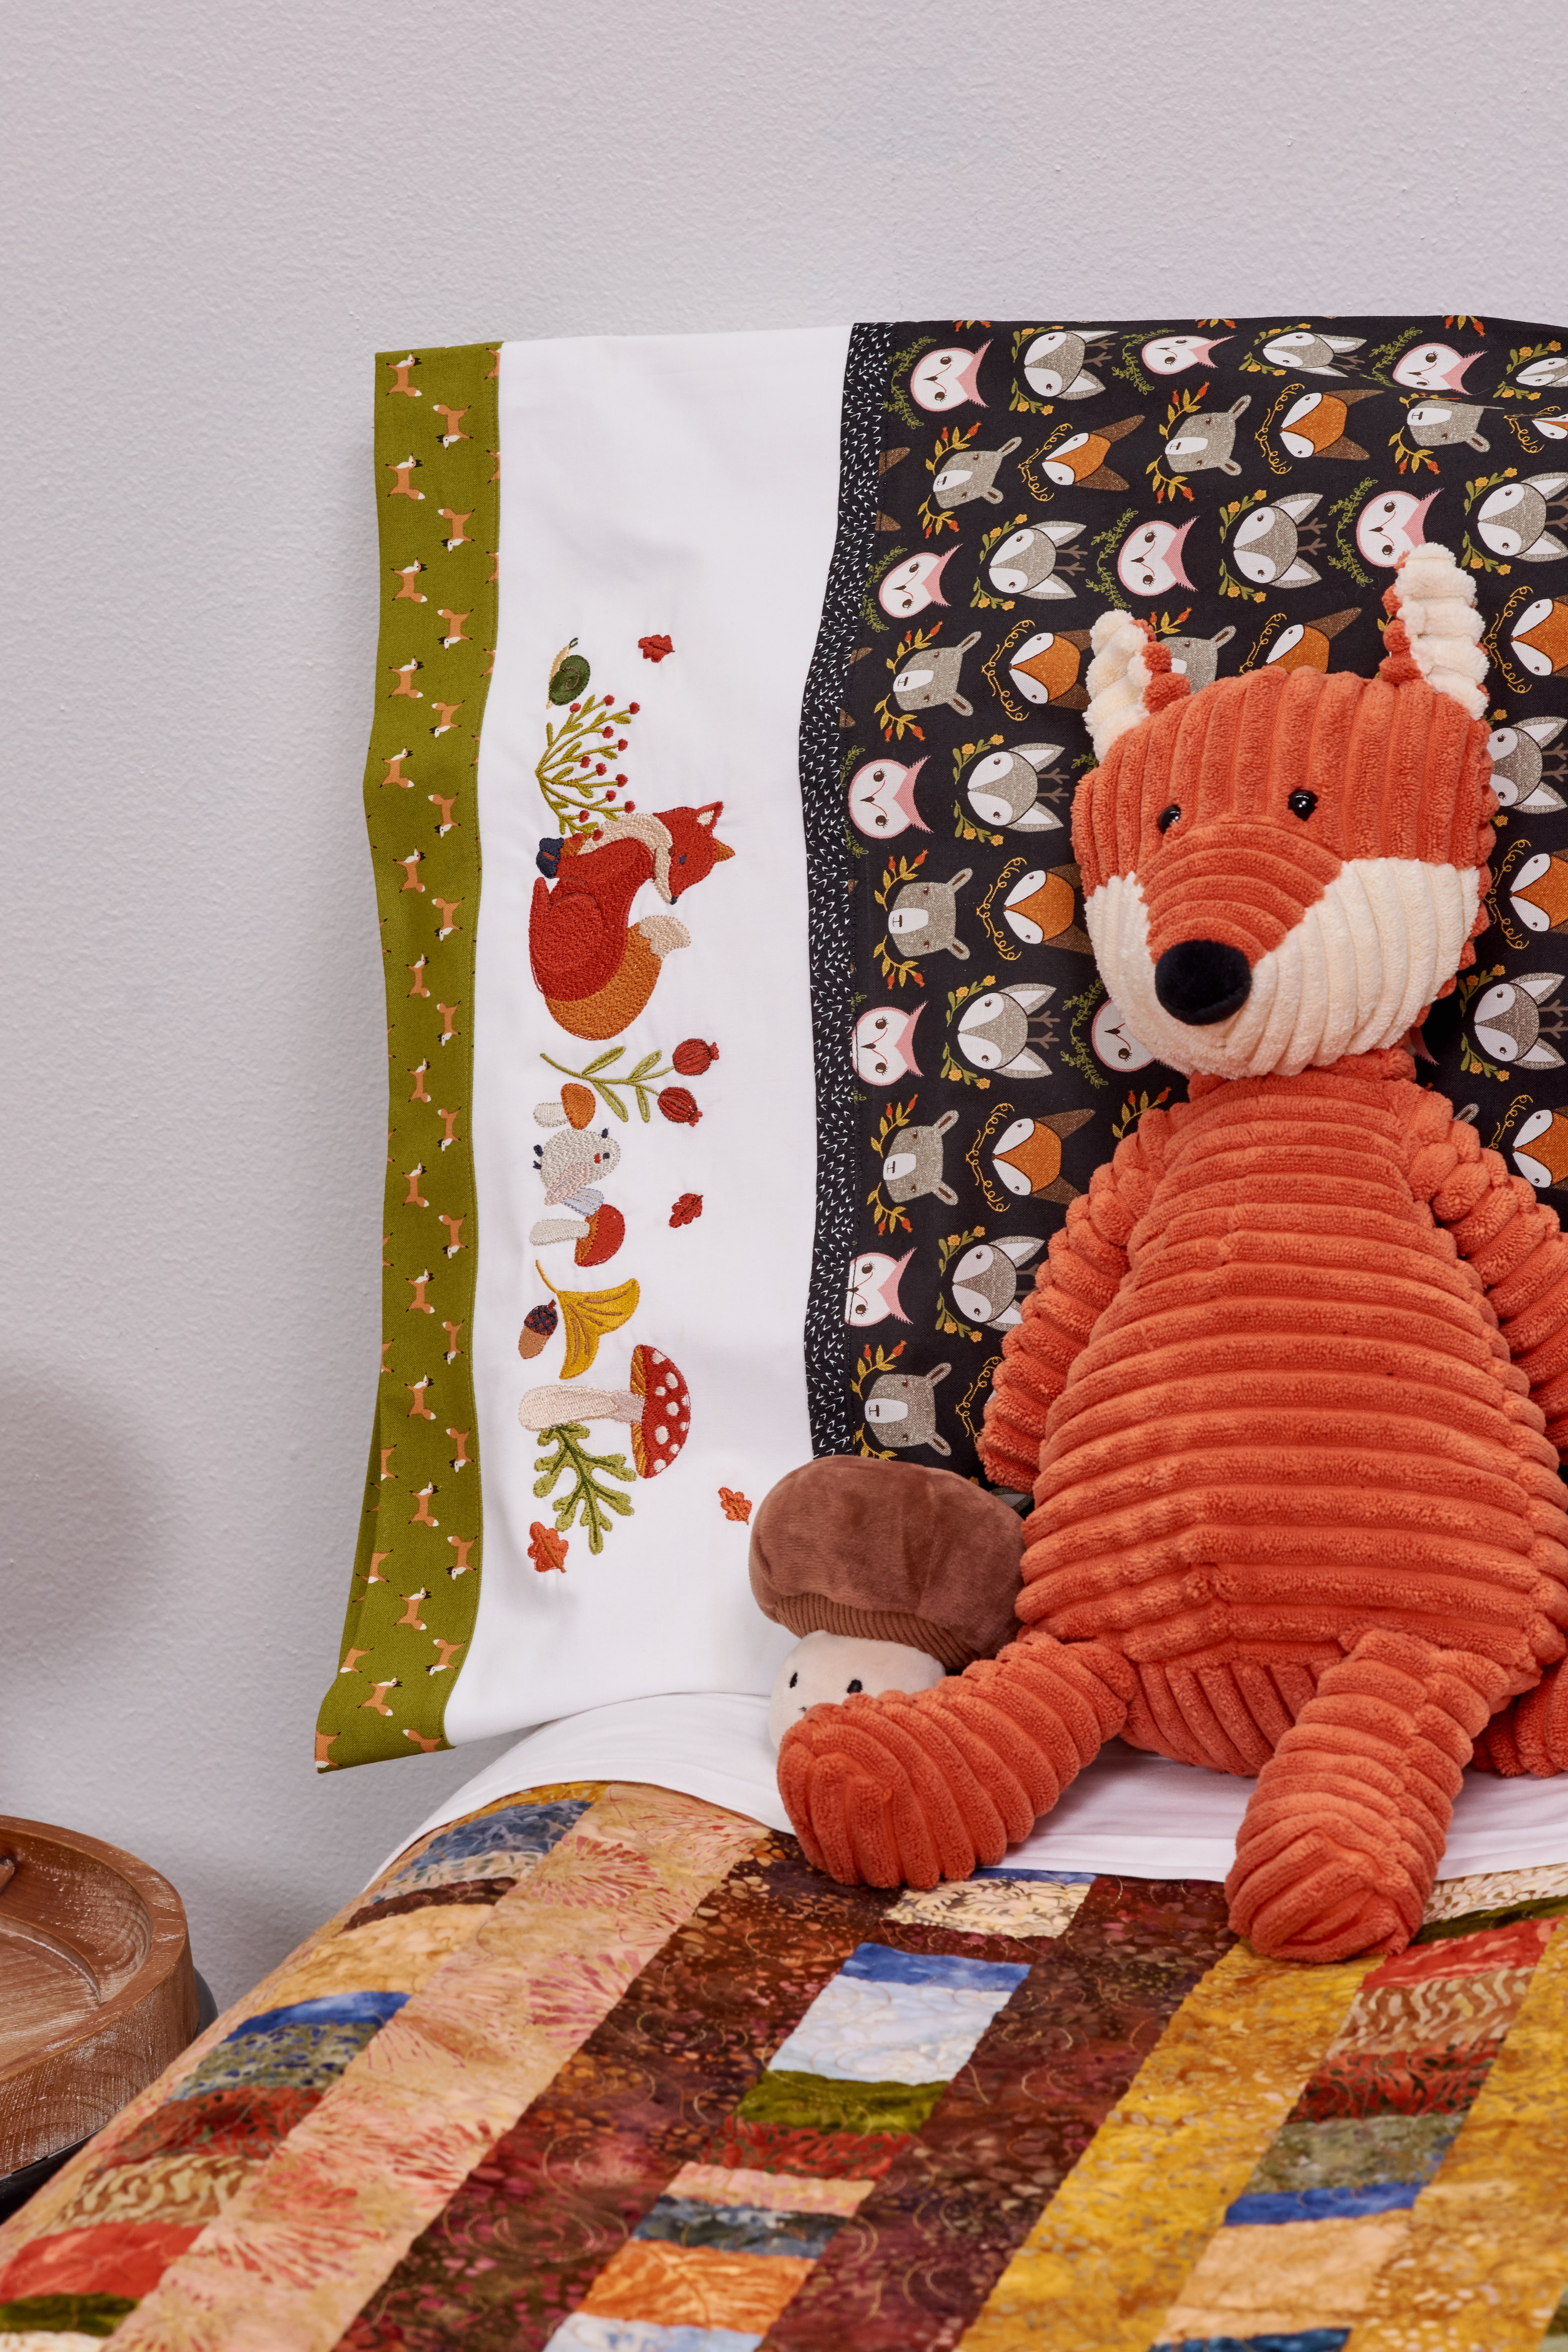
Supplies
- Baby Lock Luna Sewing and Embroidery machine or Ursa Embroidery Machine and Sewing machine
- 8” X 14” Embroidery Hoop
- UH+ Embroidery Foot
- Standard J Foot for Sewing
- Stabilizer of Choice- Baby Lock Tear Away Firm BLT103
- Bed Pillow
- Main Fabric for Pillowcase, 3/4 yard of fabric
- White Band for Pillowcase for embroidery, 1/3 yard of fabric
- Black Accent Strip, 2”x44”
- Green Accent Strip, 4.5”x44”
- Madeira 40wt. Rayon Embroidery Thread to match embroidery guide (see photos
below). Designs can be found in the Folk Art Category in Baby Lock Exclusives. - Sewing Notions; scissors, pins
Planning your Pillowcase
Whether you decide to construct your pillowcase completely before embroidering, or stitching on the band prior to construction is completely up to you. Project instructions are written fully for constructing the pillowcase prior to doing embroidery.
Instructions
- From the Main Pillowcase fabric, cut a rectangle 23” deep by 40” wide
- Fold the black accent fabric strip that is 2”x 44” with the right sides together to form a
strip 1” side by 44” long. Press. - Place the raw edges of the strip on top of the main fabric piece and sew it on top of the
fabric with a ¼” seam allowance on a sewing machine. Trim the excess black fabric at
the sides so the edges are the same width. - Cut the White fabric to 10.5” x 44”. Fold the fabric in half, wrong sides together. Press.
- Lay the raw edges of the white fabric over the black strip so that the black strip is
sandwiched between the main pillowcase fabric and the white fabric. - Stitch over the original row of stitching. Trim any excess fabric even with the edges of
the main fabric. - At this point in making the pillow you could stop to add the embroidery design. See
the embroidery directions listed below. Once embroidery is completed, remove any
excess stabilizer from the fabric and complete the pillowcase construction steps. - Pro-Tip: Overcast the edges of the fabric or run the edges through the serger using a
4-thread overlock stitch. This will give your finished pillowcase a nice edge and ensure
that your pillowcase will wash well without raveling. - Press the black strip down over the white fabric and the seam allowance up to reduce
bulk. Top stitch above the black strip into the main fabric. - Fold the Green strip of fabric in half lengthwise to 2-1/4” x 44”. Place it, raw edges
together along the bottom fold of the white fabric. Stitch with a ¼” seam allowance
and then overcast the edges with an overcasting stitch on the machine or serge with
your Baby Lock Serger with a 4-thread overlock stitch.
Embroidering the Design
- To add the embroidery design, hoop the fabric in the 8” X 14” hoop. This can be
hooped or floated using Baby Lock Tear-Away or Wash-Away, Tear-Away stabilizer. - From the main menu, select Embroidery.
- Note that these designs are available on both the Baby Lock Luna and Ursa machines.
- Select Baby Lock Exclusives (1) and Folk Art Category (7).
- Select Stitch #3. Touch Set.
On the Embroidery Edit Screen, Touch Add. - Select Baby Lock Exclusives (1) and Folk Art Category (7).
- Select Stitch #4. Touch Set.
- Both designs will be centered on the screen.
- Select Edit to see all the Editing options. ROTATE and MOVE the designs so that they
are orientated as you like. If desired, resize the designs. - Use the alignment key to baseline the two designs.
- Touch Embroidery.
- Under Layout, select the Two Point Placement
- Follow the Steps to place the design on the center of the white band.
- Once positioned, stitch out the design.
- Finish construction of the pillowcase by folding the fabric in half.
- Pin side edge and end of the pillowcase opposite the band.
- Stitch together using a ½” seam allowance. Finish the edges by running them through
a serger or using an overcasting stitch on your sewing machine.
For other exciting projects like this one, visit Baby Lock at www.babylock.com
©2026 Baby Lock USA. This project may be freely used by individuals for non-commercial purposes. Project instructions may not be sold or distributed without approval from Baby Lock. Baby Lock must be acknowledged as the source of the project instructions through copyright or online link.