
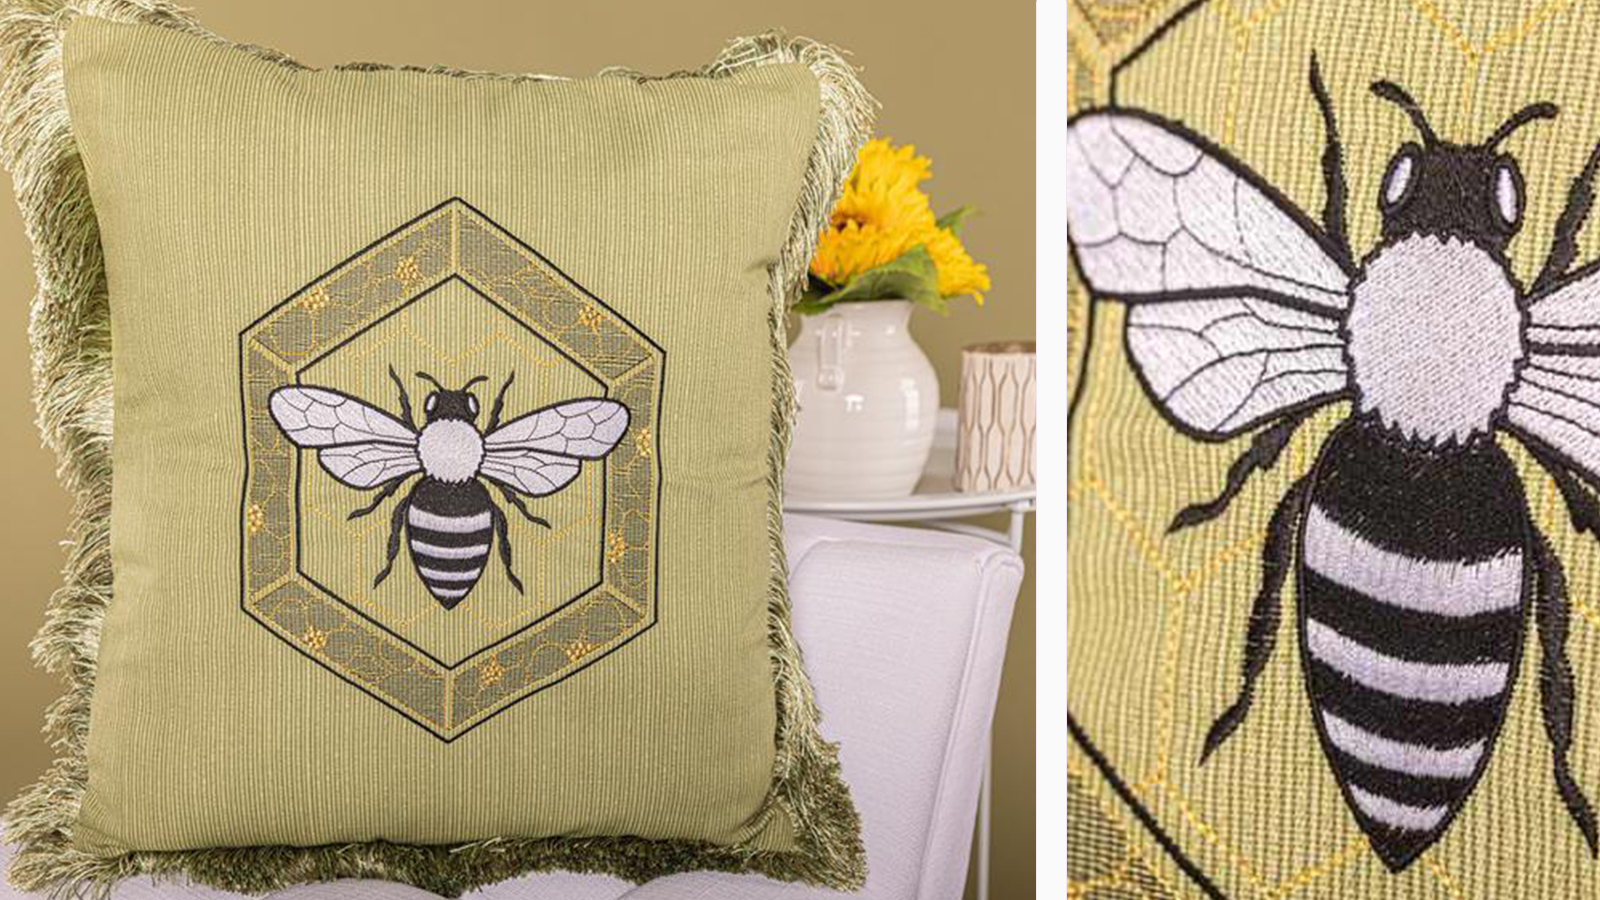
The Baby Lock Solaris Vision is buzzing with new designs. Along with the Large Connect Honeybee designs the Solaris Vision includes complimentary embroidery patterns! Use this design collection for all sorts of projects or turn them into these fun throw pillows.
Exploring Auto-Decorative Fill on the Baby Lock Solaris 2 - SEWED-S2EADF
CLICK HERE TO DOWNLOAD PRINTABLE INSTRUCTIONS WITH ADDITIONAL PHOTOS.
Supplies
- Baby Lock® Solaris Vision or Solaris with Upgrade 3 sewing and embroidery machine
- Embroidery Foot
- Zipper Foot
- Optional 10” Magnetic Frame or 10 5/8” Square Frame
- 18” square of cotton or home décor fabric
- Baby Lock Ultra Soft Stabilizer (BLC204)
- 16” zipper or larger
- 1/2 yard of coordinating fabric for the backing
- 2 – 2 ¼” yards of coordinating home décor fringe or trim
- 16” pillow form
- Madeira® Cotona and Madeira® Rayon/Polyester thread to match fabric. Coordinating bobbin for sewing.
- Rotary cutter mat and ruler
Instructions
The supply list will make one pillow. Use the layout at the end of the project with the piecing order for the pillow top.
Selecting the Design:
- Select Embroidery
- Open Category 2 -Embroidery Designs and select design 013 from the fourth tab. Touch Set.
- If desired make any changes needed to the design using the Edit tools.
- For example the colors of this design could be changed using the Color Key to coordinate with your fabric choice.
- Touch Embroidery.
- At this point you should be ready to stitch out the design.
Embroidery:
- Fuse Cotton fabric with the Baby Lock Ultra Soft Fusible Stabilizer.
- Hoop in the 10 5/8” X 10 5/8” frame or the optional 10” magnetic frame and attach to the machine.
- Thread the machine with the embroidery thread color and place embroidery bobbin into the machine.
- Stitch out the design following the prompts on the machine.
- Un-hoop press and trim up the pillow front fabric to approximately 16 ½” x 16 ½”.
- Set the machine up for Sewing using the standard foot and sewing thread and bobbin.
Pillow construction:
- For the pillow back cut two pieces of coordinating fabrics 16 ½” wide by 9” wide.
- Place right sides together for the pillow back pieces. Using a 1/2” seam allowance stitch a seam using the Q-05 5mm basting stitch.
- Select stitch 1-03 and re-stitch the seam about 2” from the outer edges of each with a standard stitch.
- Press the seam open.
- Insert the zipper into the basted seam using the Zipper Foot. Topstitch around all the edges of the zipper to secure it to the pillow back.
- Once inserted use the seam ripper to remove the basting stitches and unzip the zipper half-way.
- Trim this piece to 16 ½” x 16 ½” keeping the zipper in the center of the pillow back.
- If adding trim zigzag the trim to the edge of the pillow front prior to constructing the pillow.
- Place the pillow front with trim and the pillow back (with zipper opened) right sides together and pin.
- Stitch around the pillow edges using a ½” seam allowance.
- When you get to the corners round off the corner rather than stitching to a point. Note: When you turn the pillow right side out the corners will be square.
- Trim the corners and turn right side out through the zipper opening.
- Insert pillow form.


