
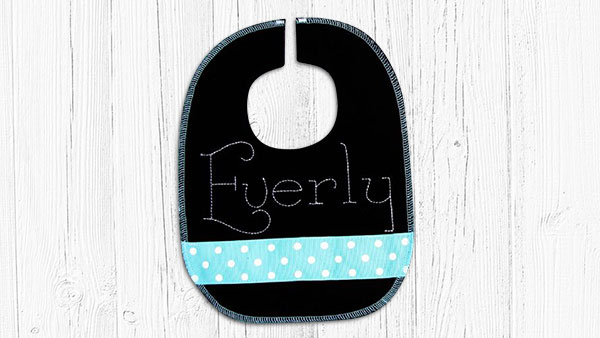
These reversible and cute bibs are so easy to make and fun to give as gifts. Create a matching set perfect for a baby shower or new baby gift using your Baby Lock serger. Download printable instructions.
Materials:
- All purpose sewing thread and 4 spools of serger thread. I used a contrasting thread so that it would stand out
- 2 coordinating fabric pieces that are at least 9″ x 12″. I recommend flannel fabric
- Optional: 13″ ribbon trim
- Snap closure and snap applicator
- Free Bib Pattern
Tools:
Steps:
-
Print your bib pattern and tape the upper bib “straps” to the lower bib portion. Then cut your 2 layers (your front and back) of fabric out on the fold.
-
DON’T cut the large fold open but DO cut the upper small fold open to create the opening for the bib flaps.
-
-
Cut and stitch your ribbon on the front as desired.
-
Personalize the bib (optional).
-
Use an embroidery machine pay someone to embroider it or hand embroider the name.
-
You can also use a patch embellishment to stitch to the bib or sketch out the name and follow the outline with a straight stitch on your sewing machine.
-
-
Place front and back pieces of the bib pretty sides together.
-
Stitch a 1/4″ seam only along the short edges of the 2 flaps and around the neck hole.
-
This will stitch a seam around the neckline and where the 2 flap edges meet.
-
-
Clip the 2 little corners and circle curve.
-
Flip right side out making the corners pretty and press flat. The outer edges of the bib are still raw edges.
-
Set your serger up for a 4-thread overcasting stitch. You’ll want your stitch length at 2.5 and your width at M or 6.5.
-
To serge the outer curves of your bib you’ll start at the outer top right strap and follow the curve all the way around the top of the left side strap.
-
Lift your foot to flatten the fabric and even it out as necessary.
-
To finish your serger ends cut the tails off and zig-zag stitch with your sewing machine on the ends to keep the serger ends from coming undone.
-
-
Add your snap.
-
You’re done! Happy Serging!
-


