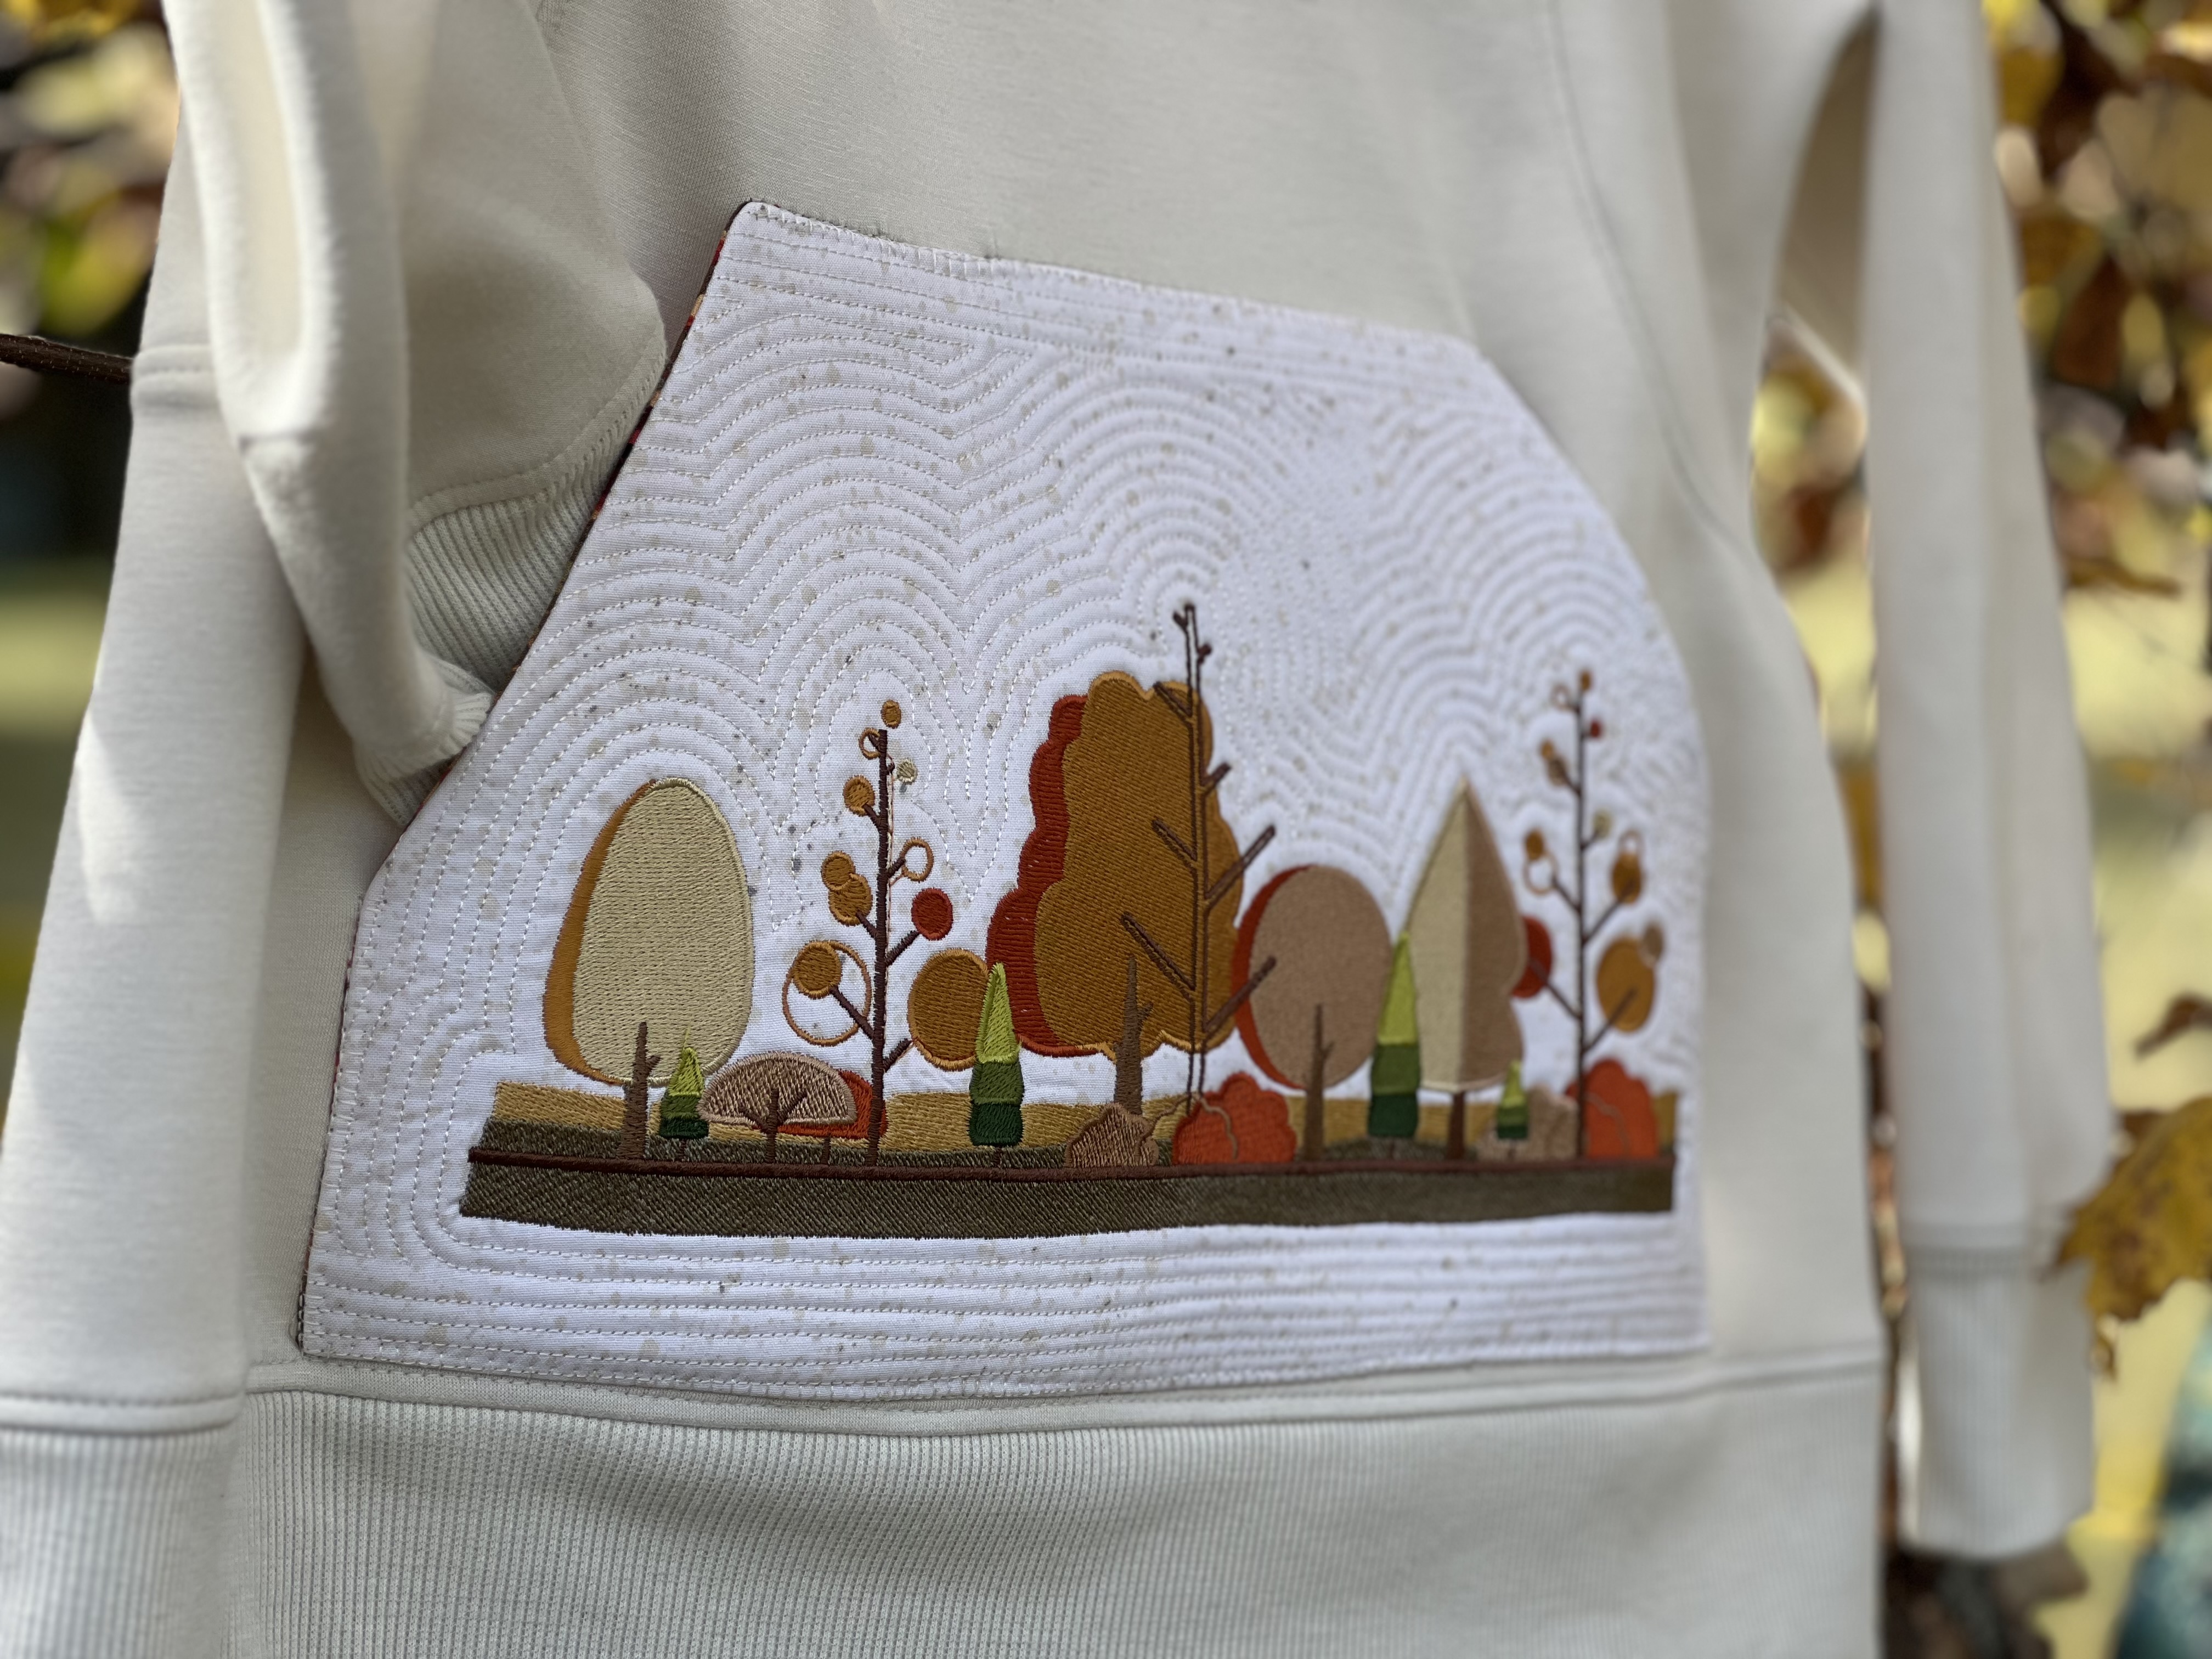
Transform a simple sweatshirt to the creative side of cool using a premade sweatshirt or one you make from scratch. Then add a pocket full of joy taking it to a new level. Included in this project are two options, either embroidery or pieced pocket. Both options will make you feel right in style while enjoying the cool weather during the fall or winter months.
Click HERE to download printable instructions with additional photos and template.
Supplies for Embroidered Pocket:
- Baby Lock Radiance Limited Edition (machine includes the design shown in the project); or other Baby Lock Embroidery machine if picking your favorite embroidery design elsewhere
- 1 Fat quarter outside
- 1 Fat quarter lining
- Craft cotton batting
- Assorted embroidery threads
- Construction thread to match pocket fabric
- Embroidery bobbin thread
- No-show mesh stabilizer
- Printed pocket template with Measurements
- Bi-Level foot BLSO-BLF
Instructions:
1. Using large hoop, no smaller than 9.5”x14”, start 1st by layering no show mesh stabilizer, batting, and top fabric. Best practice is hooping all pieces, do not float.
2. Select desired embroidery design, one that fills the hoop works best.
3. Click stippling icon.
4. Select echo quilting. Change spacing to be closer than default setting.
5. Stitch design.
6. Echo quilting stitch with tone-on-tone thread.
7. Remove from hoop when finished and press.
8. *On the No Show Mesh and batting side of pocket using template mark outline of pocket.
9. Place right side of lining to right side of embroidery design. Pin in place.
10. Stitch on pocket template line leaving 4” opening on the bottom.
11. Trim leaving a 1/4” around the stitched side and 1/2” at bottom unstitched side.
12. Turn right side out. Press flat.
13. Press seam allowance on lower pocket edge.
14. Pin in place.
15. Thread machine with construction thread to match pocket.
16. Baste lower edge of pocket closed.
17. Mark center top and bottom of pocket.
18. Mark front center bottom edge of sweatshirt just above ribbing.
19. Align pocket with sweatshirt marking and pocket marking.
20. Pin in place. Best practice: do not stitch over pins.
21. Select blanket-buttonhole, Radiance and Solaris Q14 was used on sample.
22. Adjust stitch length to longer 3.5 and width wider 4.0.
23. Using Baby Lock Bi-Level stitch left side, bottom and right side of pocket. Align foot to edge of pocket and needle position along edge.
24. Stitch top pocket edge.
25. Bar tacks optional at 4 points, pocket opening edges.
Option 2-
If you are piecing the pocket quilt, follow instructions from * to complete the pocket.


