

Hi everyone! I hope all is well with you all. Recently I have jumped into a rabbit hole of embroidery and I have been enjoying every bit of it. I recently went to my first embroidery class taught by Bobbie Bentley and I learned so much.
As a garment sewer I was very interested in all the ways I can enhance my garments with embroidery designs. There was much to learn before attempting to embroider garments. Continue reading as I break down what I learned.
-
You must wash your fabric before starting your project because fabrics shrink when washed. If you embroider your design before you wash your cotton fabric your fabric will shrink and cause a puckered look in your design.
-
You can embroider any type of fabric from the lightest to the heaviest weight. Just make sure you are using the correct stabilizer for the fabric you choose (I love fusible stabilizers). You may also need interfacing for some projects. I am interested in embroidering knits so I have learned it’s best to use a cut-away stabilizer for these projects. For lightweight knits a lightweight cut-away such as a no-mesh stabilizer is best. After finishing an embroidery design on a wearable garment it may be a good idea to add a fusible topping over the back of the design on the inside of the garment so the threads won’t rub against your skin.
-
Thread and needle choices matter so much! The wrong thread can make a huge difference in how your embroidery project turns out. Some threads are made from cheaper quality fibers and dyes which can bleed and fade over time. You will also want to make sure the thread you choose is durable and has the right texture. Before I knew the dos and don’ts of embroidery I bought a generic thread from a supply store and it kept breaking in the middle of my embroidery design. After trying a few threads my favorites are the Isacord and Madeira threads.
-
I was so excited when Mrs. Bobbie taught me about a basting box for embroidery. It helps to keep your fabric from moving when working on a project if you are not using a hoop.

That option is not on my sewing machine so I drew a square with an erasable marker and used a long stitch to create that box pictured here.
- The sewing or embroidery machine you are using matters! As a garment sewer I can sew on any machine as long as I can straight stitch. You do not need an extremely expensive machine to sew garments. Don’t get me wrong higher-end machines do allow for more options in garment sewing but it is not a necessity. Though you can embroider with a simple sewing/embroidery machine for complex embroidery projects you will need a specialized machine that can help you execute more intricate designs. Also some machines stitch at a higher speed than others and as I stated in #4 the basting box feature is not on all machines.

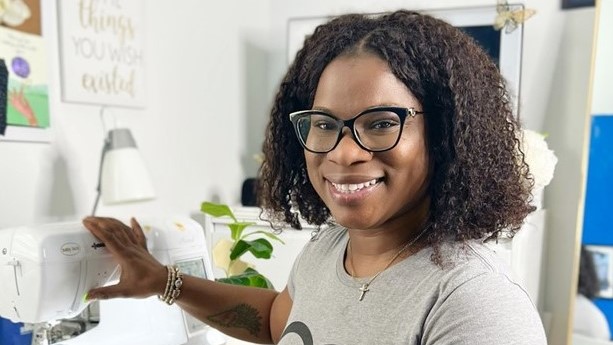
I have been learning all the ways I can embroider on my Baby Lock Accord sewing and embroidery machine and as a beginner embroiderer it is great. It has built-in designs but you can also upload other designs on a hard drive. During my embroidery class I learned monogramming and the design options on the Accord were quite impressive. For this project I used a fusible stabilizer two-border embroidery and lettering designs built into the machine. I am very proud of my first monogramming design and I look forward to doing more.
There is still so much to learn about this new skill. I am looking forward to building my knowledge in embroidery. I hope that I have given you all an exciting outlook on learning embroidery if you are a beginner and if you are not I hope that I have reawakened your excitement for this craft. Have an amazing day doing what brings you joy.

Check out more sewing tips and inspiration from Faith St. Jules here and shop Baby Lock's line of single needle and multi-needle embroidery machines.


