
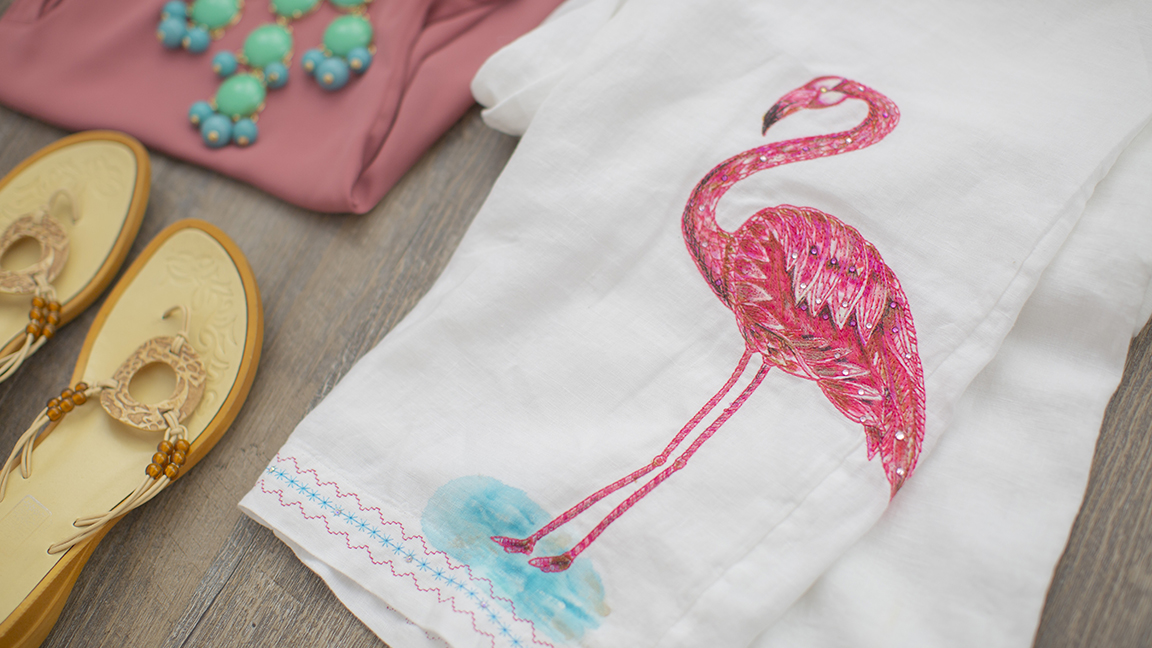
Dazzle your way to the beach or a tropical cruise with these beachy flamingo embroidered and embellished pants. Download printable instructions
Pro tips: Before you start on your linen pants stitch out a flamingo on a fabric that is like the linen and practice with the fabric markers and any other type of embellishments that might you want to use. If you are using a traditional single needle embroidery machine you will need to remove the stitching up to the knee area to make it so that you can hoop it flat. If your slacks have lining move the lining out of the area so that you do not stitch on it
Materials:
- Purchased White Linen Beach Slacks
- Flamingo Design
- Medium Weight Tear-Away Stabilizer
- 40 wt Polyester embroidery thread in Flamingo Pink
- White Bobbin Thread
- Fabric Markers
- Tsukineko All-Purpose Ink - Champagne Mist
- Heat set Swarovski Crystals
- (optional) Clover Clips
Tools:
- Sewing and Embroidery Machine
Steps:
-
Cut your stabilizer to fit the area where you will be stitching your design.
-
Open the desired Flamingo design and set it for embroidery.
-
Place the template where you want the design to stitch.
-
A template can be created out of a practice stitchout. This can be done in software and some designs come with printable templates. You can also do a practice stitchout to create a template.
-
-
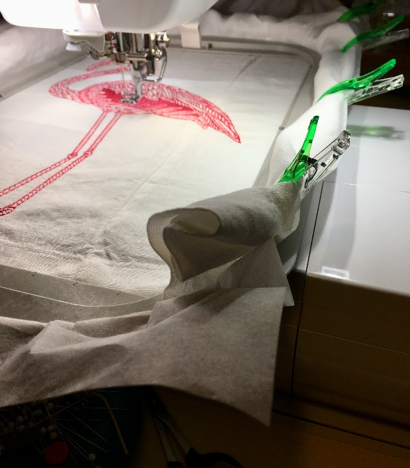
Hoop the pants and attach the hoop to the embroidery arm.
-
Tip: Clover Clips works great to hold materials out of the stitch areas where needed.
-
-
Use the move keys to line up the needle with crosshairs on your template.
-
Rotate the needle through the crosshairs to ensure that you are in the center.
-
Then rotate the needle out of fabric and remove the template.
-
Thread your machine with the 40 wt. polyester embroidery thread in desired color.
-
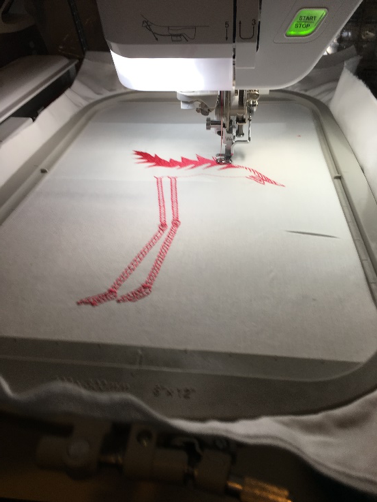
You are now ready to stitch your design!
-
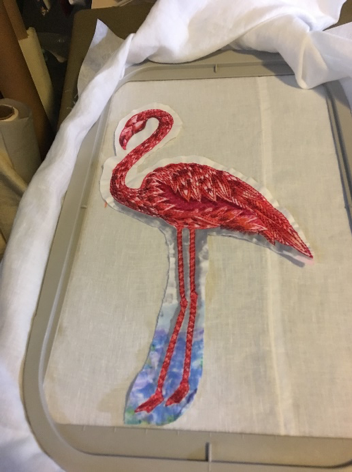
It's time to color your Flamingo design.
-
Start with the lightest color and then add a little darker color. You can layer the color in some places to intensify the color. Color as desired
-
-
Add a little diluted Tsukineko All-Purpose Ink - Champagne Mist by brushing lightly over the Flamingo and water areas to give glistening sparkle.
-
Add a few heat set crystals to the eye and feathers to add some sparkle.
-
After you have completed your painting and decoration to the design you will need to stitch together the pant leg seams.
-
Remove embroidery unit and finish seam as desired. This can be done by your sewing machine or serger.
-
-
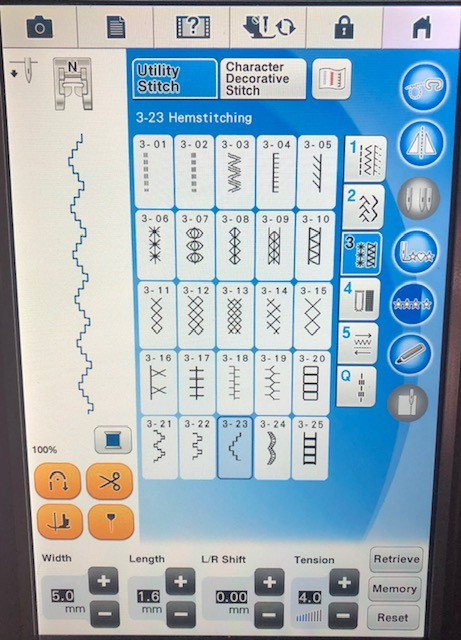
Set machine up for free-arm sewing to create a border stitch on the hem of each pant leg.
-
Select Stitch number 3-23 and replace embroidery foot with the "N" foot.
-
On the edge of the hem line then mirror the stitch and stitch a 1/2" apart in the same thread color to match the pink Flamingo design.
-
Select stitch number 3-06. Stitch down the center between the previous two stitch lines.
-
Swap out the color of thread as desired. A turquoise-colored embroidery thread was used.
-
-
Place a heat set crystal every fifth star all the way around the hem of the pants.
-
Your pair of flamingo embellished pants are ready to wear!


