
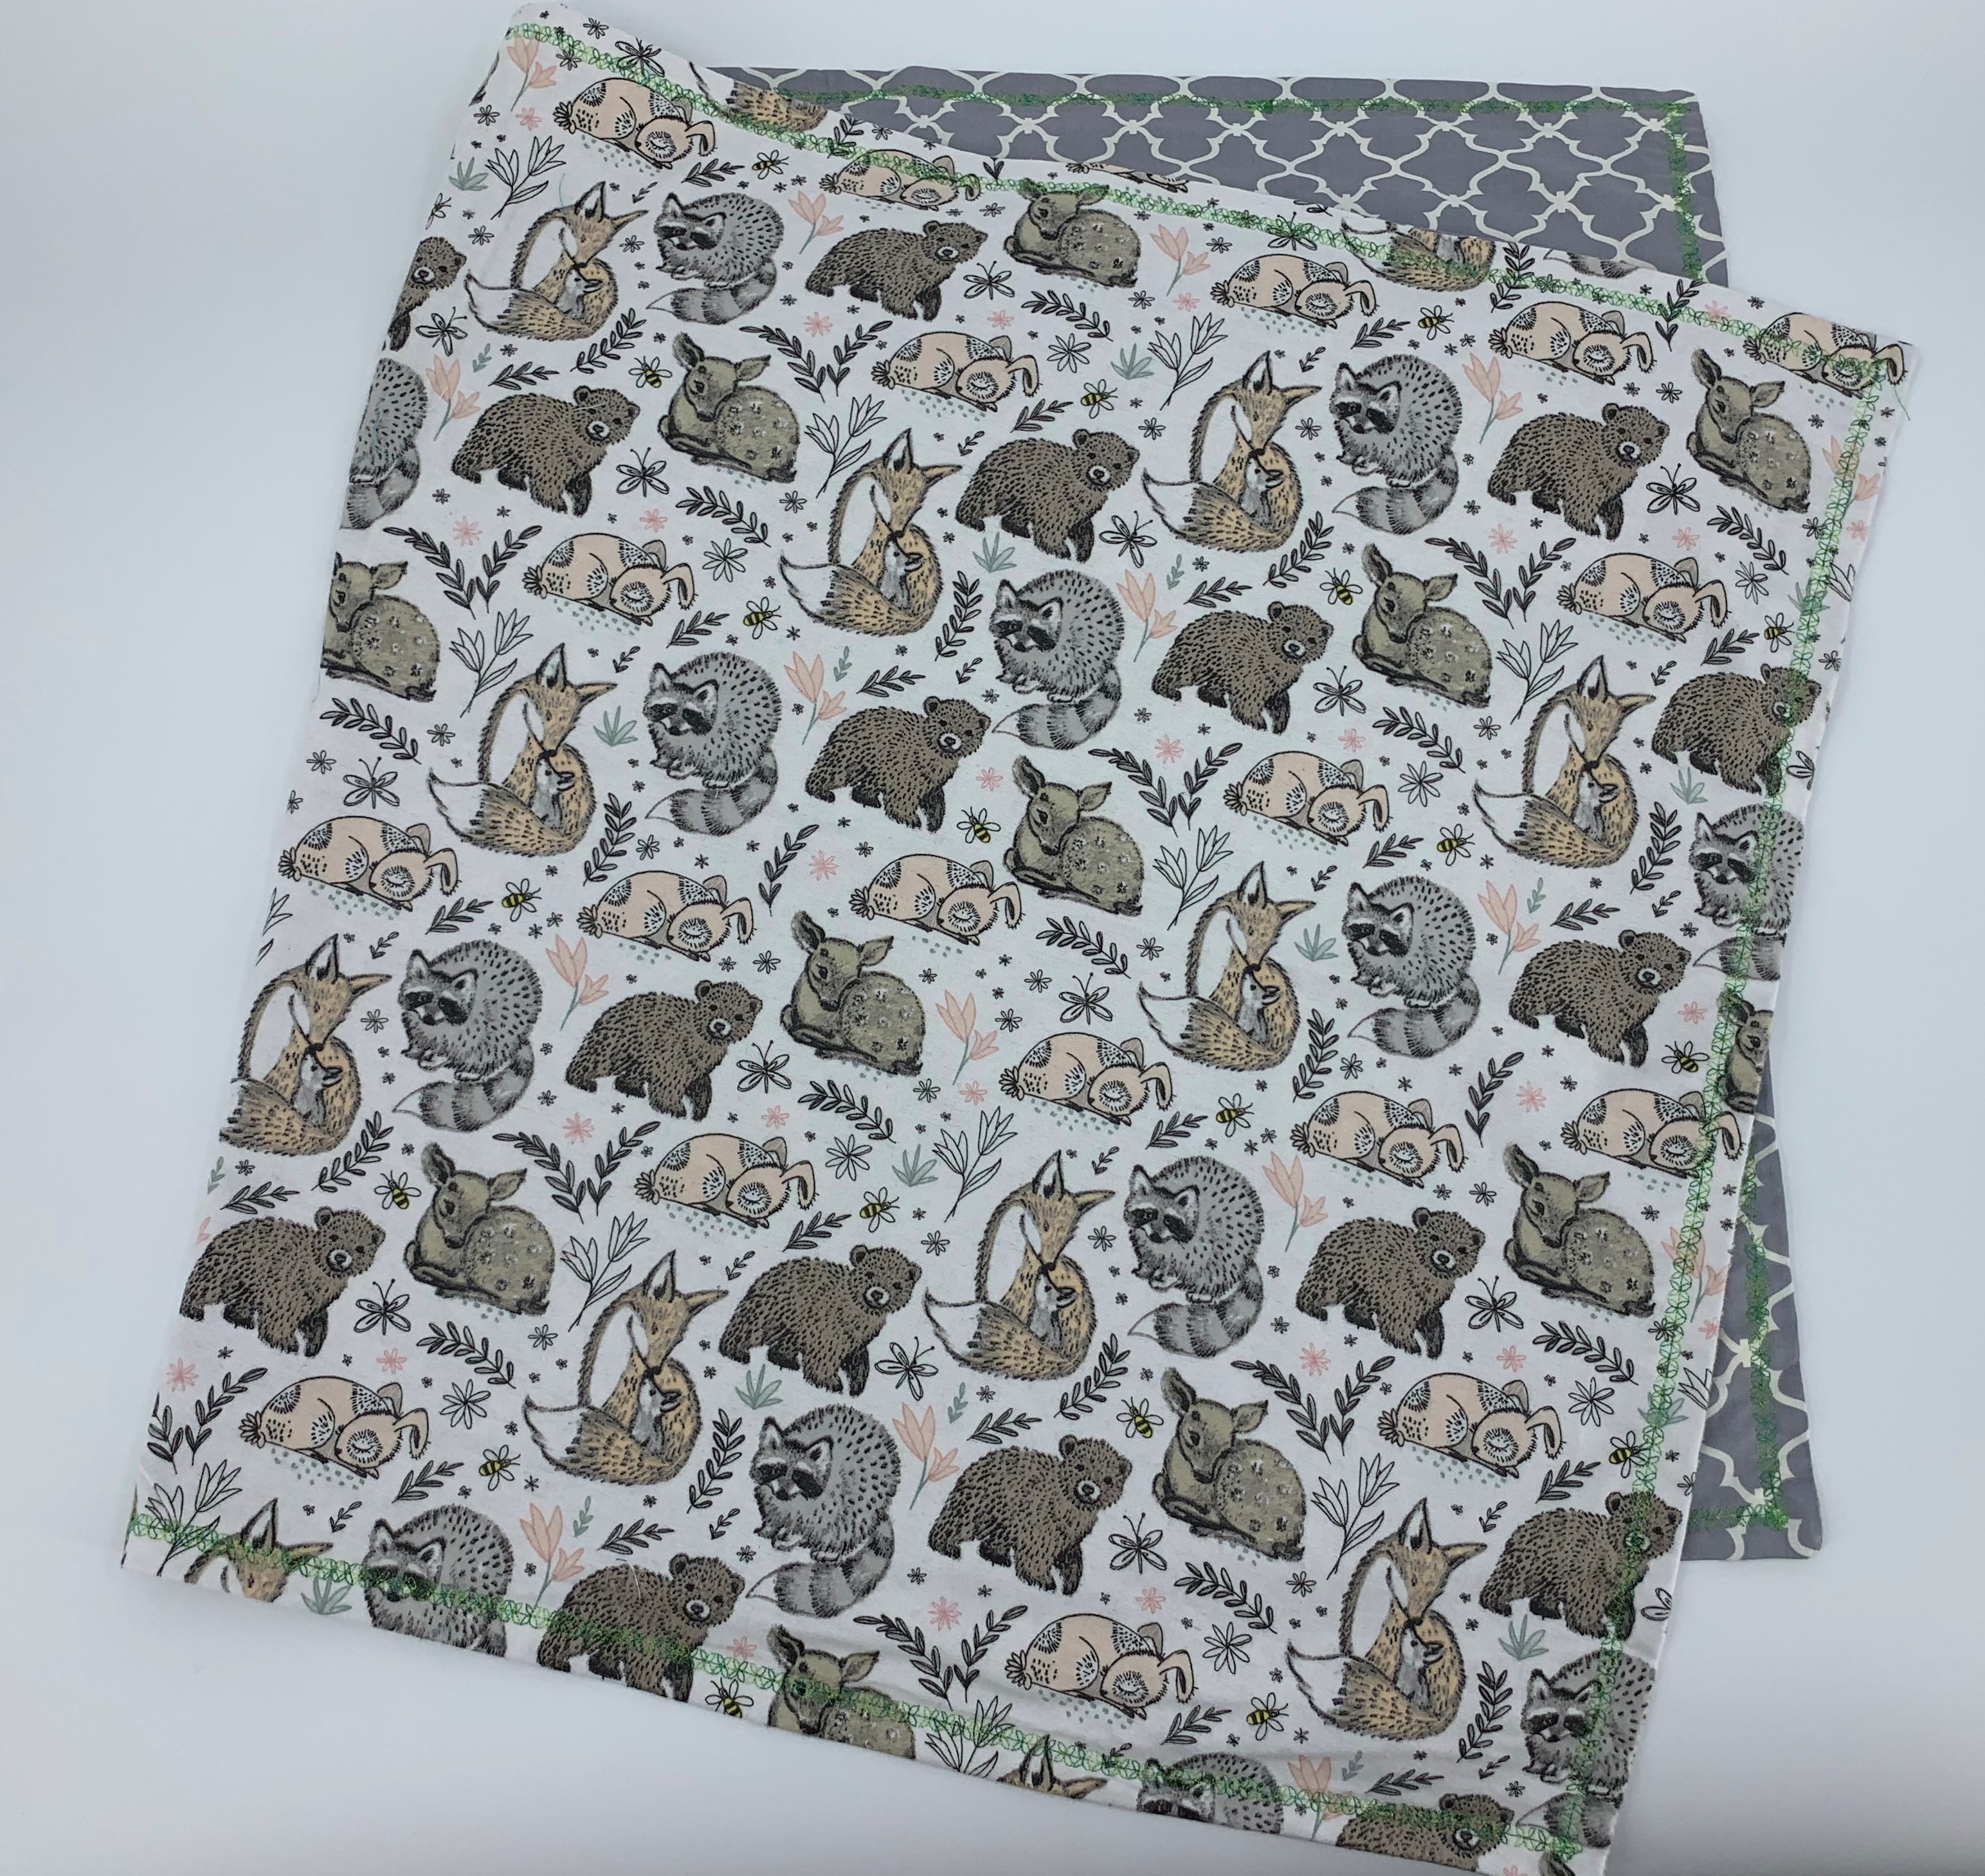
Looking for a special gift for a baby shower or a donation for a hospital family in need or other organization? This beginner baby blanket may be just the thing you're looking to create. Click here to download printable instructions.
Materials:
- 75/11 needle
- 50 wt cotton thread
- 1 yard of soft flannel
- 1 yard of cotton
- 1 package of Clover Wonder Clips (Quantity: 10)
- Rotary cutter
- Cutting mat
- Quilting ruler
- Iron and ironing board/mat/felt pad
- NOTE: Be aware of the fabric you are using for the baby blankets. It must be marked safe for infants and NOT FLAMMABLE. This can be found printed on the fabric selvage OR on the fabric label.
- The supply list will make a 24" X 30" size baby blanket.
Tools:
- Baby Lock Jubilant or other sewing machine
- J or N Foot
Steps:
-
Begin by cutting the fabric to 25" x 31". The seam allowance for this project will be 1/2 inch making the finished project 24" x 30".
-
Place the fabrics right sides together. Starting from the center and working out even the fabric for the edges to meet.
-
Using the Wonder Clips place them approx. 4 inches apart around the edge of the fabric.
-
Starting at a corner straight stitch (#3 2.5 3.5 on the Jubilant) using a 1/2" inch seam allowance.
-
Use a reverse stitch at the beginning and the end of one side of the blanket to help reinforce the corners.
-
-
Repeat Step #4 on two more sides of the blanket.
-
On the fourth side of the blanket starting at the corner with a reverse stitch at the beginning and stitch 1/3 of the length of the side end with a reverse stitch.
-
Turn the blanket and starting from the opposite corner repeat the process and only stitch 1/3 of the length of the side ending with a reverse stitch.
This opening will be how we turn the blanket right side out.
-
-
Using the rotary cutter and ruler lay the blanket (still wrong side out) on the cutting mat.
-
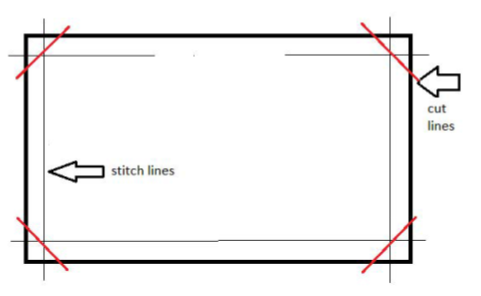
Using the ruler set the ruler just beyond where the stitch lines meet to avoid cutting the joining corner seam.
-
Trim the corners at a 45 degree angle to point the stitches meet at the corner. See the illustrations below.
-
-
After trimming all four corners using the opening on the blanket begin turning the blanket right side out.
-
To shape the corners gently push the corners into shape.
-
-
Once the blanket is right side out lay it out and hand press or iron the blanket smooth.
-
With the open side fold the fabric in as if it were the seam and press.
-
In the following step this will be sewn.
-
-
Choose a decorative stitch if your machine has them or a zigzag or even a straight stitch will work to finish the blanket.
-
Place this stitch within 1/2" of the edge of the blanket to secure the side left open to turn the blanket right side out.
-
-
Stitch around all four sides of the blanket and you have created your baby blanket.
-
BONUS: This technique can be used to create a burp cloth to match your blanket. Below are some standard finished sizes to help with your next project.
Blanket Type:
Lovey 10" x 10"
Security/Cuddle 14" x 17"
Stroller/Baby 30" x 35" Receiving 40" x 40"
Toddler 42" x 52"
Burp Cloth 9" x 16"


