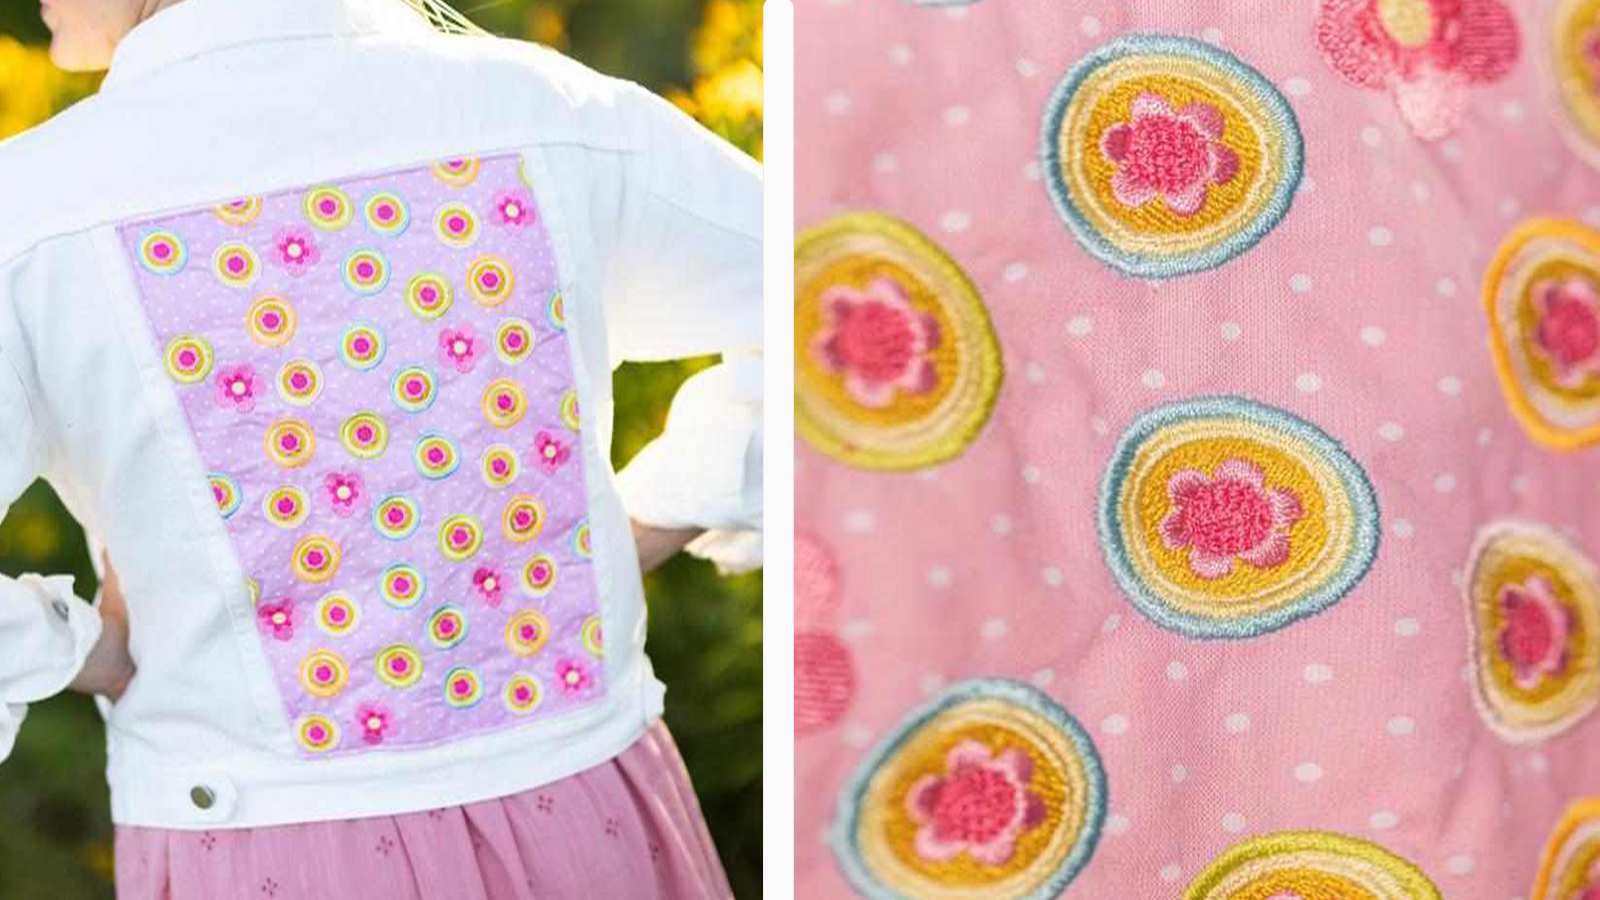
It’s time to refresh that denim jacket hanging in the back of the closet into something new and exciting. By using the built-in embroidery designs in the Baby Lock Bloom you can elevate a store purchased garment piece into something fabulous and uniquely yours!
CLICK HERE TO DOWNLOAD PRINTABLE INSTRUCTIONS WITH ADDITIONAL PHOTOS.
Supplies
- Baby Lock Bloom (or other Baby Lock Embroidery and Sewing machine)
- Denim Jacket
- Fabric approximately 6”-8” larger in size than center back panel of jacket
- Baby Lock No-Show Mesh Fusible Stabilizer
- Embroidery Thread of choice
- Basic Sewing/Embroidery supplies
- Temporary Spray Adhesive (optional)
Instructions
- Begin by opening the jacket and placing it with the center back (CB) panel facing up on a flat work surface. Carefully measure the size of the CB panel. These measurements will be used to create the embroidered panel. The finished embroidery panel should be slightly larger than the CB panel measurements to allow the embroidery designs to go past the edges.
- Using the measurements from the previous step cut fabric and stabilizer so that they are larger than the CB panel by approximately six inches (height and width) and fuse together.
- From the Embroidery menu select the design you will be using for the project. The measurement/size of the design will determine the number of repeats that will be required to create the panel.
- Using a water soluble or similar marking tool and ruler create guidelines on the fabric using the selected embroidery design measurements. These guidelines will be used in conjunction with the alignment grid of the selected hoop to line up each pattern repeat as you hoop. The Bloom has two hoops to select from the standard 5”x7” (130mmx180mm) hoop and the multi-position 5”x12” (130mmx300mm) hoop. Either hoop can be used in the project.
- Hoop the fabric/stabilizer in the desired sized hoop so that the first repeat of the pattern is centered in the hoop. The design repeat can be created in any order; however the sample was created by starting with the design repeat in the top center of the fabric and then working out from there.
- Once the first hooping of design/s are completed repeat the process of hooping the fabric using the alignment grid and markings to work through the remaining repeats.
- When all repeats have been completed the embroidered fabric should be slightly larger than the CB panel of the jacket. As the panel is attached to the jacket the excess fabric will be folded under to create a smooth finished edge. Temporary spray adhesive straight pins or safety pins can be used to hold the panel in place. In the example the seams framing the CB panel were used as guidelines for folding the embroidered fabric and creating the final edge.
- The final step is to sew the panel to the jacket. In the sample a straight stitch was used in this step; however feel free to be creative with your stitching. Enjoy!


