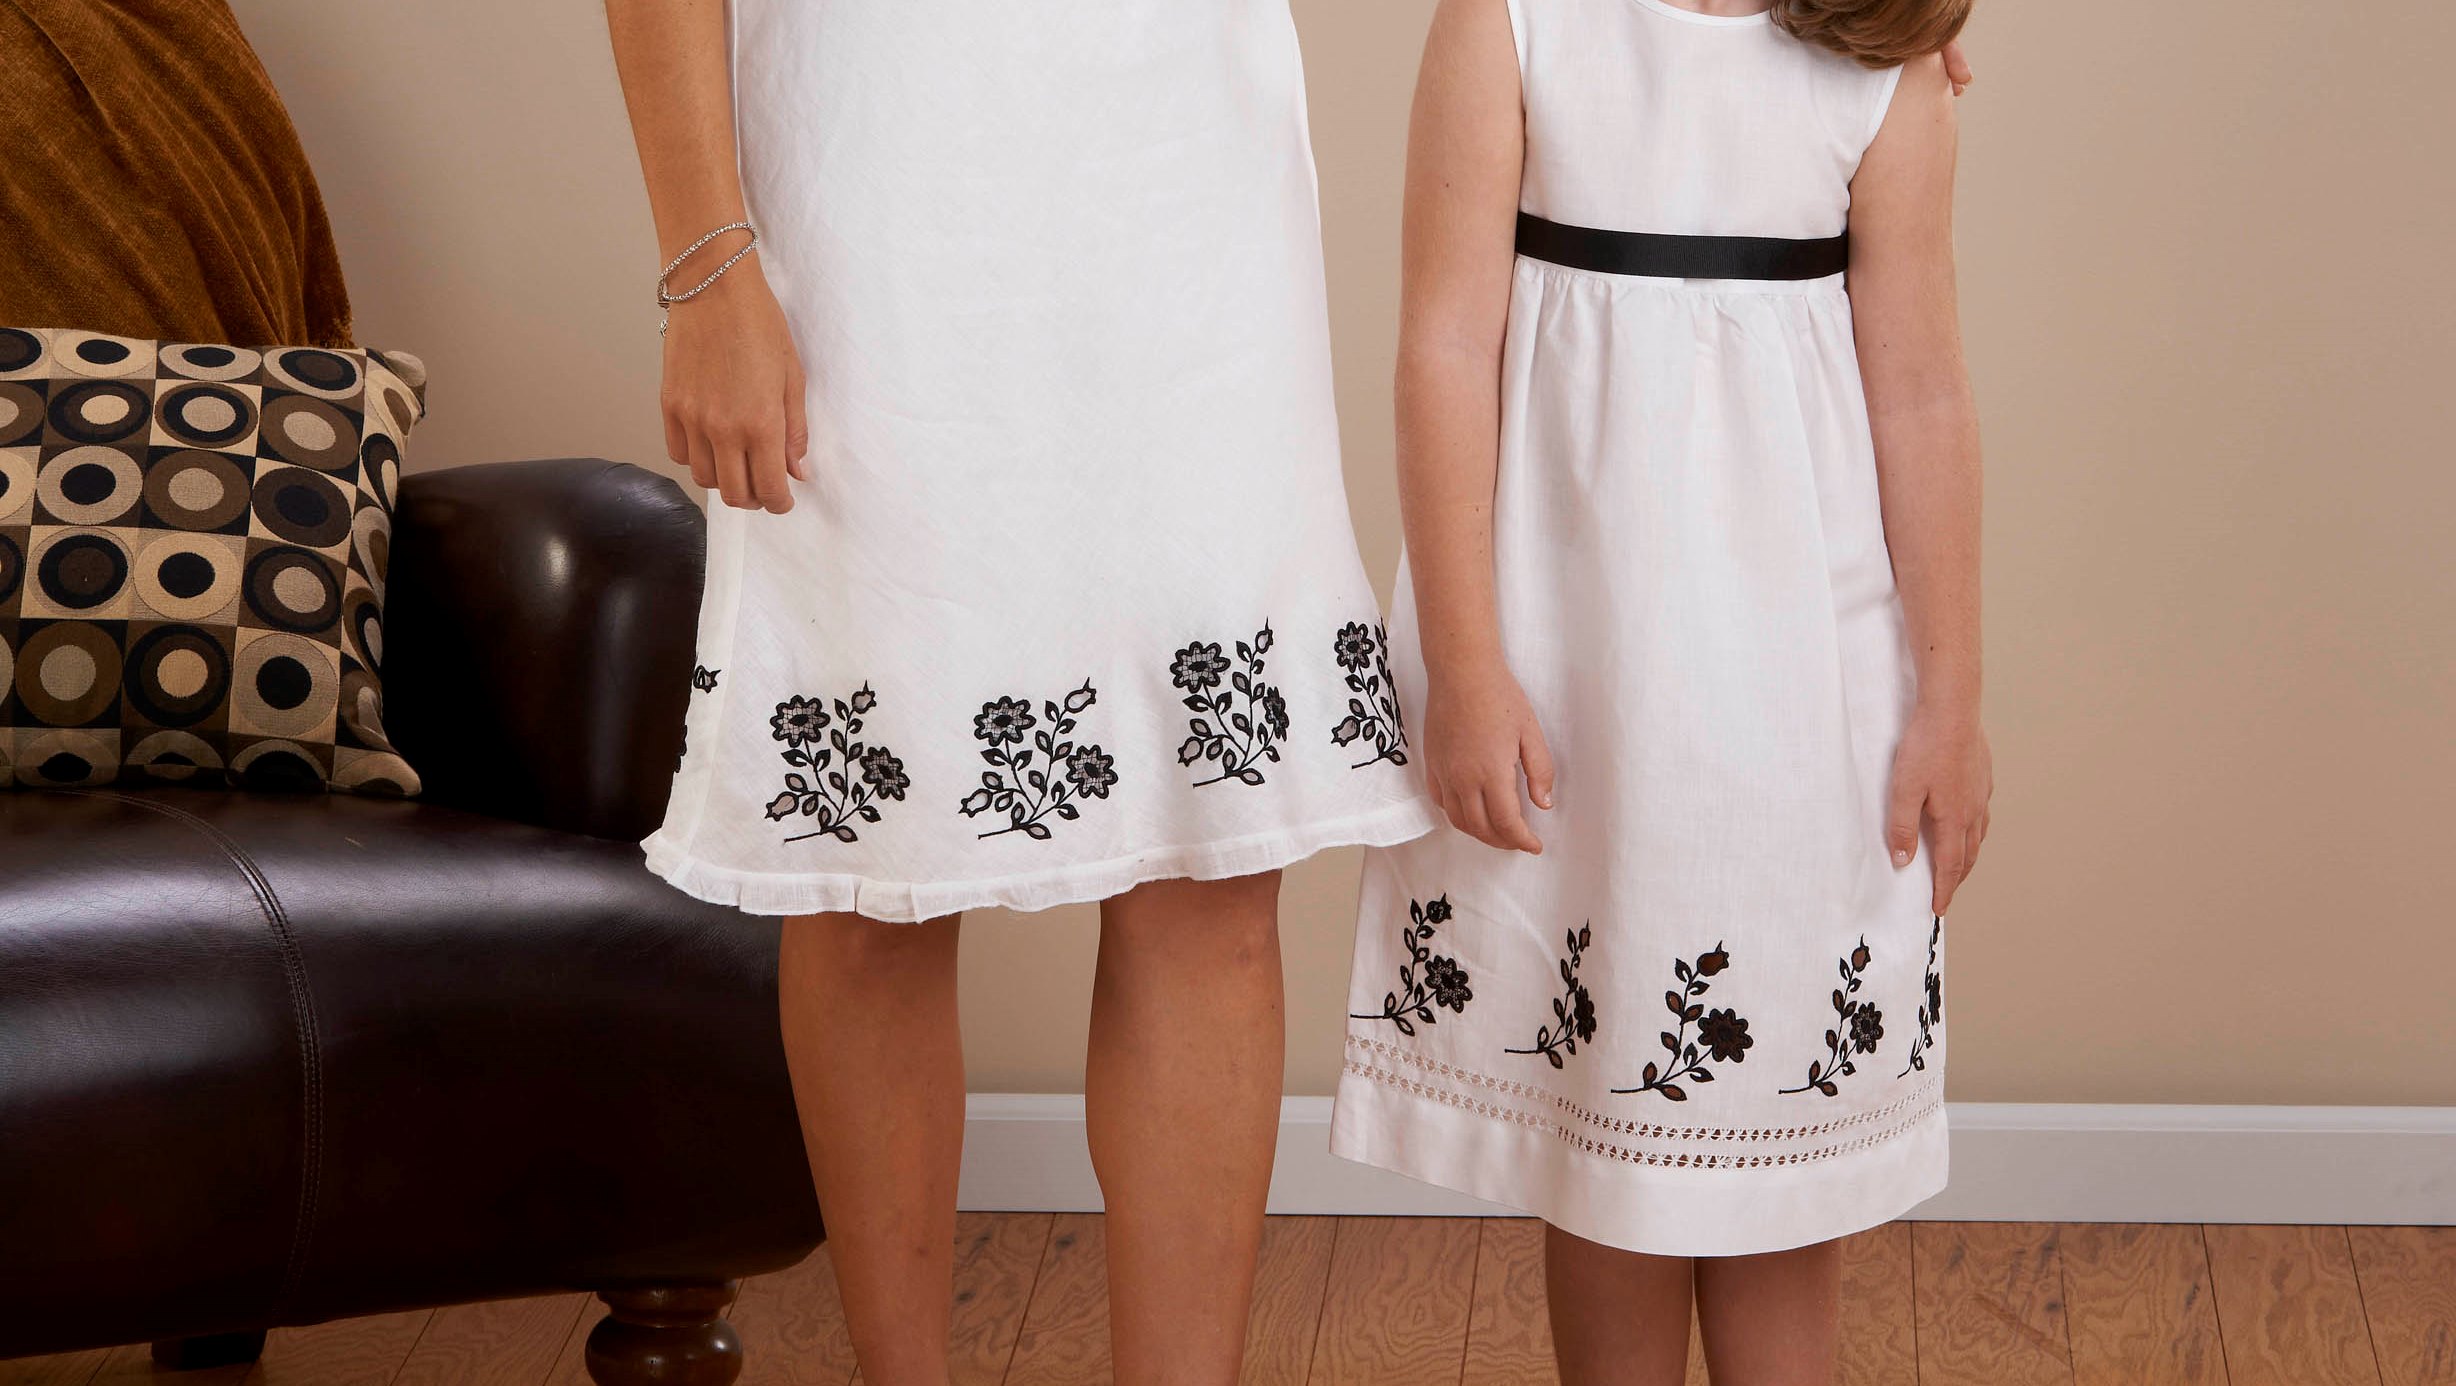
Give a plain dress a little personality with cutwork embroidery. This elegant finish will elevate any wardrobe and once you make one piece you won't be able to stop! Our embroidery cutwork upgrade for multi-needle machines makes this technique simple and possible. Download printable instructions.
Materials:
- Purchased white linen dress
- Madeira embroidery thread (black)
- Iron-on tear-away stabilizer from Baby Lock
- Water soluble stabilizer from Baby Lock
- Canned air
Tools:
- Baby Lock® multi-needle embroidery machine
- Baby Lock Embroidery Cutwork Upgrade for Multi-Needle Machines
- Baby Lock Palette 9.0 or later
- Embroidery Cutwork Replacement Needle Set - Model# BNCW-N
Steps:
-
Open the upgraded Palette software program.
-
Click on Import Patterns from Vector Image and click on Open. The vector image is located on the C/babylock/palette ver.9/clipart/vector image/flower.
-
Select all design elements. Right click and from the list of commands select Ungroup.
-
In order to convert elements to cutwork you must ungroup the design. Select the first yellow flower section listed on Sewing Order field.
-
Click on the Attributes tab and select Cutwork Wizard.
-
-
Using the following illustration as your guide follow the steps below:
-
Select Yes for Stabilize Cut Edge.
-
Select Cutting under Cutting Line.
-
Select Yes under Secure Water Soluble Stabilizer.
-
Under Net Fill select Yes. Click on the down arrow and select the pattern as shown while using the default settings.
-
Select Yes under Covering Satin Stitch.
-
Change the Width to 3.00mm and click on OK.
-
-
Repeat these steps for the other yellow flower
-
For the two bud areas on the design follow the next set of steps:
-
Click on the Cutwork Wizard.
-
Select Yes under Stabilize Cut Edge.
-
Under Cutting Line select Cutting.
-
Click on No under Secure Water Soluble Stabilizer.
-
Click on No under Net Fill.
-
Select Yes for Covering Satin Stitch.
-
Set the Width to 3.00mm.
-
Click on OK.
-
-
To save the design click on File save as and give the design a name. Then save to the location of your choice.
-
To print out a template for design placement click on File Print. From the list of commands choose Print set up.
-
Place check marks next to Print Sewing Area Box & Center Axes and Print Template Grid categories. Click on Print.
-
-
Insert the cutwork needles into the appropriate needle bars. If these needles were threaded prior to this usage remove the four threads from the tension knobs.
-
Turn the machine on and retrieve the design.
-
Cut a section of stabilizer larger than the hoop that will be used. Iron the stabilizer section to the wrong side of the dress’s bottom edge.
-
Tip: Iron the stabilizer along the entire width on the bottom edge of the dress. It is very important to use fusible tear-away stabilizer for cutwork applications.
-
The fabric should be well stabilized so that the fabric does not shift during the cutting and embroidery process.
-
-
Pin the printed template to the skirt’s bottom approximately 1½” -2” up from the bottom edge.
-
Start in the front center and work outward in both directions. Place one of the positioning stickers over the cross-marks on the template.
-
-
Hoop the skirt section with the template positioned close to center in the hoop. Place the hoop on the bracket and center the needle by selecting the Positioning icon.
-
The machine will locate the positioning sticker and center the design according to the placement lines on the sticker.
-
-
Embroider the design. The machine will automatically stop for you to remove fibers and to add the stabilizer as needed.
-
For the two yellow flower areas place the water soluble stabilizer over the cut area when the machine stops.
-
There is no need to place water soluble stabilizer over the two bud sections but for both of these areas remove any of the cut away fibers.
-
-
After the first design has been completely embroidered remove the hoop and use a can of canned air to remove any fibers that may have settled in the bobbin case area.
-
Use the canned air as often as you like to keep your machine free of dust and fibers.
-
-
Determine the placement of the next design by pinning the template on either side of the embroidered design.
-
Measuring the distance between the embroidered design and the cross-mark on the template. Write down that distance for the remaining designs.
-
-
Repeat these steps until all of the designs have been embroidered.


