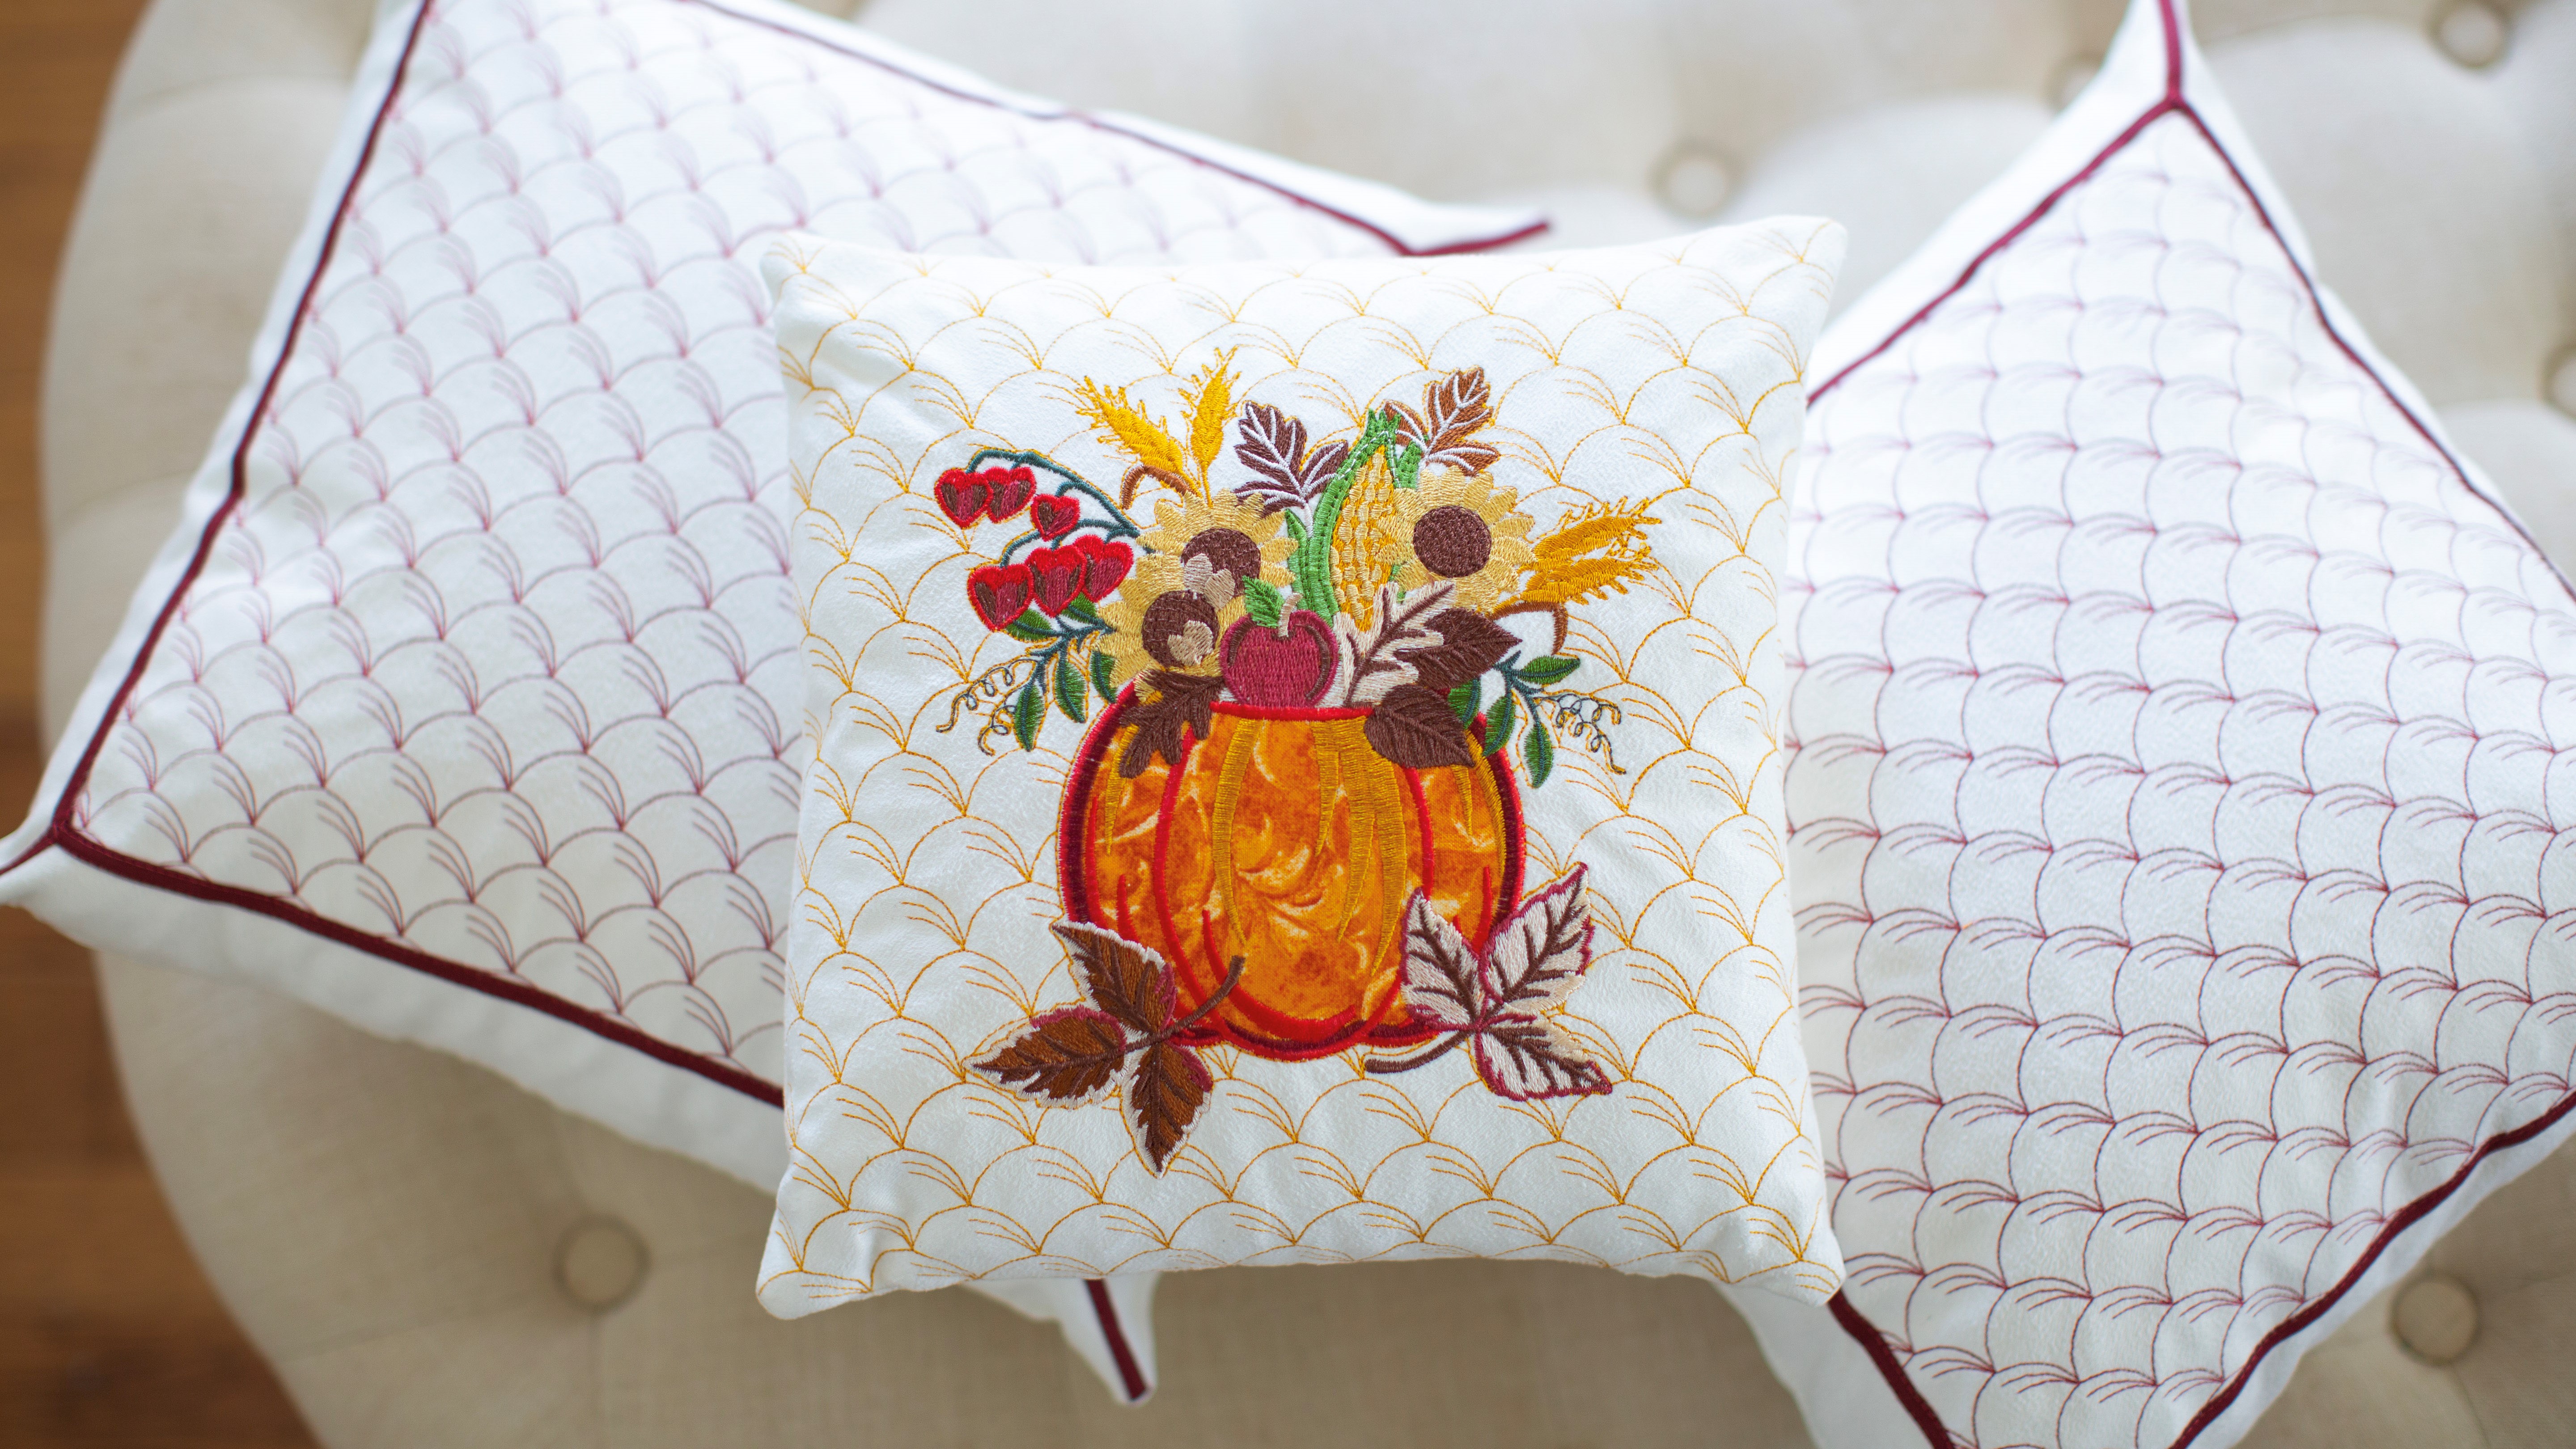
Use IQ Designer to create custom embroidered pillows to make your home cozy and festive for Autumn. Use any of the embroidery designs included with your Baby Lock machine create something beautiful for your home. Download instructions here.
Materials:
- Amazing Design Autumn Harvest 2 or any other similar designs
- 2 Yards of cream colored home decorator fabric
- Baby Lock Ultra Soft Fusible Fleece Stabilizer
- Madeira® Cotona thread for sewing and Fall colored embroidery thread
- Clover Quick Bias tape (Wine colored)
- 2 16” pillow forms
- 1 12” pillow form
Tools:
- Baby Lock® Solaris Sewing and Embroidery Machine
- Twin needle 4.00mm Size 80
- Sewing clips
- Basic sewing supplies
Steps:
-
Set up the machine for embroidery.
-
Select the IQ Designer option on the opening screen and follow the next set of steps to create the design for the two large pillows:
-
Click on the shapes icon

-
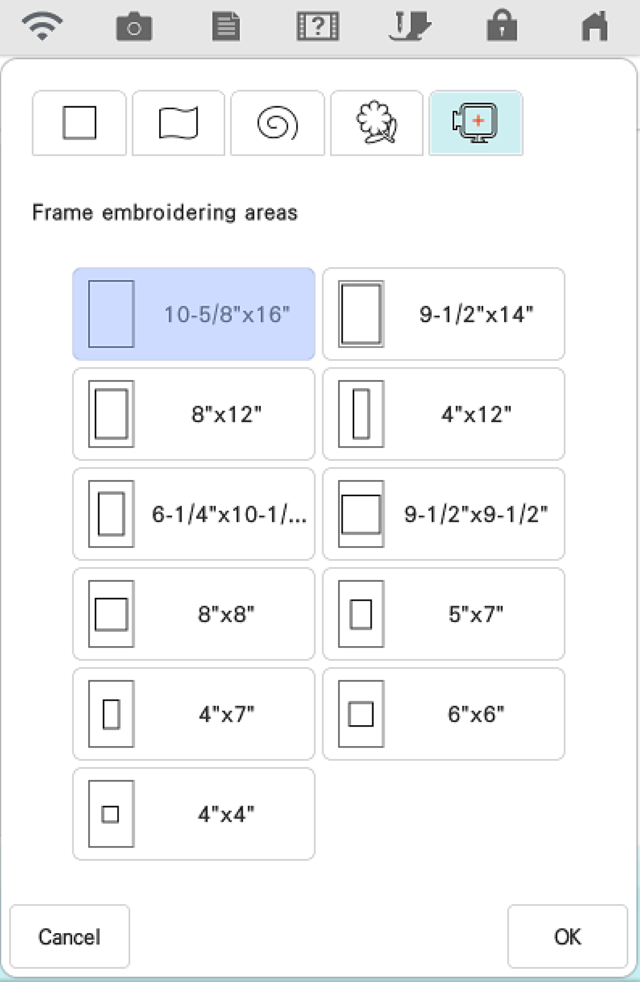
Select the hoop icon on the top toolbar then select the 10 5/8” x 16” hoop as shown below.
-
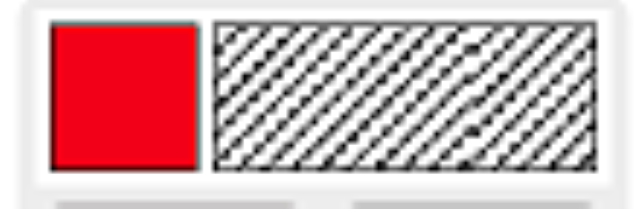
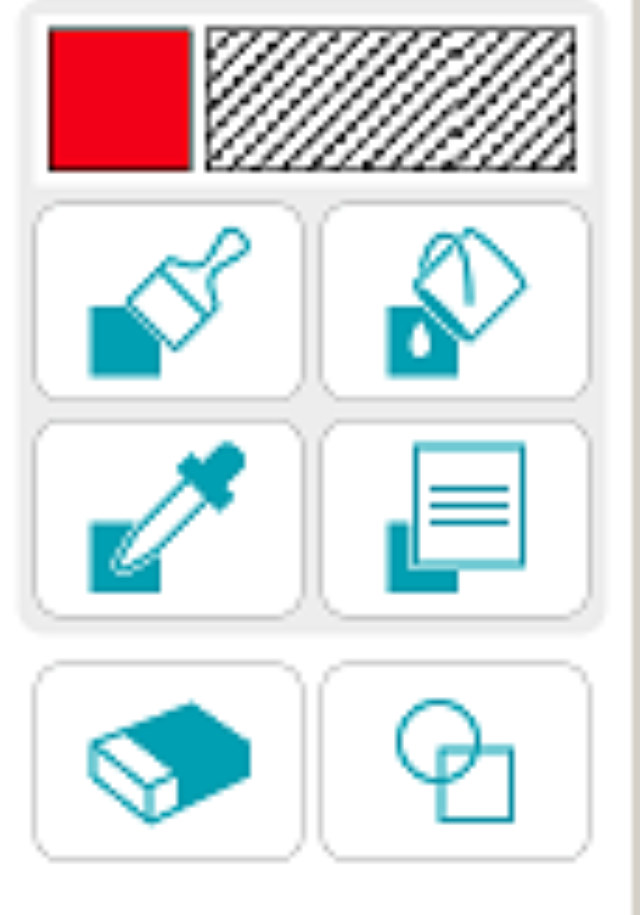
Click on the color chip icon
-
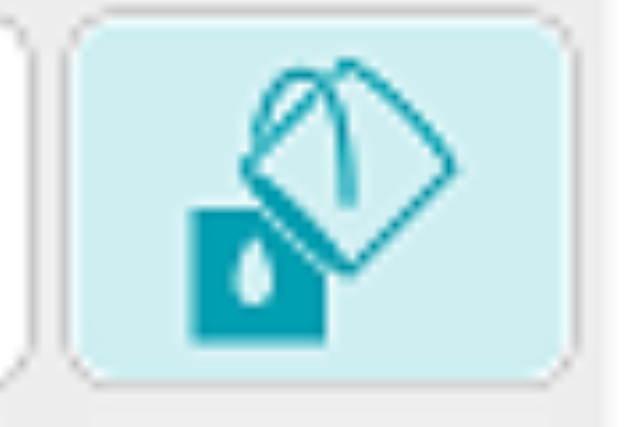
On the next screen select the fill icon as shown below.

-
Click on the word Select.
-
Scroll down and select fill number 026. Click on OK.

-
Select the fill icon. This icon will fill the entire area inside the hoop.
-
Click on the center of the screen to fill the hoop with the pattern fill.
-
Click on Next.
-
To resize the fill click on the Size option.
-
Click on the plus symbol to set the size to 125%. This will increase the pattern size upward to 25%.
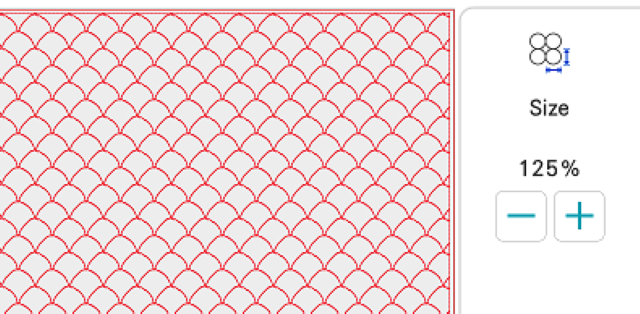
-
Click on OK and then click on Set to finish. The design will be sent to the embroidery side of the machine. The design is ready to be embroidered.
-
Cut a section of the stabilizer and a section of the home decorator fabric 25” x 18” each.
-
Fuse the stabilizer to the back side of the fabric.
-
Hoop the fabric in the largest hoop.
-
Place the hoop on the machine.
-
Thread the machine with a maroon colored embroidery machine.
-
Click on start.
-
-
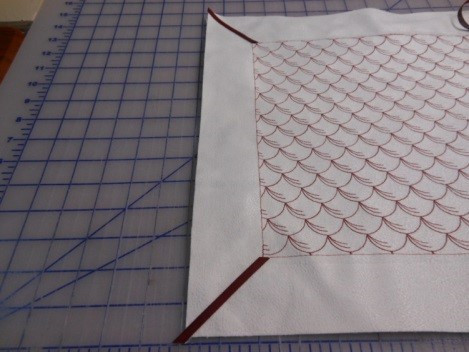
Trim the two embroidered sections to an 18” square.
-
Using the Clover Quick Bias tape fuse four strips diagonally to each of the corners as shown in the following illustration.
-
Set up the machine for twin needle sewing.
-
Attach the twin needle.
-
Thread each of the needles with the same colored threads.
If you don’t have two spools of the same thread wind a bobbin and place the bobbin on one of the top spool pins while using the original spool of thread for the other needle.
-
Sew with the quick bias strip centered under the needles. Go at slow pace to sew two straight lines of stitches.
-
Repeat for the other pillow.
-
-
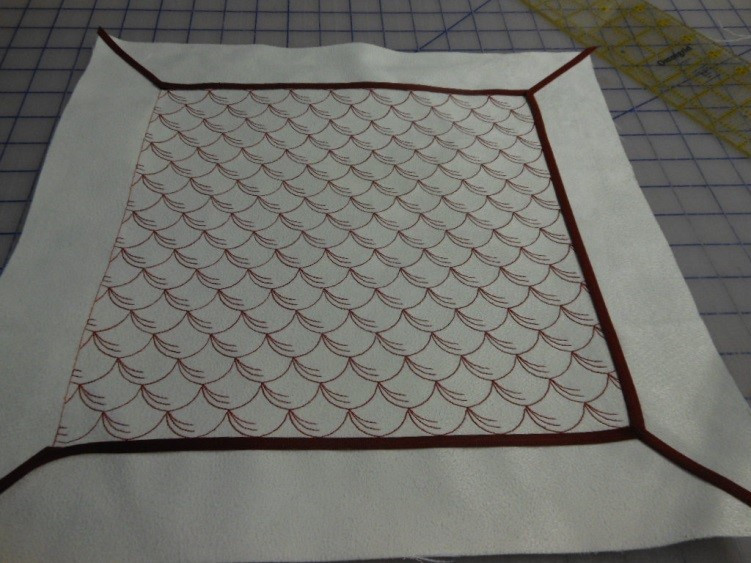
Fuse the quick bias tape around the four edges of the embroidered center as shown in the following illustration.
When you get to the corner turn the bias tape at a 45˚ angle at each of the corners. Stitch down the center around the embroidered center.
-
Cut out two more sections from the non-embroidered fabric the same size as the embroidered sections.
-
With right sides together sew together using a ½” seam allowance the front and back.
Leave a 8” opening for turning and for pillow insertion on each pillow. Trim each of the corners and turn right side out.
-
Insert the pillow forms and slip stitch the opening closed.
-
Small Pillow:
In this set of steps we will create a design that has been altered by placing a stippling stitch around the design. Follow the next set of steps to create this lovely design:
-
Set up the machine for embroidery.
-
Click on Embroidery.
-
Retrieve the design of your choice or if you want you can retrieve the design as shown in the project (Amazing Design Autumn Harvest #hdah8).
Set the design.
-
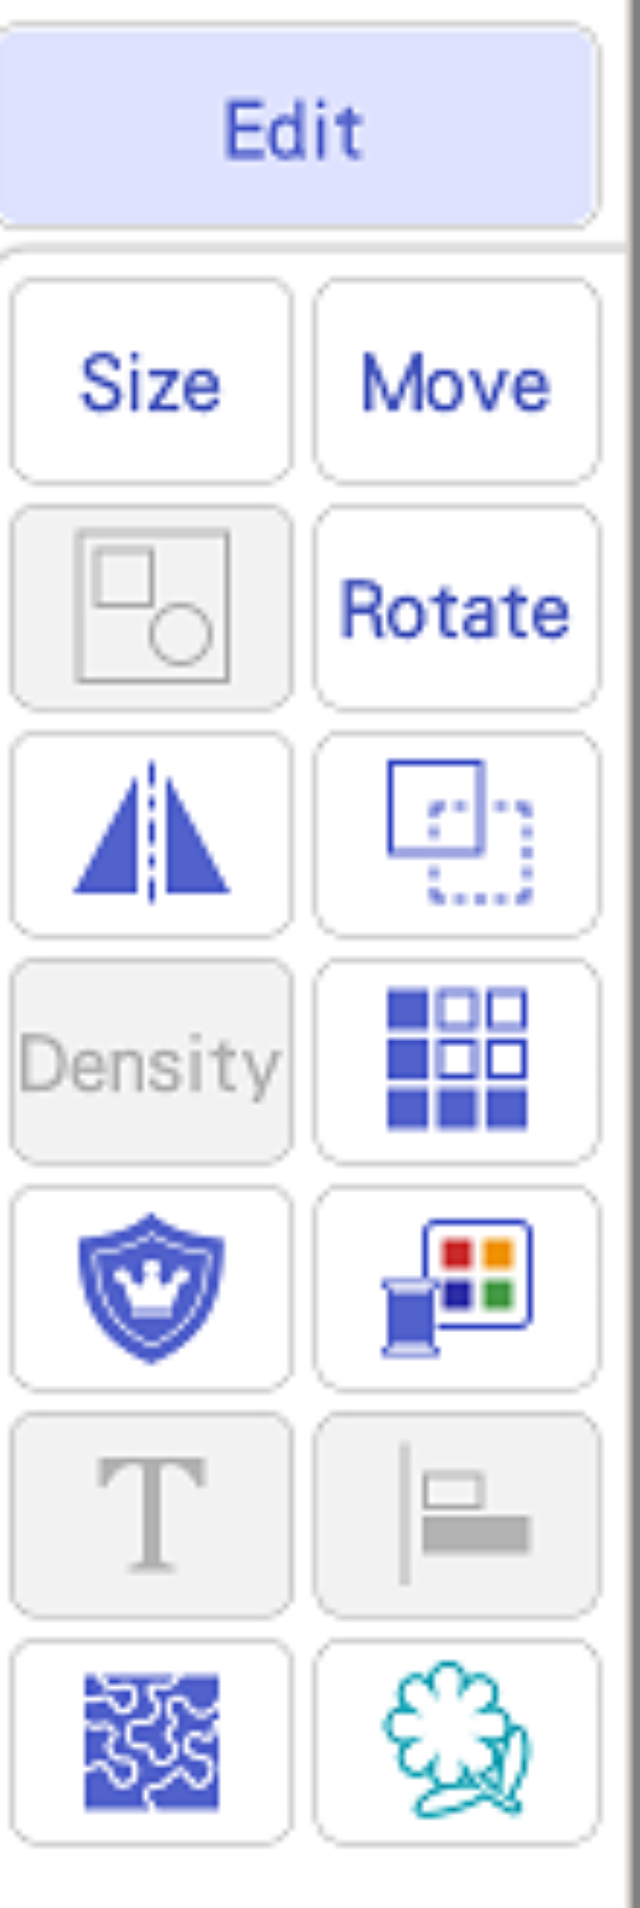
Click on Edit.
-
Select the outline icon as shown below.
-
In the next field you can adjust the distance the outline will be placed around the design.
But in this project I want the outline to fit snug against the design. Do not make any adjustments. Click on Memory.
-
Follow the positive prompts.
-
-
Click on the Home icon
-
On the home screen click on IQ Designer.
-
Click on the shapes icon.

-
Under this field we will then select the outline icon.
-
Select the shape that was created and place it on the workspace.
-
Click on the color bar as shown.
-
Click on the Select icon.
-
From the list of fills select the same fill that was used in the two large pillows (026)

-
Click on OK.
-
On the IQ Screen click outside the design outline to fill the area with the fill.
-
Click Next.
-
Click on the plus symbol to set the size to 125%. This will increase the pattern size upward to 25%.
-
Click on Set.
-
This will send the design to the Embroidery side of the machine.
-
Click on Add.
-
Retrieve the original design from the saved location. It will be placed over the outlined area
-
-
Cut a section of stabilizer larger than the hoop. Hoop the stabilizer and the home decorator fabric.
-
Embroider the design using autumn embroidery thread colors.
-
Trim the embroidered section to 13” square.
-
Cut a 13” section for the back of the pillow from the remaining fabric.
-
With right sides together use a ½” seam allowance to sew around the outer edge of the pillow. Leave a 6” opening for turn the pillow.
-
Trim to corners and turn right side out.
-
Insert the pillow form and slip stitch the opening closed.


