
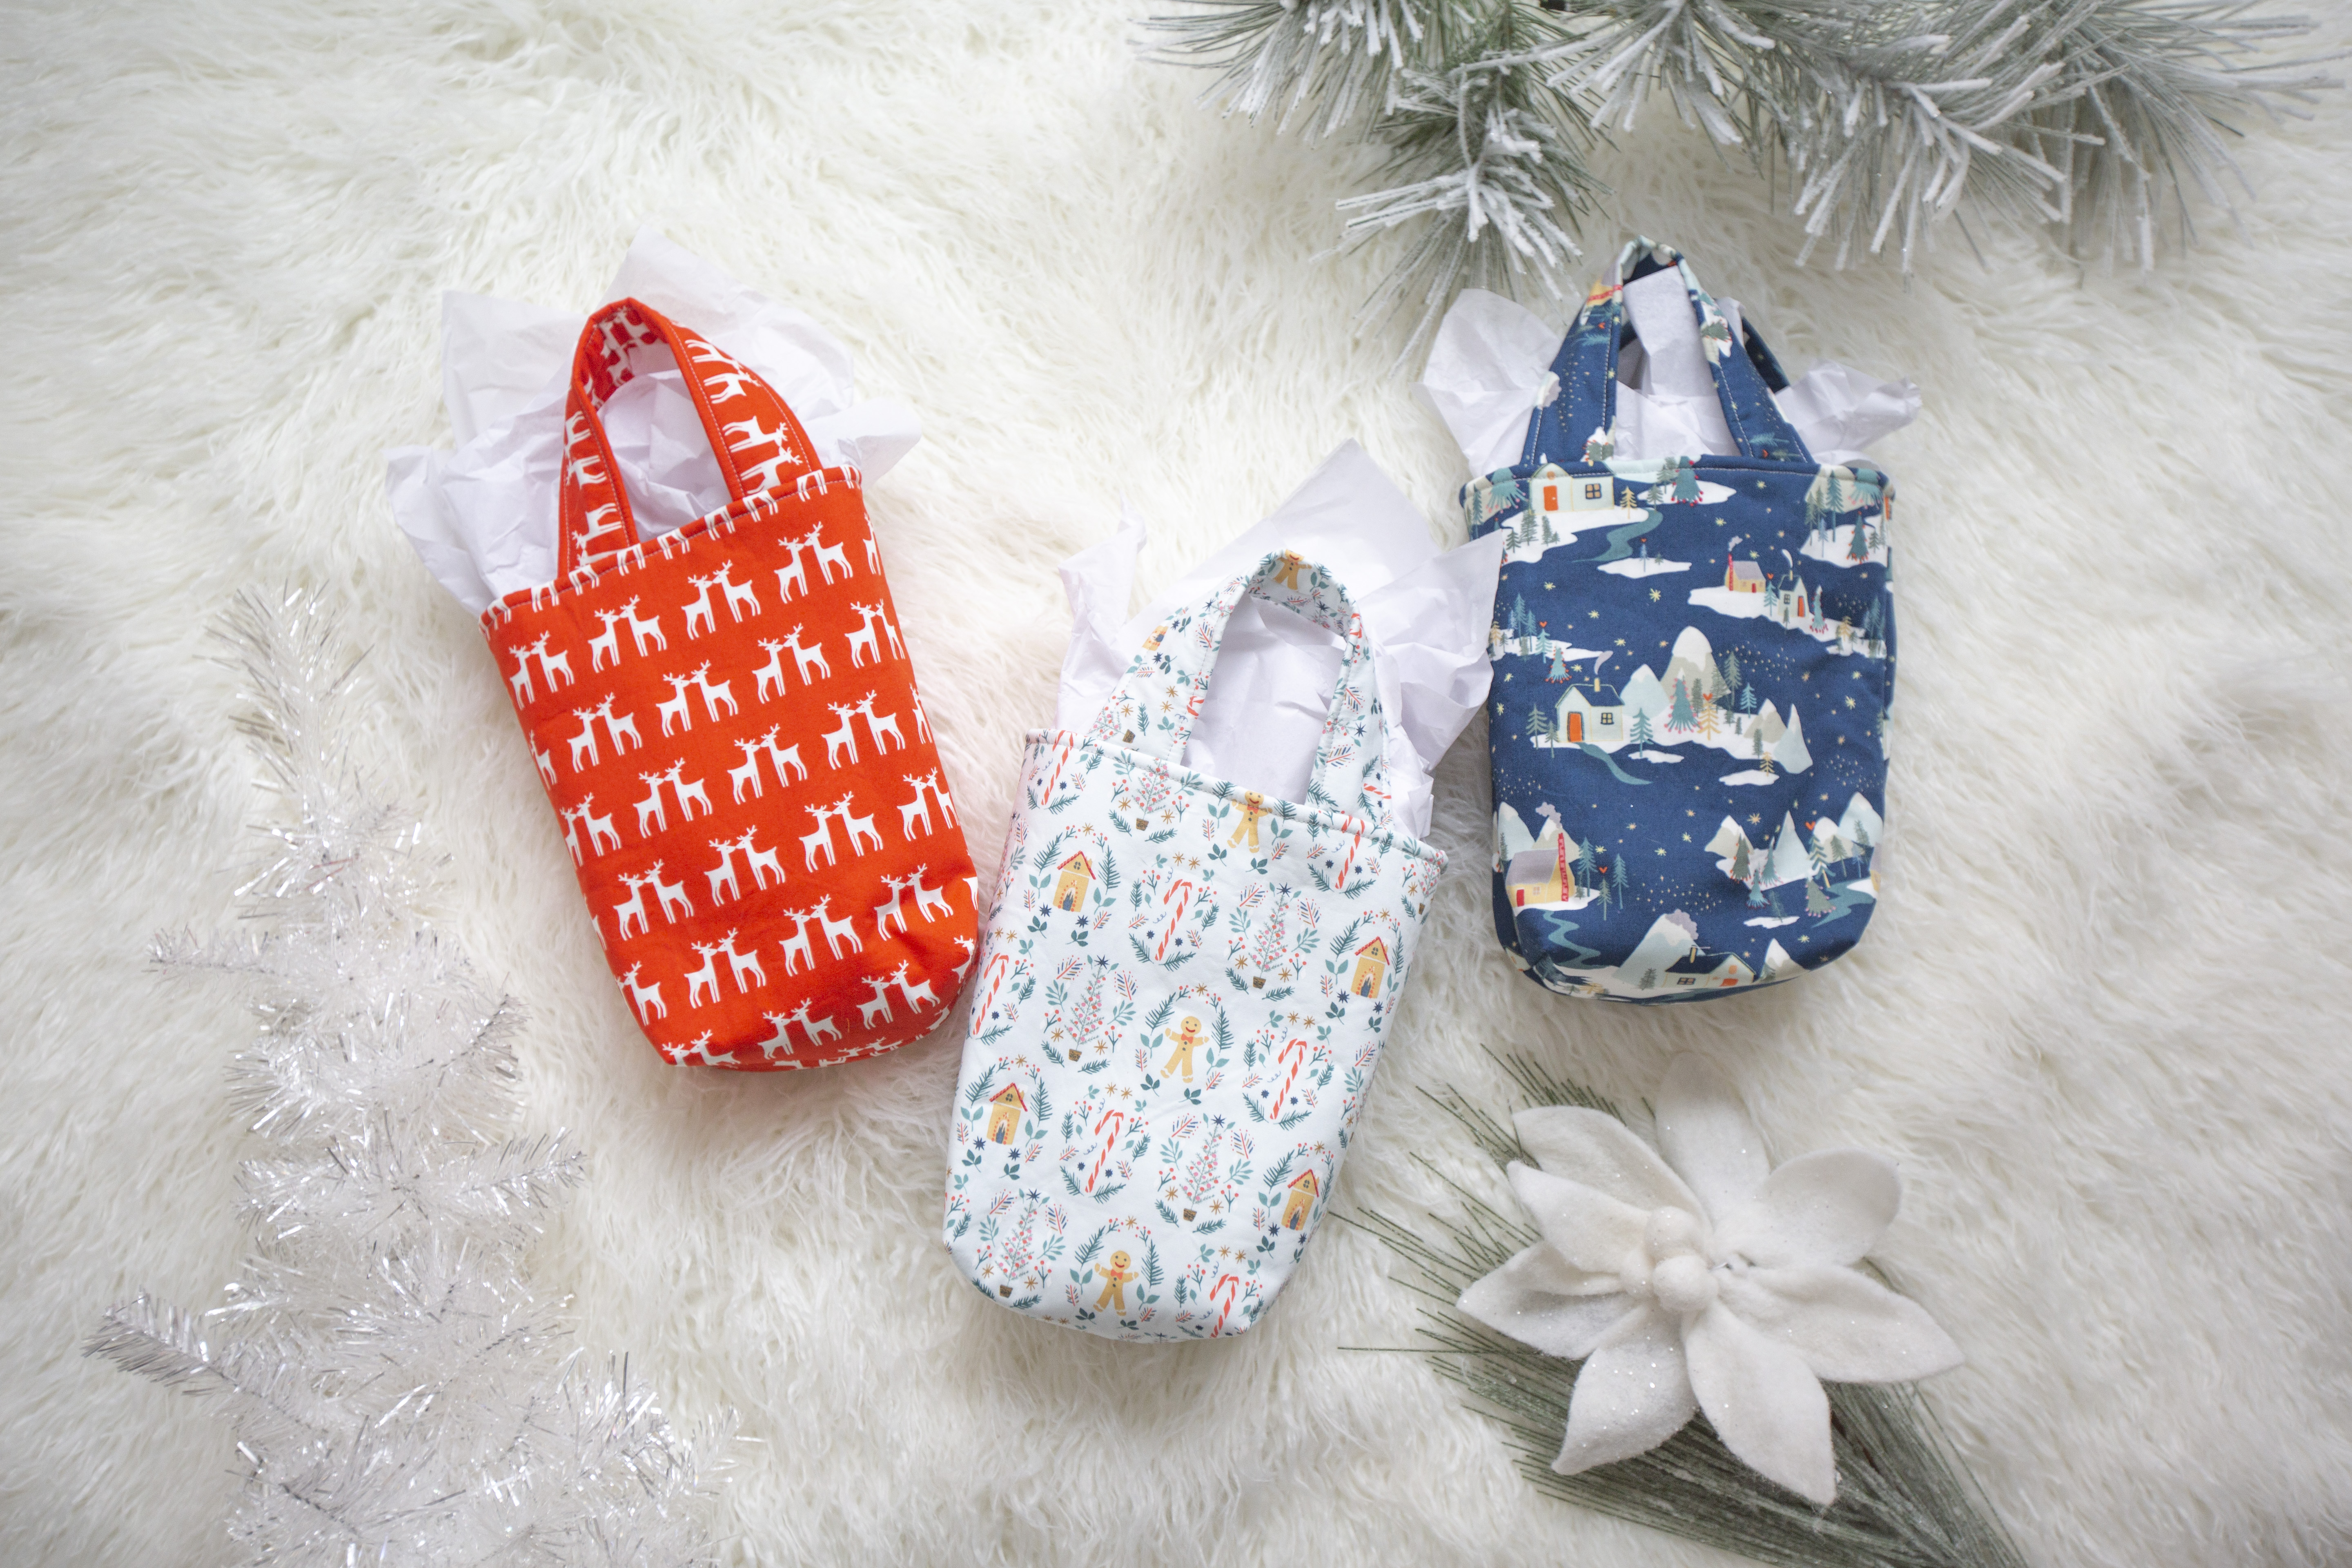
Are you wanting to take your holiday gift wrapping to the next level? Baby Lock Ambassador Carolina Moore with Always Expect Moore shows you how to easily create your own gift bags using fat quarters. Download printable instructions.
Materials:
- 1—Fat Quarter outer fabric
- 1—Fat Quarter inner fabric
- 1—Fat Quarter fusible fleece
- Iron
- Basic sewing supplies
Tools:
- Baby Lock Sewing Machine
Steps:
-
Cut 2 of the following:
-
10" wide x 11 ½" tall rectangles outer fabric
-
10" x 11 ½" rectangles inner fabric
-
10" x 11 ½" rectangles fusible fleece
-
10" x 4" outer fabric handles
-
10" x 4" fusible fleece for handles
-
-
Fuse the fusible fleece to the wrong side of the fabric handles.
-
Fold the fabric handles in half right-sides-together to make long strips. Stitch down the long side of each handle.
-
Turn the handles right side out. Arrange so that the seam is along the middle then press. Top stitch along both edges.
-
Iron the fusible fleece to both the outside pieces.
-
Cut a 2" x 2" square out of the bottom corners of both lining pieces and both outer pieces.
-
Join the two 2" sides cut in the last step and stitch locking your stitches at the end of the seams.
-
Repeat for both lining pieces and both outer pieces. This boxes the bottom corners.
-
-
Place the outer pieces right sides together. Pin the layers together. Stitch along 3 sides leaving the top open.
-
Repeat with the lining pieces leaving a 3" opening along the bottom.
-
Turn the lining right side out. Insert into the outer piece.
-
Measure 2 ¼" in from each side seam. Make a mark with a fabric pen. This marks the outer edge of the handle placement.
-
Tuck the handles between the layers making sure they are not twisted. The seam side of the handle should face the lining. Pin in place.
-
Pin around the top edge of the bag.
-
Stitch around the top edge of the bag.
-
Turn the bag right side out through the hole in the bottom of the lining. Smooth the layers and press the seam along the top edge.
-
Top stitch around the top edge of the bag.
-
Stitch the hole in the bottom of the lining closed.
-
Your gift bag is ready!


