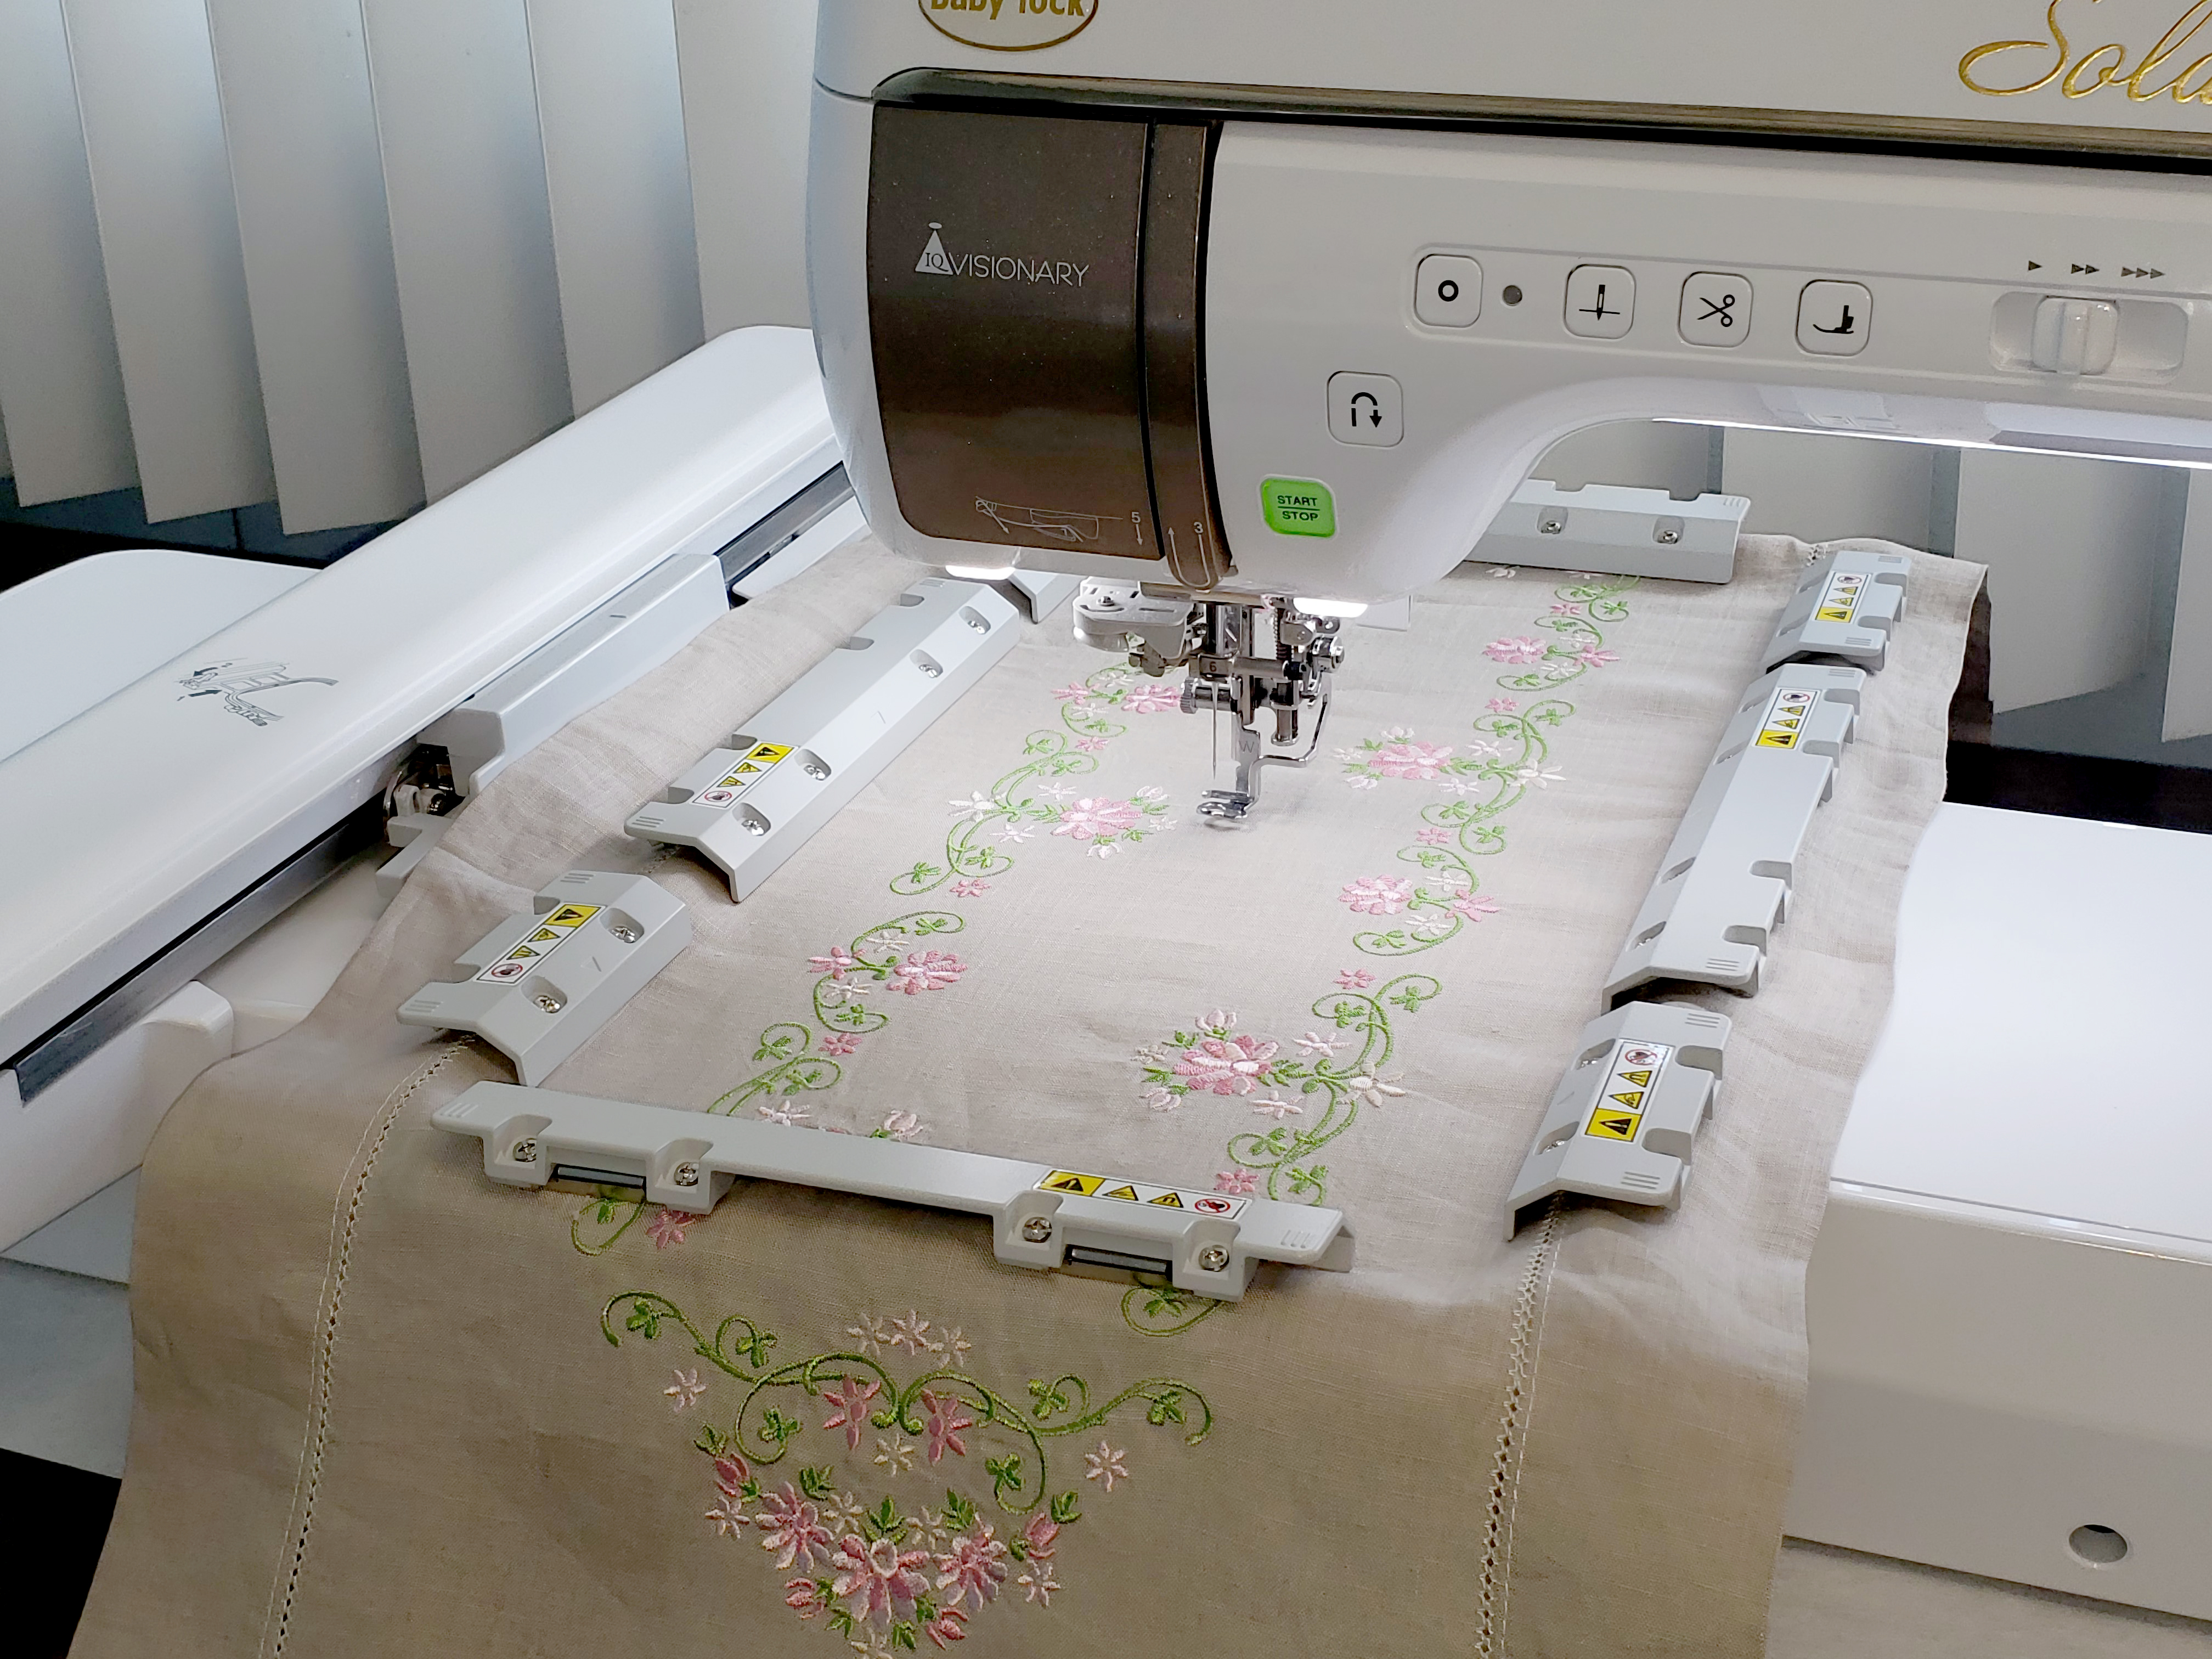
For many projects Theresa says she plans down to the last detail but for this project she started with a few basic design principles and let the project evolve organically. After many years of sewing and embroidery she finds she is usually more satisfied when following her heart and not her head. This project was made using the optional magnetic hoop for the Solaris.
Materials:
- Linen Table Runner (Sample is 70” x 14-1/2” with a 2” hemstitched border)
- Baby Lock Fusible Tear Away Firm Stabilizer (12” wide)
- Embroidery Thread
- Bobbin Thread
- Frixion Marking Pen
Tools:
- Solaris 2 Sewing and Embroidery Machine
- Solaris Magnetic Hoop (optional)
- Long Quilting Ruler (6-1/2” x 24-1/2”)
Steps:
-
Fuse the stabilizer to the back of the runner.
-
Use the long quilting ruler and Frixion pen to mark guidelines on the runner:
- Guidelines approximately 6.25” apart (1-7/8” from the hemstitching)
- A guideline through the center (see blue lines below):
-
The sample uses three designs (034 035 and 036) from Category 2/Subcategory 2.
-
Change colors in the design to coordinate with the color of the runner. Rotate the design 90 degrees clockwise
-
Hoop the stabilized table runner in the Magnetic Hoop to begin stitching in the center.
-
Attach the embroidery frame and scan the fabric to align the design with the guidelines
-
Move the design to align with the left line and the center line drawn on the runner.
-
Select the Edit key select the Duplicate key then rotate the duplicated design 180 degrees clockwise.
Move this design to align with the right line and centerline on the runner. You will not need to further rotate this design because it is perfectly parallel to the first design (after it has been rotated 180 degrees).
-
Save this combination of the two patterns then stitch the combined patterns in the center of the runner.
-
Building from the center re-hoop the fabric scan the background align the saved pattern with the guidelines and the previous pattern and stitch the pattern.
The instruction sheet packed with the Magnetic Sashing Frame and the instructional video built in to the machine explain how to re-hoop the fabric without removing all of the magnets. This greatly helps with keeping the fabric straight and minimizing the need to rotate designs.
-
After seven repeats of the pattern combine patterns 034 and 035 to create the ends.
Experiment with these two designs by scanning the runner in the hoop to help with resizing and positioning so that the end designs will be proportional and well-positioned with what has already been stitched.
-
After completing the end designs carefully remove the fused tear-away stabilizer and iron the runner.
The heat from the iron will remove the placement/alignment lines drawn with the Frixion pen.


