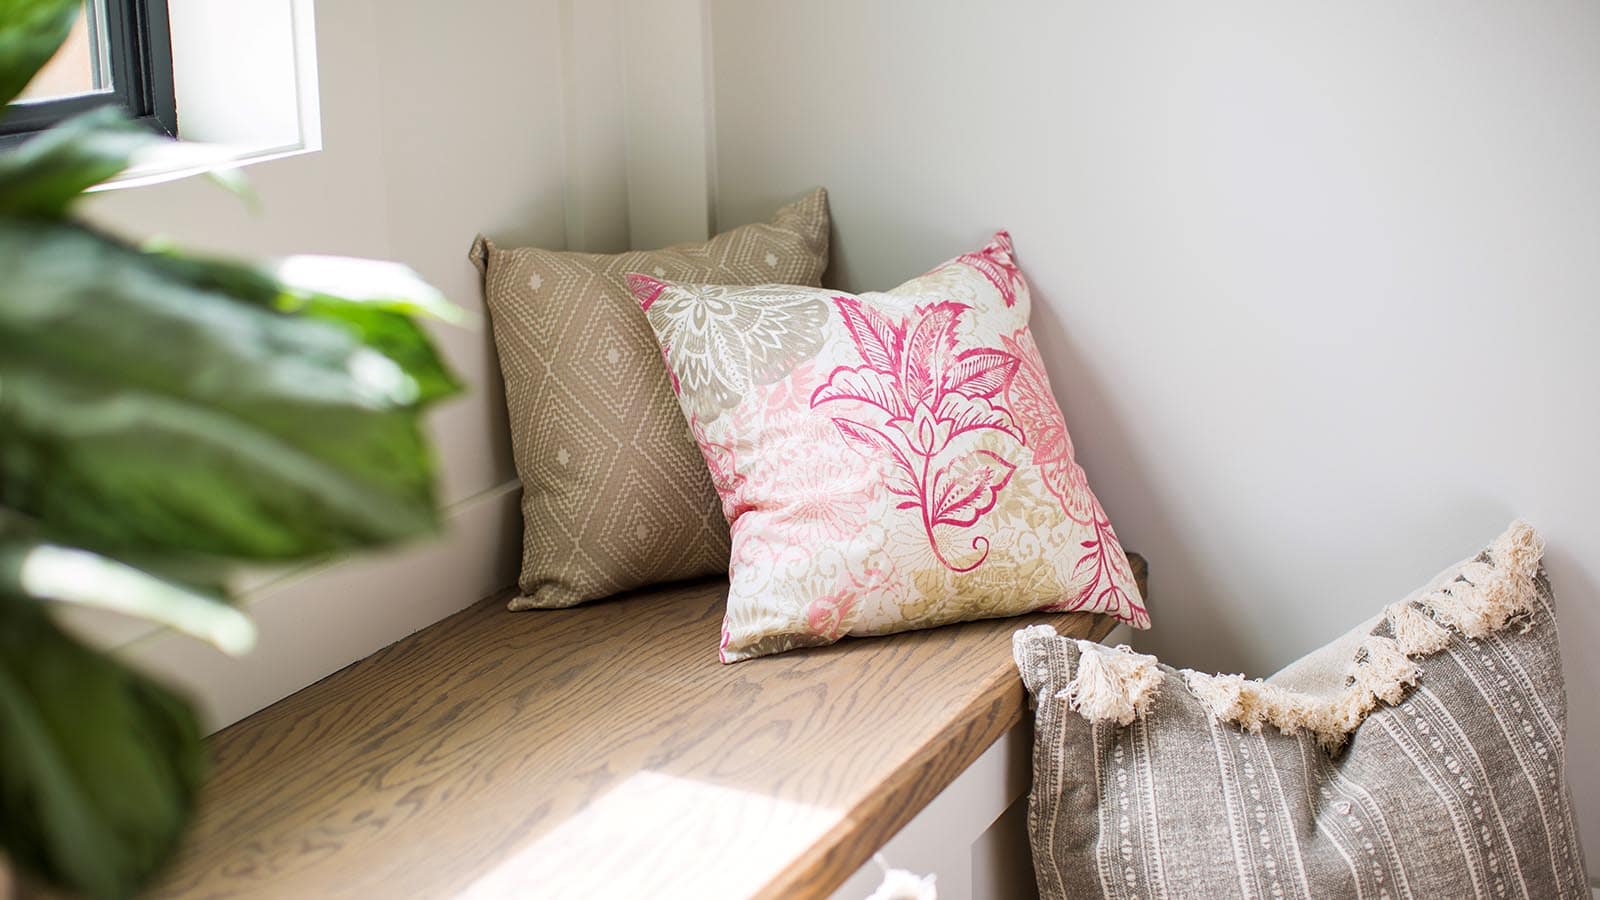
Add a bright touch to any room with this floral pillow. This project is a great way to practice inserting zippers. Best of all this beautiful pillow can be made on your new Baby Lock Joy! Download printable instructions.
Materials:
- ½ Yard of floral print home decorator fabric
- 22” zipper to match fabric
- Madeira® Cotona thread
- Zipper foot
- 18” pillow form
- Basic sewing supplies
Tools:
Steps:
-
Cut one 19” square from the floral print and two sections that are 10” x 19”.
-
Set up the machine for sewing. Thread the machine with a thread color that coordinates with the fabric.
-
Take the the two 10” x 19” sections and place right sides together. Pin one 19” side together. Set the stitch length to 4.5. Baste the seam together. Stitch across the width.
-
Remove the pins as you sew so that you do not break a needle or hurt yourself.
-
-
Press the seams apart.
-
Lay the section on a flat surface with the wrong side of the section facing upward.
-
Place the zipper with the zipper pull facing downward.
-
Center the zipper so that the zipper pull end hangs off the side of the section. The opposite end of the zipper should be even with the opposite side of the section. Pin in place.
-
Attach the zipper foot to the machine. Baste down the first side of the zipper centering the needle so that the stitches are placed down the center of the ribbon.
-
Remember to remove the pins as you sew.
-
-
Repeat for the opposite side of the zipper.
-
To apply the stitches to the front of the zippered section turn the section right side up.
-
Change the stitch length to 2.5.
-
Place the right side of the zipper section under the presser foot. Using the basting stitches as your guide stitch along the basting stitches to secure the zipper in place.
-
Repeat for the other side of the zipper. If the basting stitches did not run on a straight line make any adjustments at this time.
-
-
Remove the basting stitches.
-
Trim the section to a 19” square.
-
Open the zipper slightly.
-
With right sides facing place the pillow front section and the zippered section together. Pin the sections together.
-
Place the J-foot back on the machine.
-
Using a ½” seam allowance to stitch around the outer edge of the pillow. Start to sew ten inches down from one of the corners rather than at a corner.
-
When you get to the corner round off the corner rather than stitching a square corner. The corner looks much nicer.
-
-
Trim the corners and turn right side out through the opened zipper.
-
Insert the pillow through the zippered opening.


