
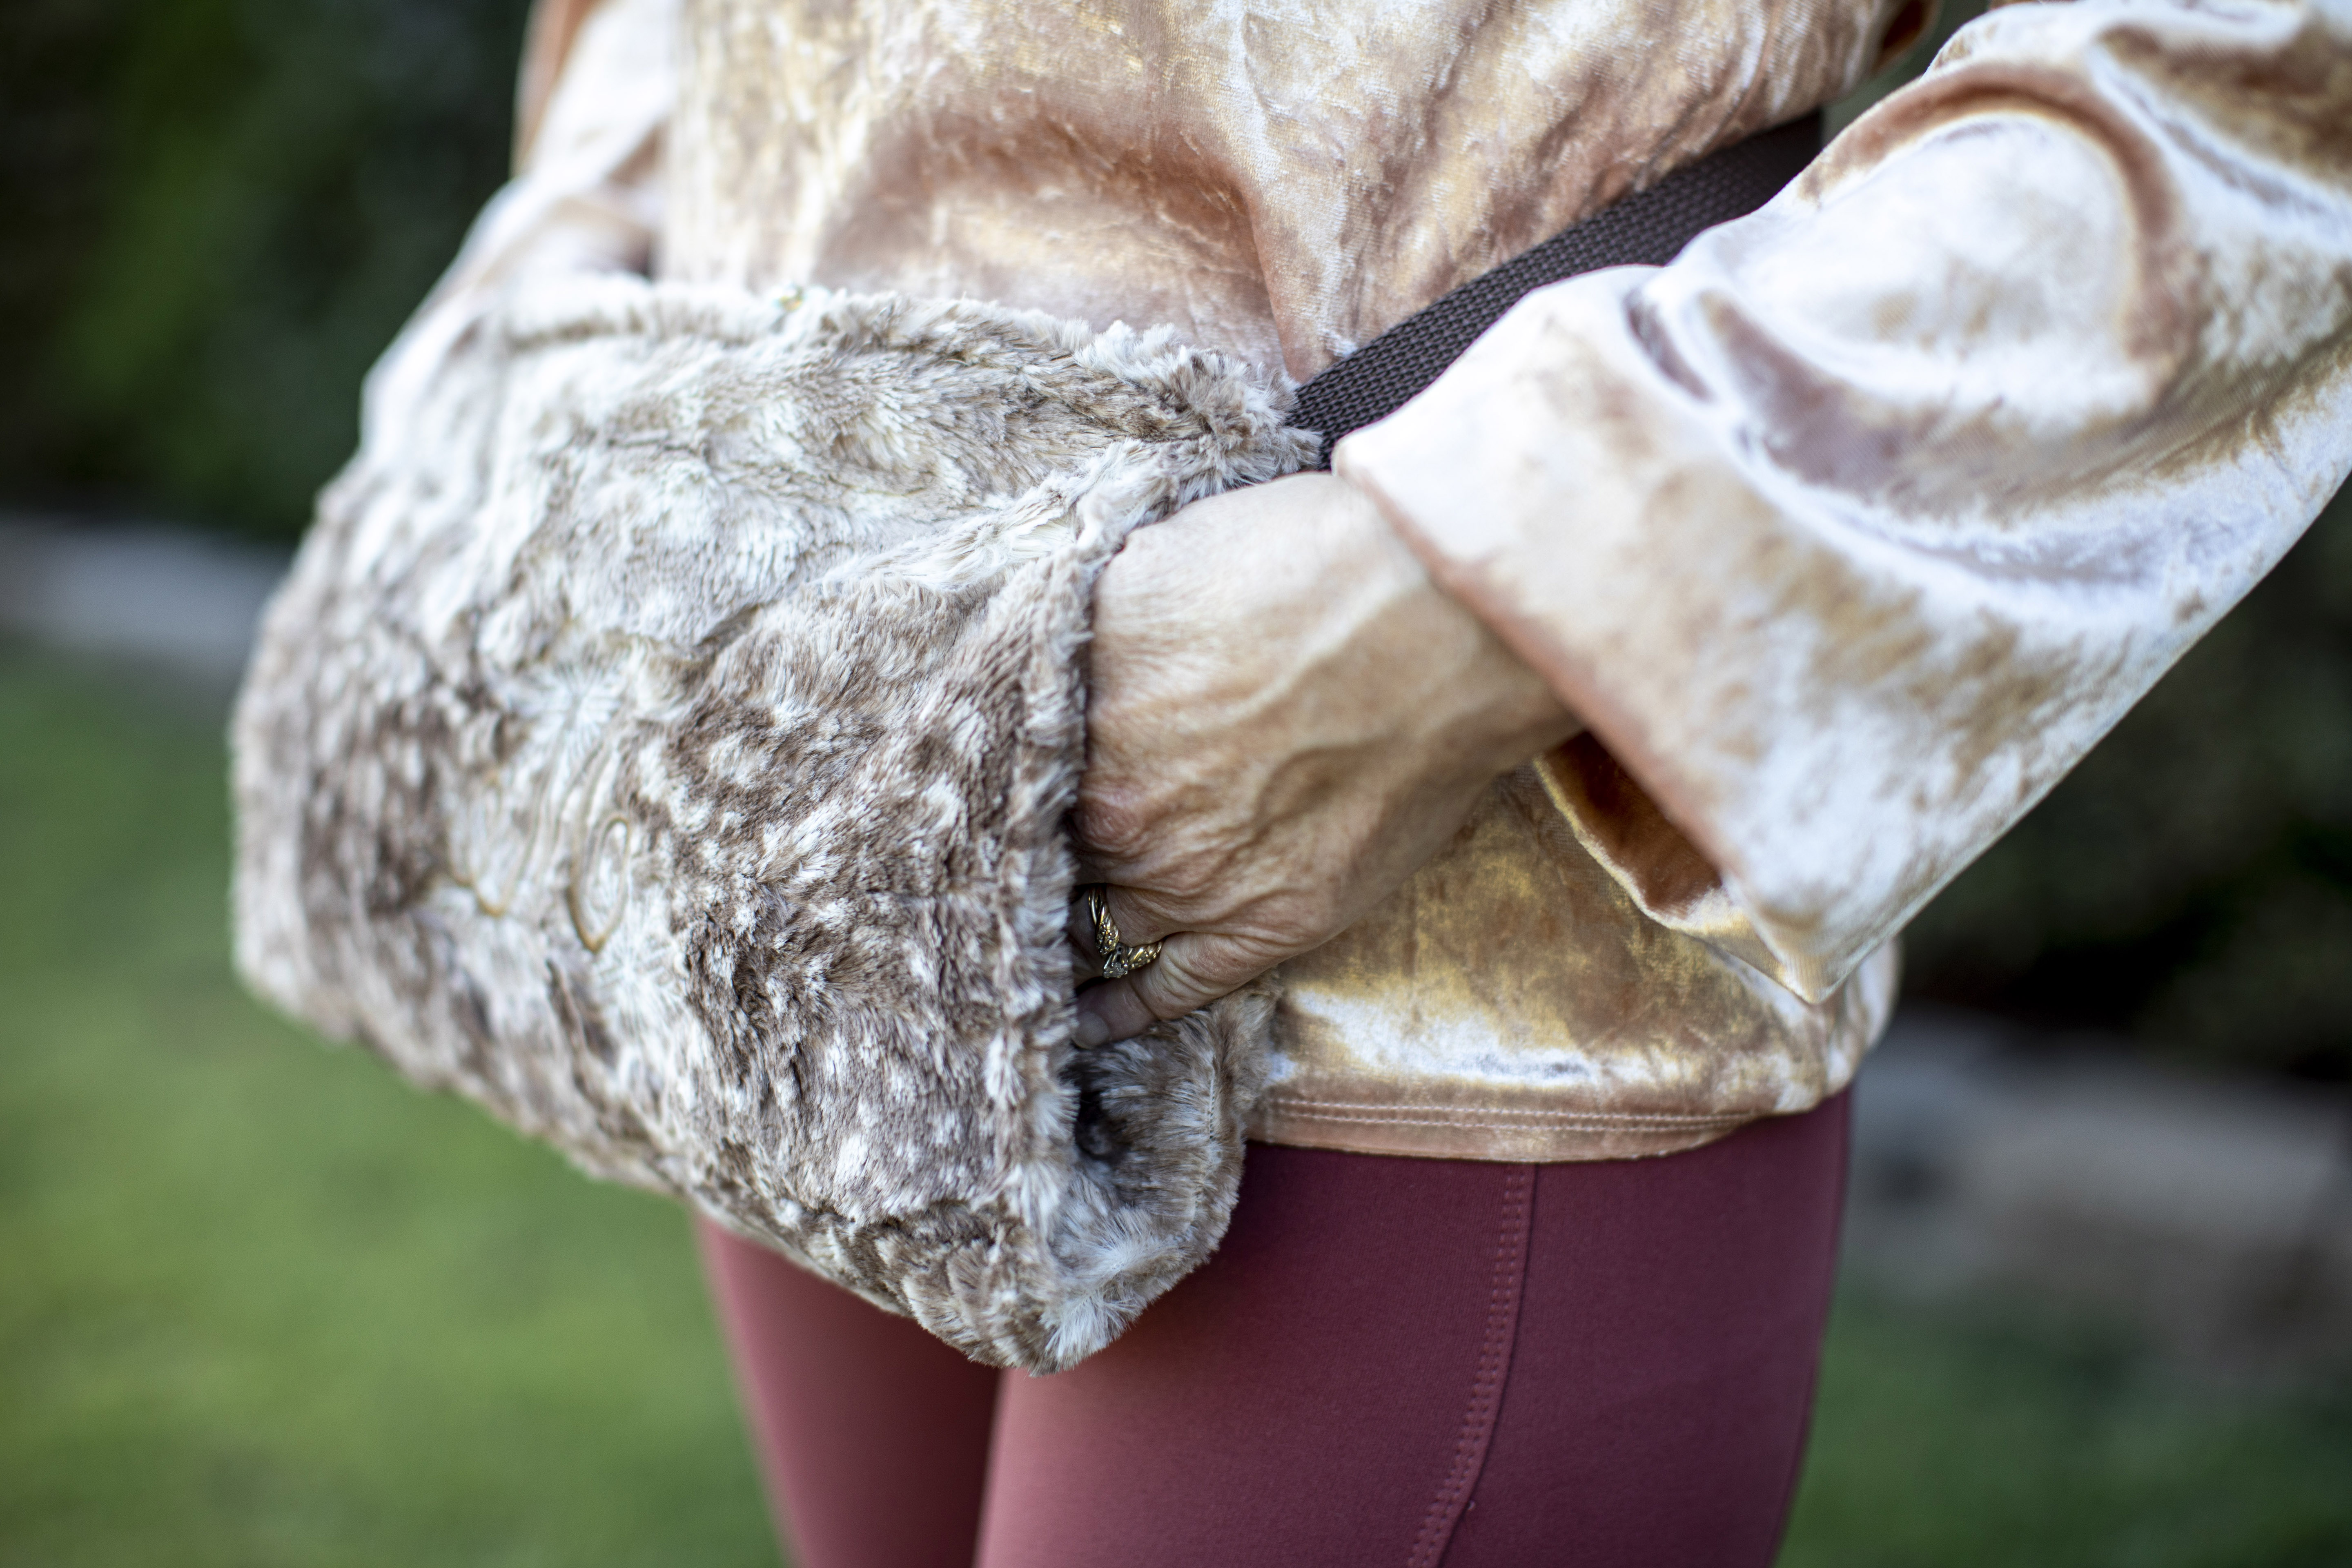
This project is a great way to keep your hands warm and carry your phone wallet or glasses for sporting events shopping trips or hanging out with friends.
Click here to download the instructions which include step-by-step photos.
Supplies
- Baby Lock Sewing and Embroidery Machine; the Baby Lock Vesta is featured in this tutorial
- 1 yard of Shannon’s Fabrics Luxe Cuddle® minky fabric
- 1 fat quarter of cotton for your pocket.
- Shape Flex 1510
- Madeira Aerofil Sewing Thread
- 1 yard of 1 inch webbing or elastic banding (for the waistband)
- 1 parachute buckle or a decorative buckle works well with the elastic band
- 1 7-inch zipper
- 12 oz. of Polyester Batting/Fiberfill
- Quilt clips
- Fabric Pen/tape to help mark center on the fabric and Luxe Cuddle® minky fabric
- For Embroidery:
- Finishing Touch bobbin thread
- Embroidery Thread of your choice
- Design (created with Palette 11)
Instructions
- Prepare the Fabric pieces: • Cut TWO 12” x 18” Luxe Cuddle® minky fabric. • Cut TWO 9” x 7” pieces for the pocket. This comes from the Fat Quarter. • Cut TWO pieces of stabilizer 12” x 18” • Cut ONE length of webbing/elastic to go around your waist with 6 inches for overlap to allow for attaching the buckle and comfort of fit. (This also accommodates for how you want to use this around a coat around your waist or your shoulder as a cross body bag. ) For this project its designed to fit around your waist like a fanny pack.
- Ready your machine: Wind 2 bobbins: • One bobbin with Finishing Touch bobbin thread for your Embroidery • One bobbin with Madeira Aerofil selected for the project. Change to a new needle I used a 75/11 If you are using a Baby Lock machine have the following available: • Standard ‘J’ sewing foot • Zipper ‘I’ foot and • Embroidery foot (in this case I used the Baby Lock Vesta machine with the U+ foot an optional accessory)
- I used a design that would fit in a 5”x 7” hoop. I chose the Baby Lock Magnetic Frame (EMF180) because of the ease of hooping with this material. Check with your Baby Lock Retailer for availability and compatibility for your Baby Lock Embroidery machine.
- Press the fusible stabilizer to the back of the Luxe Cuddle® minky fabric. This will help manage the stretch of the fabric while sewing and assembling. Mark the fusible side of the fabric with ‘FRONT’ and ‘INSIDE’ to help manage the assembly. • Embellishment: Before moving ahead with assembly of the Muff Cuff if you want to embroider the FRONT you will do this now. If you choose not to embroider move on to Step 5. • In this sample I used Palette 11 Software. Using the 5” x 7” hoop I selected the Snowflake from the Design Library Holidays category (SP_snow_crystal01.pes) and brought it into the design page. I then duplicated resized and placed the 3 snowflakes where I wanted them. • The lettering is also from Palette 11 it’s 019 Script from the Text Tool. I added the letter to the design page and sized it as I wanted. • My design is 4.25” tall x 4.5” wide. Mark the center of your FRONT panel I used the fabric tape to place a center point for placement of the design.
- Using the INSIDE panel with the stabilizer side up you will want to attach the webbing or elastic band. For a traditional look you can divide the webbing in 2 and place the center of the webbing in the center of the panel one inch down from the top edge of the INSIDE panel.
- Using the standard ‘J’ sewing foot and the Straight Stitch attach the webbing/elastic ¼” inch from each side of the webbing to the INSIDE panel. To do this run the webbing completely across the fabric to help provide support. Stitch the top and the bottom of the webbing with a straight stitch and reinforcing the stitches at the beginning and end of the line.
- With the FRONT piece right side down (stabilizer facing up) lay one pocket piece right side up 1” down from the edge of the FRONT fabric. Trim the Luxe Cuddle® minky fabric back on the edge of the Luxe Cuddle® minky fabric to make it easier to see when sewing. Lay the zipper right side up on top of the pocket piece edges meeting. Fold ½” of the FRONT fabric over the edge of the pocket fabric and the side of the zipper (see photo). Use quilt clips to help hold these pieces together. The fabric will slide or shift check the stitching as you attach the zipper to ensure the fabrics are catching and not just the minky fluff. Attach the zipper using the Zipper “I” foot and a straight stitch using the same stitch setting above. (This project is completed with the straight stitch only.)
- At this point the webbing/elastic is attached to the INSIDE panel and the zipper and one pocket panel are attached to the FRONT panel. Now it’s time to repeat Step 7 using the FRONT panel. Because the zipper is attached open the zipper to give more movement for placement and stitching as shown below. Notice the Zipper ‘I’ foot is not running near the teeth of the zipper but toward the edge of the fabric of the zipper for sewing ease. As you get closer to the end of the zipper stop just short and anchor the stitches using the re-inforcement key on the Vesta. Close the zipper closed and finish attaching the last 2 inches of the zipper to the FRONT panel. At this point you may need to trim some of the Luxe Cuddle® minky fabric away to see the zipper more clearly. If the stabilizer is peaking thru you can trim this back too.
- Stitch the pocket closed. Lay the panels so the right sides of the pocket fabric are facing each other and flip back the Luxe Cuddle® minky fabric panel to sew the pocket closed.
- It’s time to sew the panels together but first we need to be sure we have the waistband on the correct side of the project before we sew up the sides. Stitch this closed with the right sides together. Using the quilt clips make sure the top edges meet and the bottom corners meet begin adding clips about every 2 inches on EACH SIDE. Do not sew the bottom together yet. NOTE: Be sure to place the waistband inside before you sew the sides together. Stitch this seam at ½” again using the same straight stitch and in this case the standard ‘J’ sewing foot.
- After the sides are sewn together flip the bag right side out. Using the fiber fill grab a handful and start stuffing the muff. This should be only 2 or 3 handfuls not to overstuff the bag. Try to spread it flat to avoid ‘clumps’ in the muff.
- When you’re happy with the feel of the muff it’s time to sew up the end. To do this fold in the edges of the bottom of the muff and stitch directly on top of the minky from one side of the cuff to the other side.
- Take the bottom and roll it toward the top of the muff (INSIDE panel) where the webbing/elastic is attached. Match the bottom to the top edges and use the quilt clips to help stitch these together. Using the standard ‘J’ sewing foot sew these pieces together opening the zipper will give more ease in doing this. You will find the last 1-1.5 inches may need to be stitched separately if you have trouble getting the bulk under your needle.
- Your Muff is made… almost. We need to attach the parachute buckle or decorative buckle to the waistband. Follow the instructions provided with these buckles and you have a Muff Cuff Fanny Pack.


