

A Baby Lock serger can do so much more than just roll edges and serge seams on garments and home decor. If you are a quilter this modern quilting project is for you! Did you know that your 8-thread serger can piece quilt and bind your quilting projects faster than your sewing machine? This simple yet impactful pattern will brighten your home and the colors can be adjusted to match your decor.
This project is made using Maypole Quilt Pattern designed by Suzy Williams and available from Suzy’s Quilts
Materials:
- Fabric cut according to the pattern direction
- Madeira serger thread
- Cotton Batting
- Temporary Adhesive Spray
- Fray Check or Fray block
- Rotary cutter ruler and mat
- Scissor snips
- Basic Sewing Supplies
Tools:
Steps:
-
Purchase and Download the Maypole Quilt Pattern.
-
Cut the fabric according to the pattern instructions.
-
Set-up the Serger for a 3-thread overlock stitch with white thread in upper and lower loopers.
-
Set the stitch width to the 6.5 and the stitch length to 2-3.
-
Test sew two pieces together adjusting the stitch width as needed to get a ¼” seam allowance.
-
-
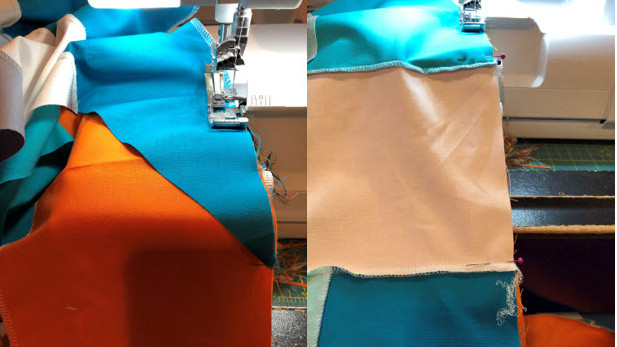
Piece your fabrics together according to the pattern by serging along the edges.
-
Make sure to press seams along the way of piecing.
-
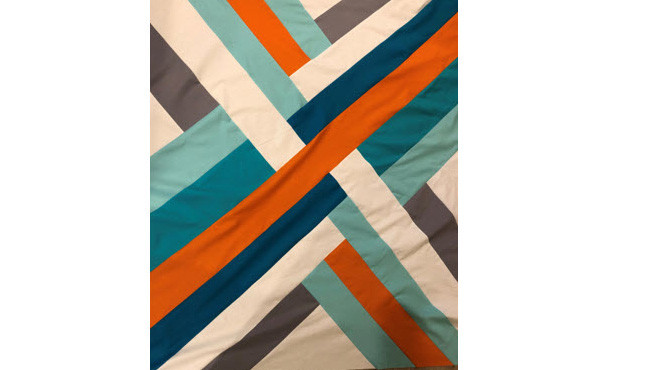
Follow the quilt construction per the quilt instructions
-
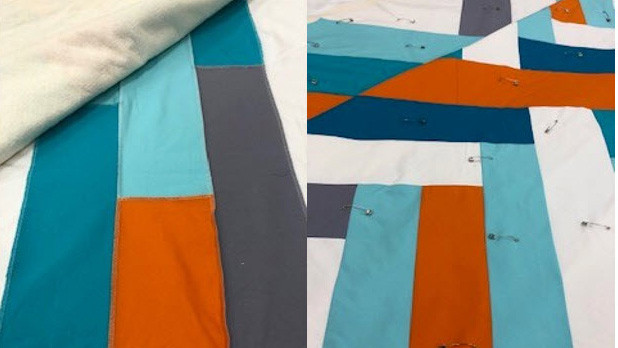
Once the quilt top is completed and pressed layer the pieced quilt top together with batting and quilt backing.
-
For extra interest add a pieced section in the back using the excess fabric.
-
Use Temporary Adhesive spray and safety pins to secure the quilt layers together.
-
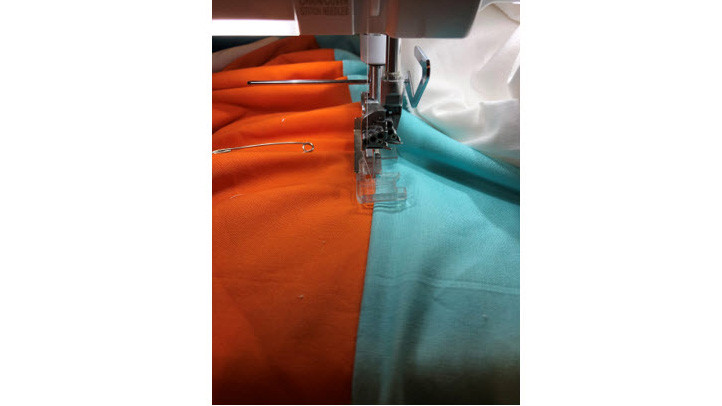
Re-thread the machine for a chain stitch using coordinating threads.
-
Use a clear or open toe serger foot to aid in viewing the quilt stitching.
-
Adding a quilt bar to the serger allows for guidance in straight line quilting.
-
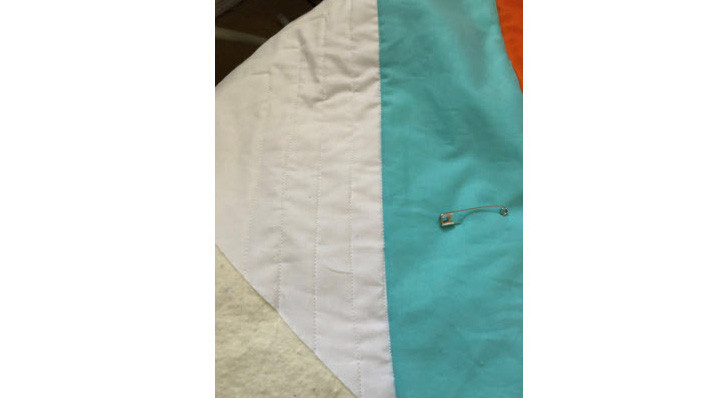
Stitch in the ditch on the various seams to hold all the layers in place
-
Quilt the various sections of the quilt working from the inside sections of the quilt to the outer edges. The Triumph has a 5” throat space that allows room for most of the quilt bulk.
-
Note: with a chain stitch it is easy to remove the stitches if you do not like the way they stitched
-
Apply Fray Check or Block to the loose chain stitches on the back of the quilt. Once dried trim the excess serger threads.
-
Prepare the binding according to the quilt pattern instructions.
-
Switch your Triumph back to a 3 thread overlock stitch but thread the lower looper with fusible thread.
-
Attach the binding to the quilt top.
-
When you get to the corners mark a 1/4” in stop serging and pivot off the fabric.
-
Fold your corners and begin serging again onto the fabric.
-
Complete all the way around the quilt.
-
-
By putting the fusible thread in the lower looper you can easily press the binding in place.
-
Hand or stitch the binding using the chain stitch or a sewing machine.


