
Click here to find this project in Totally Stitchin Magazine from Fall/Winter 2018. Click here to download the design.
Materials and Supplies
- Embroidery machine
- One 17" x 11" black canvas fabric
- One 17" x 11" lining fabric
- Embroidery thread: black orange white green carmine
- Baby Lock Tear-Away stabilizer
- 5" x 7" Embroidery hoop
- 4" x 4" White fabric for puppy appliqué
- 4" x 4" Orange fabric for pumpkin appliqué
- 4" x 4" Green fabric for boo appliqué (optional)
- White fabric marker for marking fabric
- Two pieces of 3/4" strapping each 18-1/2" long
Instructions
- Prepare fabric by marking center of front bag panel 4-1/2" from right side and 5-1/4" from bottom.
- Hoop Fabric and Stabilizer: load and open design file. Using white embroidery thread embroider color 1 placement lines for puppy appliqué
- Puppy appliqué:
- Place fabric over placement lines
- Stitch color 2 sew down line.
- Trim around sew-down line.
- Stitch color 3 satin stitch.
- Pumpkin appliqué:
- Stitch color 4 placement line for pumpkin appliqué
- Lay 4" x 4" orange fabric over placement line.
- Stitch color 5 sew-down line for pumpkin.
- Trim around placement line.
- Sew color 6 satin stitch.
- Boo appliqué:
- Color 7: placement line-place green fabric atop placement line.
- Color 8: sew-down line-stitch sew-down line and trim as close to sew-down line as possible.
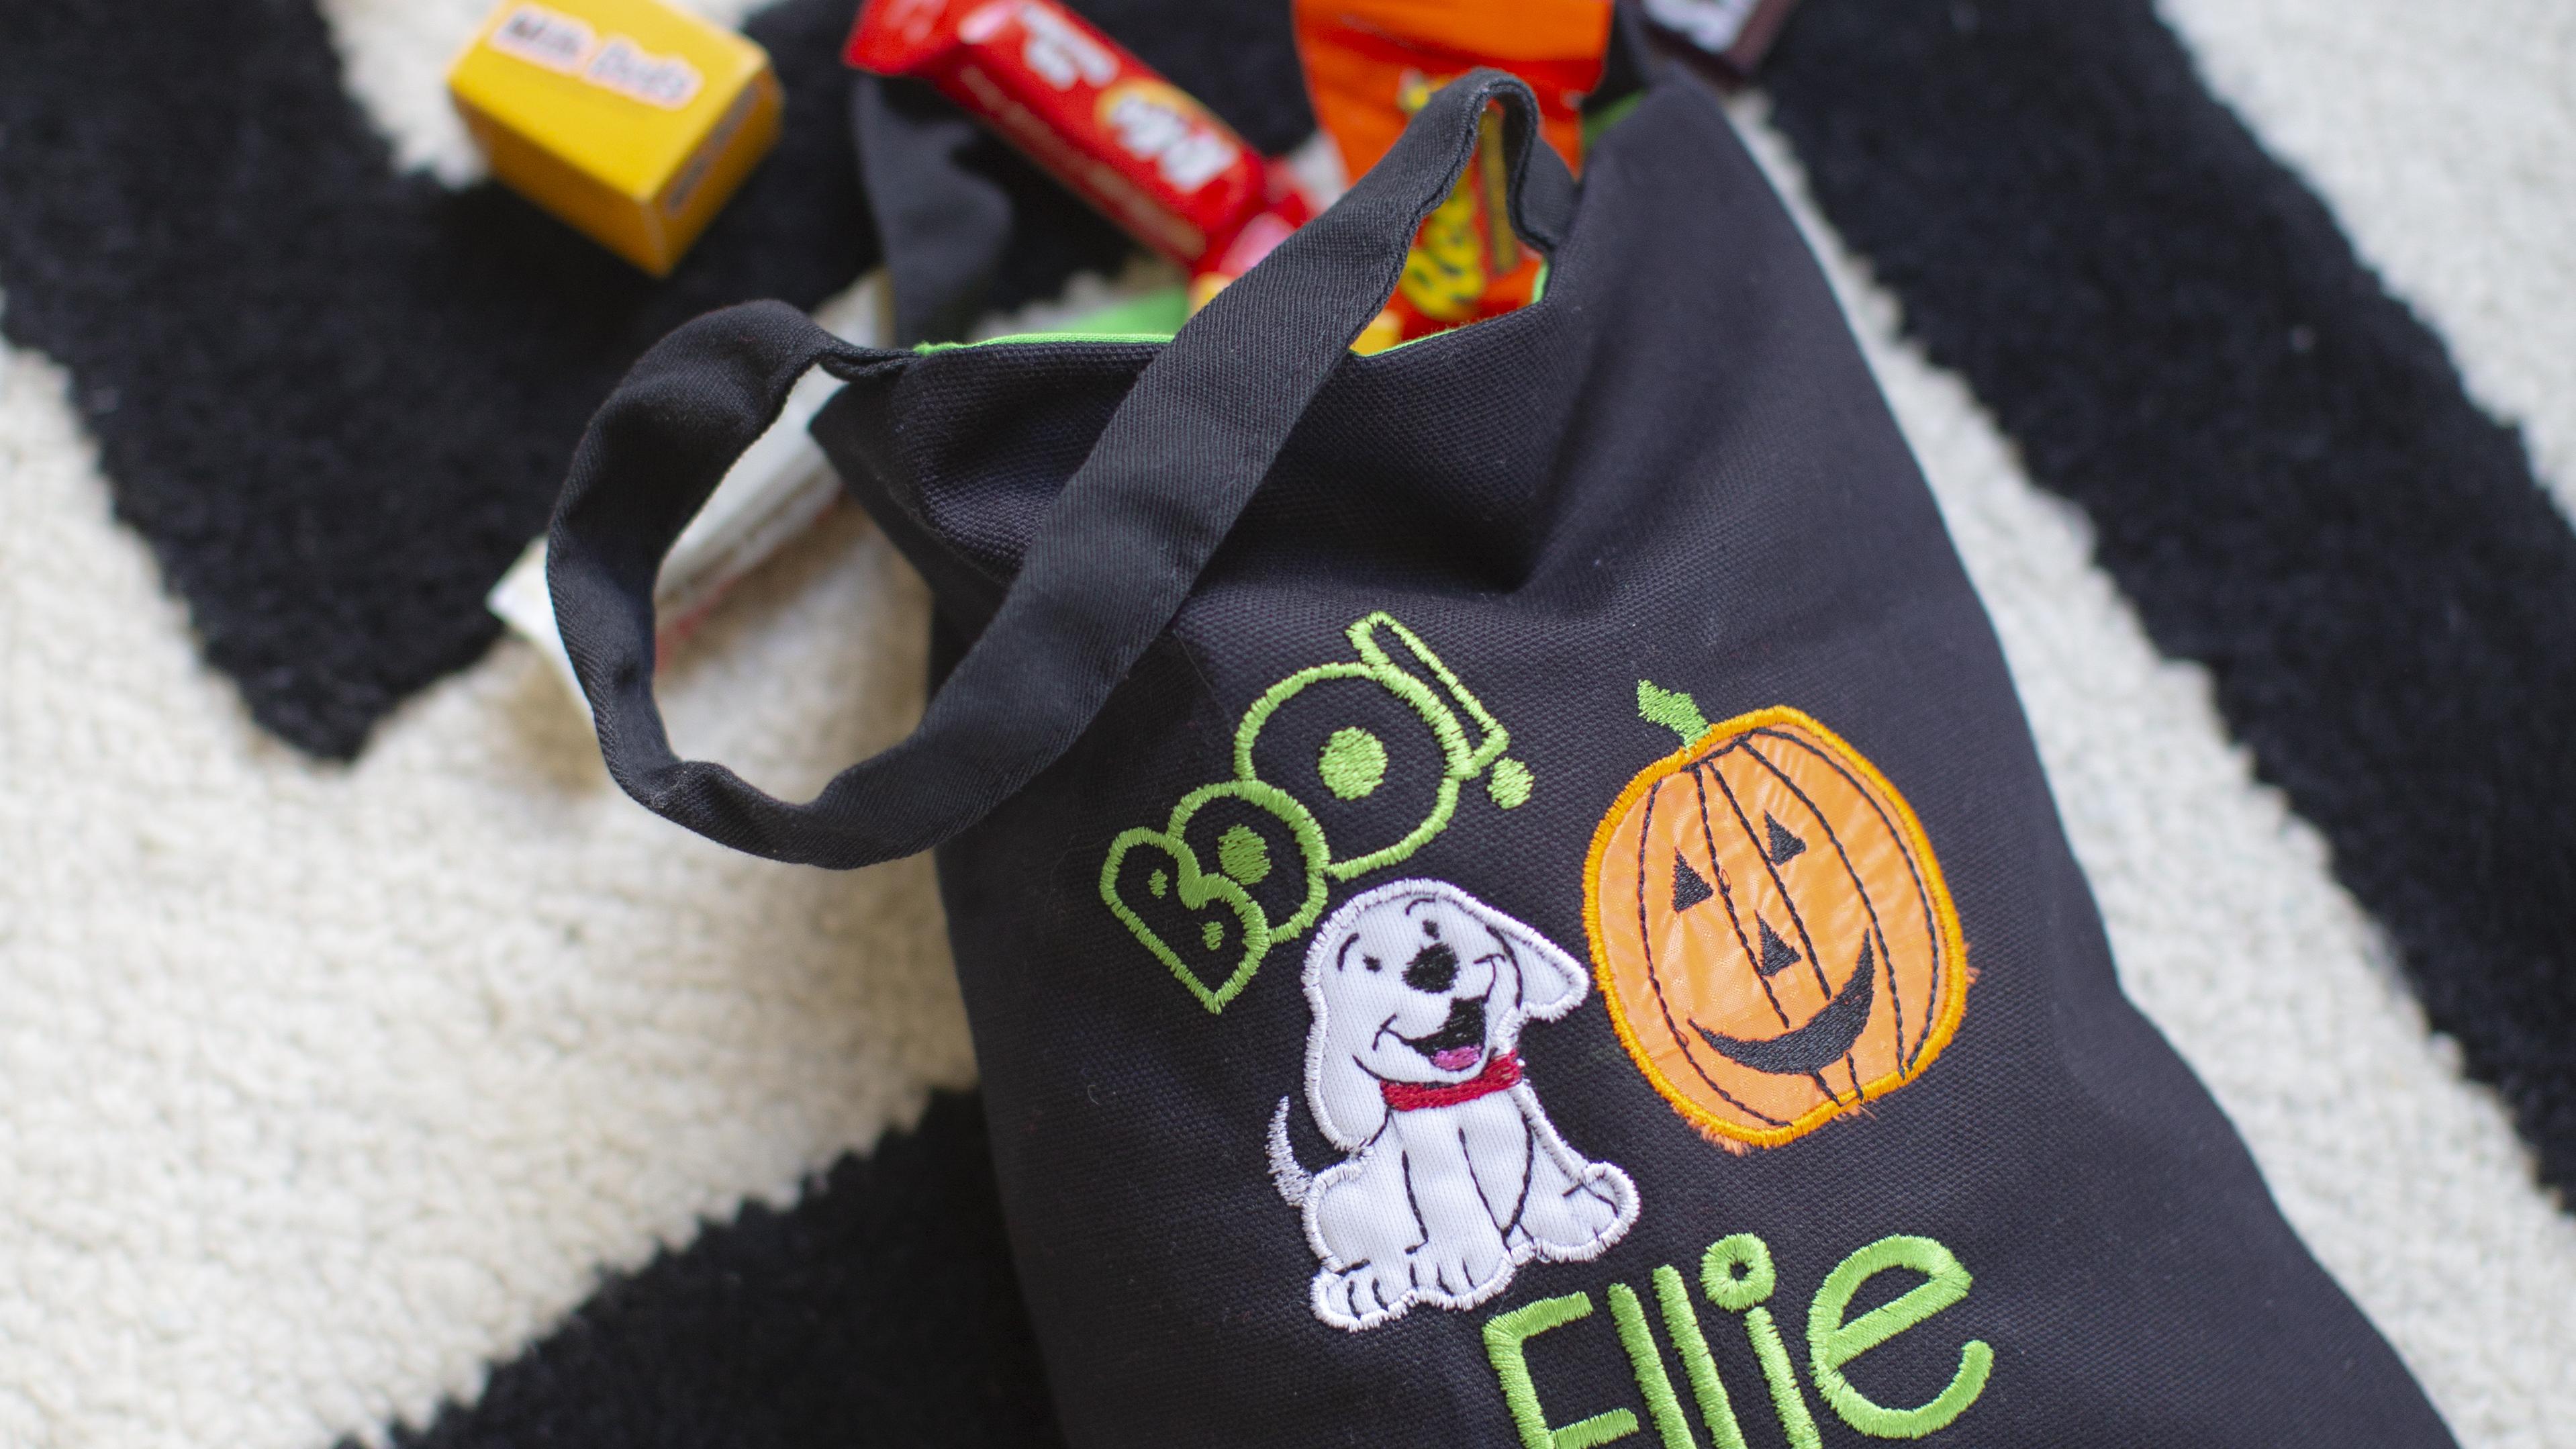
- Color 9: satin stitch-stitch and fill stitches for Boo!
- Optional: you can embroider this step without the appliqué if you choose. Embroider colors 7 8 and 9 in green thread.
- Embroider color 10 for pumpkin eyes nose and mouth.
- Pumpkin and puppy details
- Embroider color 11—black lines on pumpkin and puppy details in black.
- Embroider color 12—puppy’s tail.
- Embroider color 13—puppy’s collar.
- Embroider color 14—puppy’s tongue.
- Embroidery complete! Remove from hoop.
- On embroidered fabric using guidelines above mark placement lines for bag straps.
- Pin straps at placement lines.
- Lay lining and outerfabric right sides together.
- Pin and sew across top (long) edge.
- Reinforce stitching across bag straps.
- After stitching open fabric and fold with right sides of lining together and right sides of fabric outside together.
- Stitch all the way around raw edges leaving an opening in the bottom of fabric lining for turning.
- Turn right side out and stitch closed the opening left open for turning. Tuck lining in and press.


