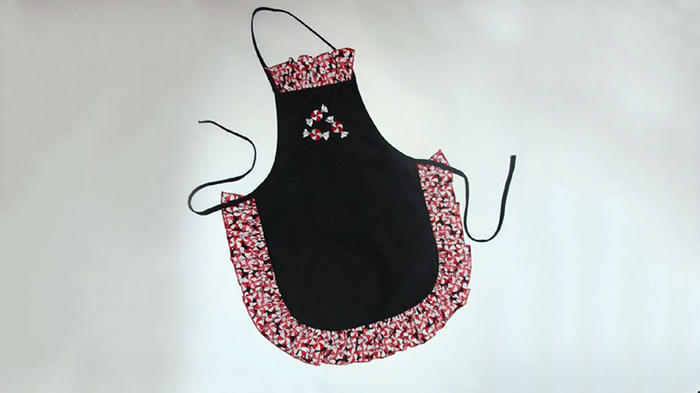
Create a festive ruffled apron in time for baking cookies or preparing holiday dinner using your Baby Lock serger! Perfect for a gift for yourself or someone else this quick project can be made even more fun with a little peppermint embroidery. Download printable instructions.
Materials:
- Amazing Designs Collection - Patrick Lose’s Christmas Cheer (ADP-91)
- Black apron
- 4 Spools Maxi-Lock serger thread
- Assorted spools decorative embroidery thread
- ¼ yard of peppermint candy print cotton
- Cut-away stabilizer
- Machine spray adhesive
Tools:
- Baby Lock Serger
- Baby Lock Embroidery & Sewing Machine
- Gathering foot (BLE-RF) or (BLE8-RF)
Steps:
-
Cut two 3” x width of fabric strips from the candy print fabric.
-
Thread the serger for a 3-thread rolled hem.
-
Place the two strips right sides together and serger across the short ends on one side to connect the strips together into one long strip.
-
Roll hem across the lower edge of the strip to finish the edge.
-
Change the settings on the serger so that it is set for a 4-thread stitch with the differential on 2 and the stitch length on 4.
-
Attach the gathering foot.
-
Place the candy printed fabric right side up and under the foot of the machine.
-
Place the apron through the guide of the foot serge the ruffle to the sides and lower edge of the apron. The foot will gather the ruffle it as it serges.
-
-
Cut off any excess ruffle at the sides of the apron.
-
Change back to a 3-thread rolled hem and serge the short ends of the ruffle.
-
Roll hem the short ends of the excess ruffle you cut off previously.
-
Pin the piece of excess ruffle behind the top of the apron.
-
Stitch in place using a chain stitch cover stitch or a traditional straight stitch using the sewing machine.
-
To add the embroidery send the candy design from Amazing Designs Patrick Lose Christmas Cheer collection to the embroidery machine.
-
Merge in the same design two more times and adjust the layout as desired.
-
Hoop Cut Away Soft stabilizer in hoop lightly mist with temporary machine adhesive and position the bib section of the apron on the stabilizer.
-
Embroider the designs
-
When the embroidery is complete cut away any excess stabilizer. Time for holiday baking!


