
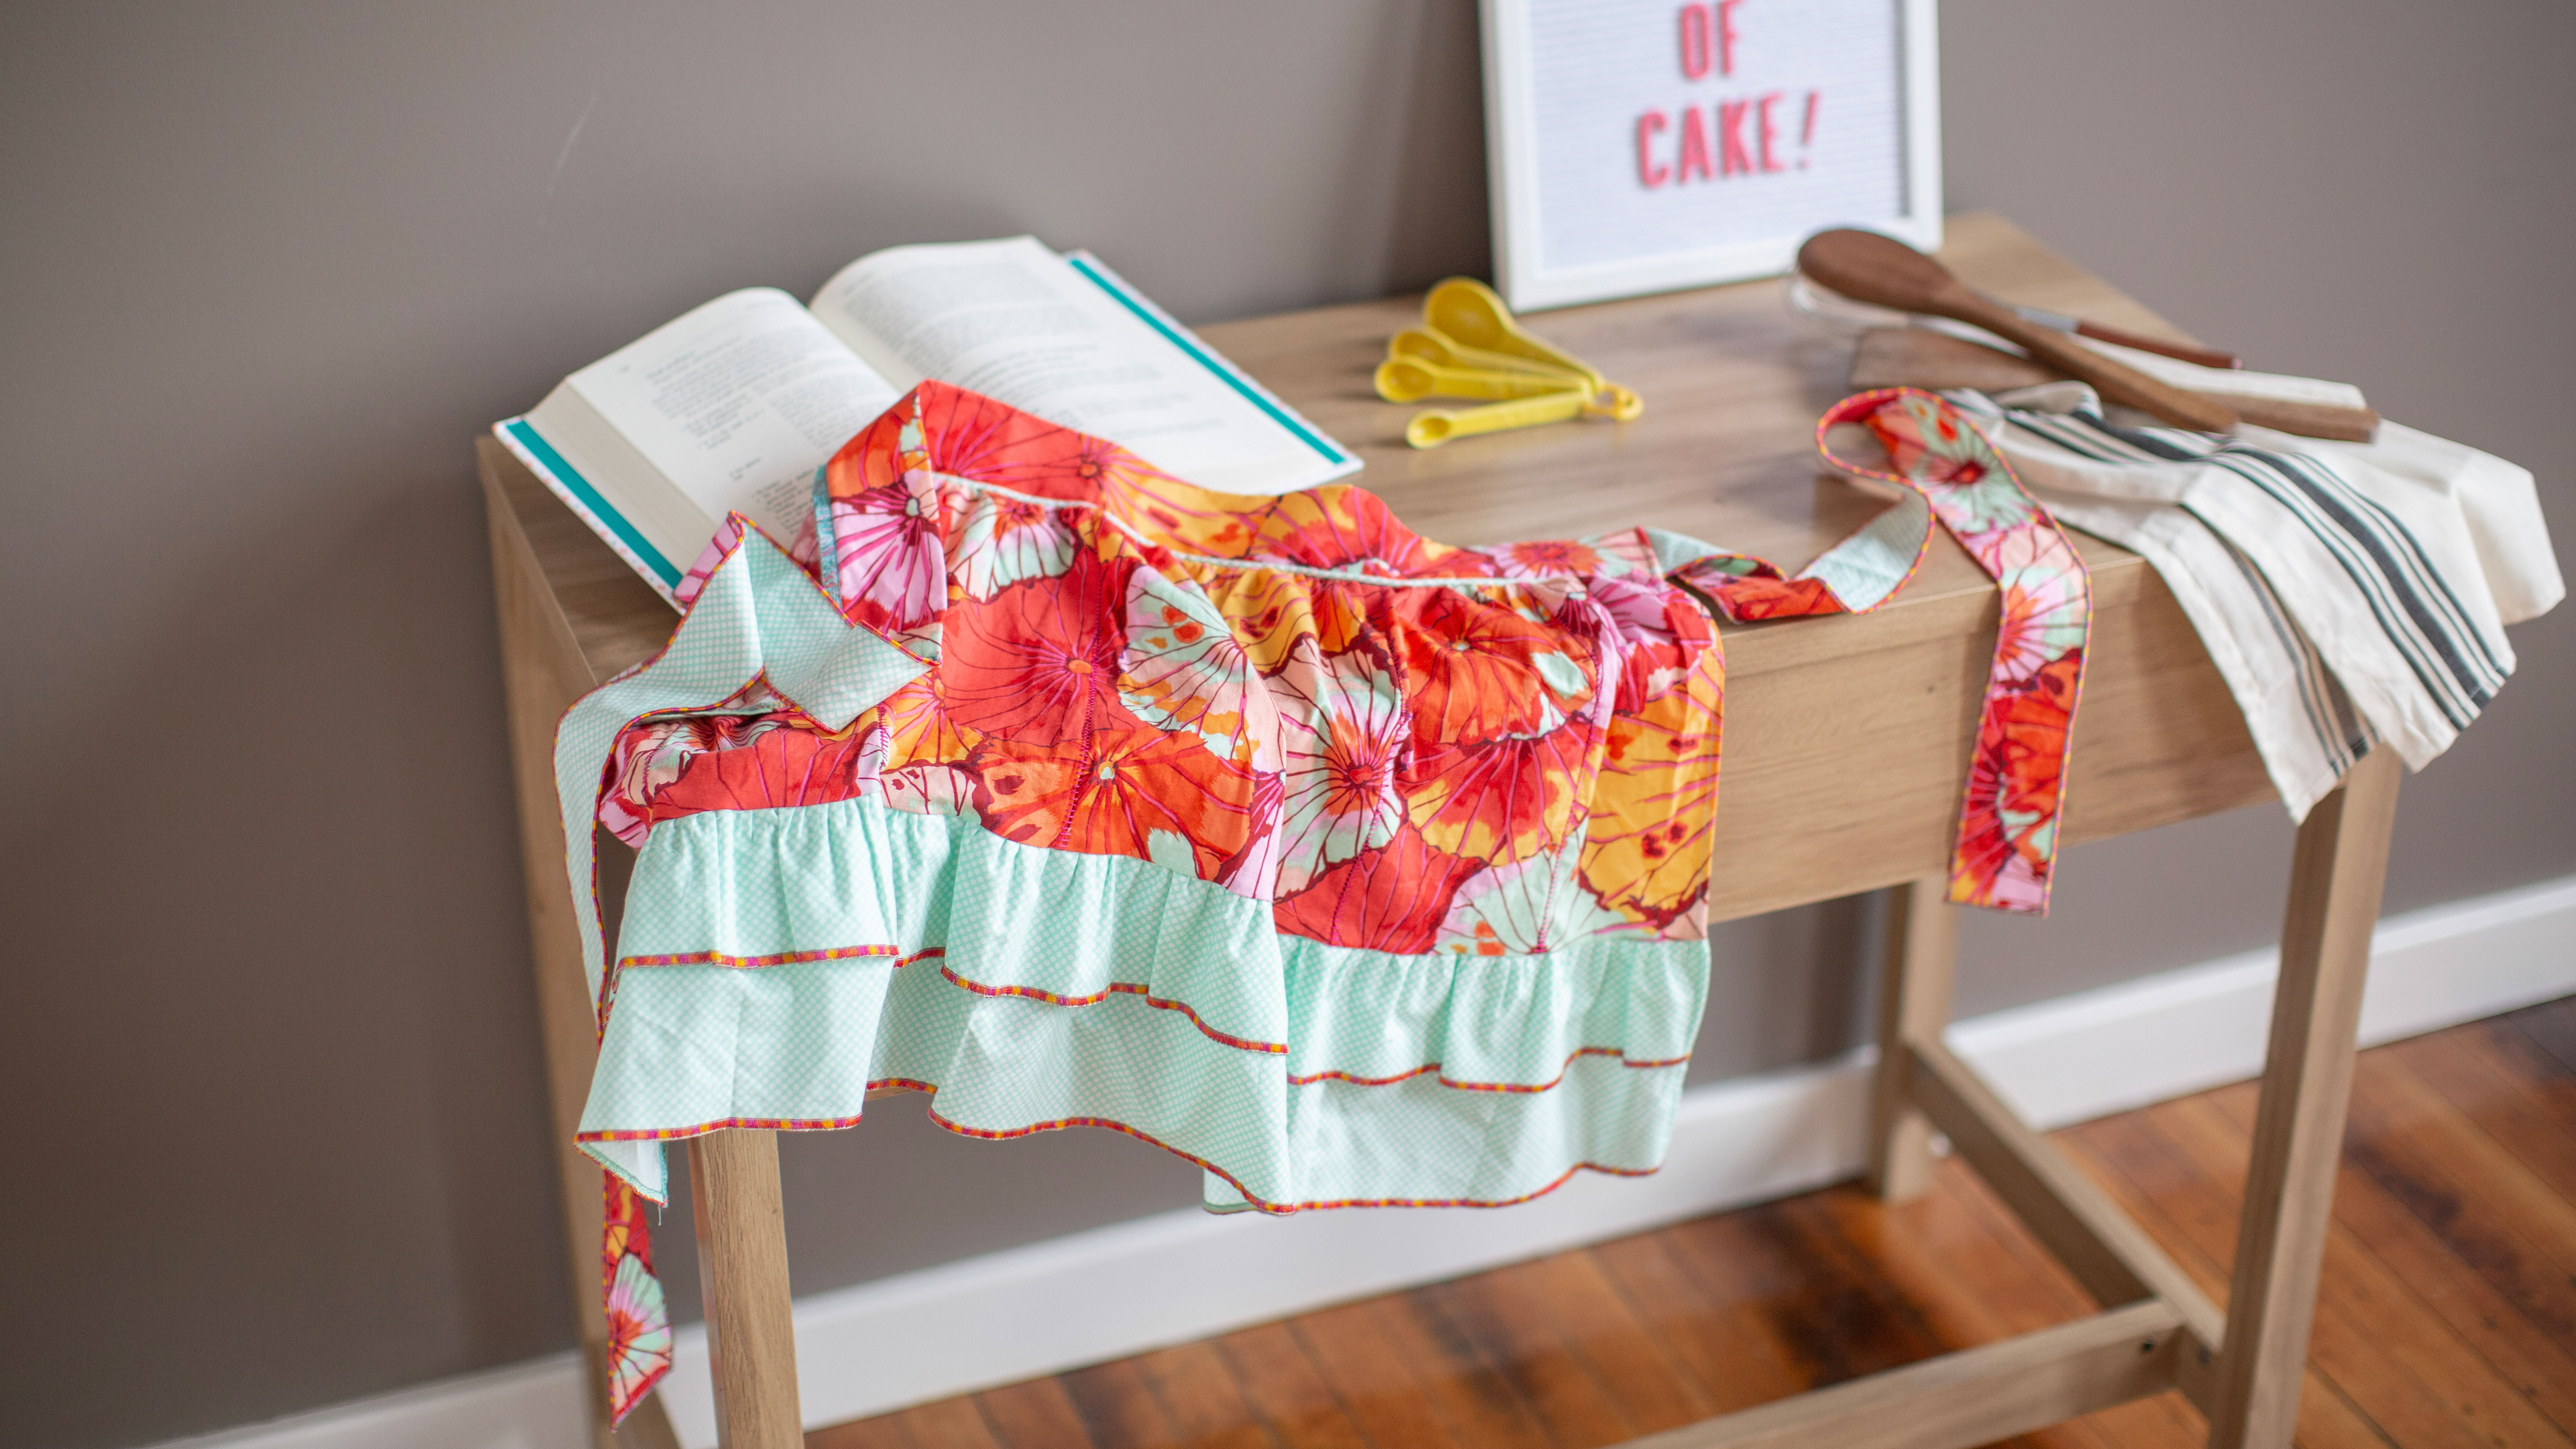
If you entertain a lot you know presentation is everything. So why not create an apron on your Baby Lock serger that’s so pretty you won’t want to take if off even when your guests arrive? This cute little apron is just enough to create a cute pop to your outfit or even hanging in your kitchen. Or make it as a hostess or housewarming gift anyone will love! Download printable instructions.
Materials:
- Fabric A – 2/3 yard of floral print
- Fabric B – 1 yd of polka dot print
- Cording – 3/16 or 1/8” – 1 yd
- Small strip of medium weight fusible interfacing
- 3 spools overlock/serger thread
- 2 spools 12-weight decorative cotton thread in coordinating colors
- 1 spool 8-weight decorative cotton thread
Tools:
Steps:
-
From fabric A (floral) cut the following:
-
40" x 11" for the skirt panel
-
Two 32" x 2.5" strips for the ties
-
25" x 5" strip for the waistband. Also cut this length from the medium-weight fusible interfacing
-
-
From fabric b (dots) cut the following:
-
Two 32" x 5" sections for the ties
-
Two WOF x 3.5" sections for the short ruffle and two WOF x 6.5" sections for the long ruffle
-
-
From the cording cut a 30" piece
-
On the wrong side of the skirt panel find and mark the center by drawing a line from the top edge to the bottom edge.
-
Mark a line every 5” from the center working out to the fabric edge. This will be done on both sides of the center marking.
-
Fold the fabric on lines with right sides together and press.
-
-
Stitch set-up: Use the flat stitch wide with the left needle.
-
Place 8-weight decorative thread in the needle.
-
Set the stitch length 2.5 and stitch width at 6-7.
-
Place the cutting blade in a down position. For this technique the stitch will be along the fold.
-
-
Serge along each of the folded edges making sure to catch only the fold. Practice this stitch before stitching on the main fabric.
-
Leave a thread chain before and after each seam because stitches can sometimes come undone.
-
-
Open out fabric and pull on both sides of the seam you will see a ladder stitch on the right side of your fabric. Press.
-
For the ruffles:
-
Stitch set-up: Use the 3-thread overlock wide. Set the stitch length at 3.5 and stitch width at 7.
-
Place overlock thread in the needle upper looper and lower looper. Place the cutting blade in an up position.
-
Join the two 3.5” short ruffle pieces along one short edge trimming off a ¼”. This will create one long strip.
-
Join the two 6.5” strips to create the long ruffle section to create one long strip. Serge along one short edge trimming off a ¼”.
-
-
To finish the ruffled edge:
-
Stitch set-up: 3-thread overlock narrow with stitch length at 1 and stitch width at 6 overlock thread in the needle and decorative 12-weight thread in upper and lower loopers.
-
Serge along one long edge on each ruffle trimming ¼”.
-
-
To create the ruffles:
-
Stitch set-up: 3-thread overlock wide with the stitch length at 2.5 stitch width at 7. Thread the serger with overlock thread and attach the gathering foot.
-
Set differential feed to 2. This will cause the fabric strip against the feed dogs to gather.
-
Place the 3.5” short ruffle strip under the foot and against the feed dogs with strip right side up. Take a few stitches so that the needles catch the fabric strip.
-
Place the lower edge of the skirt into the upper slot in the gathering foot right side down so that the ruffle and skirt are right sides together.
-
This will allow the fabric strip against the feed dogs to gather and the skirt to remain flat. Stitch trimming ¼” of the fabric edge.
-
Take the 6.5” long ruffle and place it under the ruffing foot and against the feed dogs right side up.
-
Place the strip from steps 11 and 12 (skirt and 3.5” ruffle) into the upper slot in the gathering foot with wrong side of the 3.5” ruffle against right side of 6.5” ruffle.
-
Place under the presser foot. Serge cutting off ¼”. Trim off excess ruffle.
-
-
For the cording:
-
Set differential feed to standard. Attach the piping foot to machine.
-
Place 1/8” cording under the groove in the piping foot until about 1” is at the back of the presser foot.
-
Wrap the cording with the fabric strip so that the cording is situated inside the fold with fabric edges together and on the right. The fabric edges will be trimmed.
-
The distance the groove on the underside of the presser foot is from the cutting blade will determine the depth of the seam allowance.
-
Take a few stitches to catch the fabric. At first it may be necessary to stitch at a slower speed. Stitch full length of strip.
-
Tip: Do not cut off excess cording as it will help when inserting the cording into the waistband.
-
-
For the waistband:
-
Fuse interfacing to waistband. Fold waistband in half with wrong sides together so the waistband measures 26” x 2.5”. Press.
-
With the piping foot still in place position the cording in the groove and the waistband underneath the cording aligning fabric edges.
-
Make sure to place the waistband right side up. Stitch these two pieces together.
-
With the piping foot still attached sewing the skirt to the waistband. Use binder clips to hold these two pieces together these are a great replacement for pins.
-
-
To gather the skirt:
-
Sew two rows of long stitches 5.0mm length along top edge of skirt panel using a sewing machine. Make sure to leave thread tails on both ends and for both rows.
-
Pulling gently on the thread tails gather the skirt along the top edge. Adjust the gathers so that the top edge of the skirt matches the length of the waistband.
-
Place the skirt and waistband right sides together.
-
Note: Make sure the deepest row of stitches sits inside the seam joining the waistband and skirt. This will prevent any stitches showing on the right side below the waistband.
-
If stitches are showing simply remove the gathering stitches. But do so after the waistband has been stitched in place.
-
Using a rotary cutter and ruler make sure that your skirt and waistband edges are straight. Secure the ruffles before doing any cutting.
-
-
To create the ties:
-
Stitch set-up: Rolled hem with stitch length 1 stitch width at 4 with decorative thread in the upper looper and overlock thread in lower looper and needle.
-
Match ties from fabric A to fabric B with wrong sides together.
-
Place fabric under the foot with Fabric B facing up serge along the long edges and then ONE short edge.
-
-
To attach the ties to the apron:
-
Set machine up for the 3-thread overlock wide with the stitch length at 2.5 stitch width at 7 and overlock thread in all three positions.
-
Match the unfinished edge of the tie to the waistband edge. With fabric B facing the right side of the waistband serge cutting off ¼’ the length of the apron for a clean edge.
-
Repeat for second tie
-
-
To hem:
-
Using the sewing machine turn under the side edges of the apron and stitch along the edge. This will secure the edges.
-
Using a seam sealant place a small amount at the ends of thread chains on the ties. Allow the seam sealant time to dry and then trim the tails.
-


