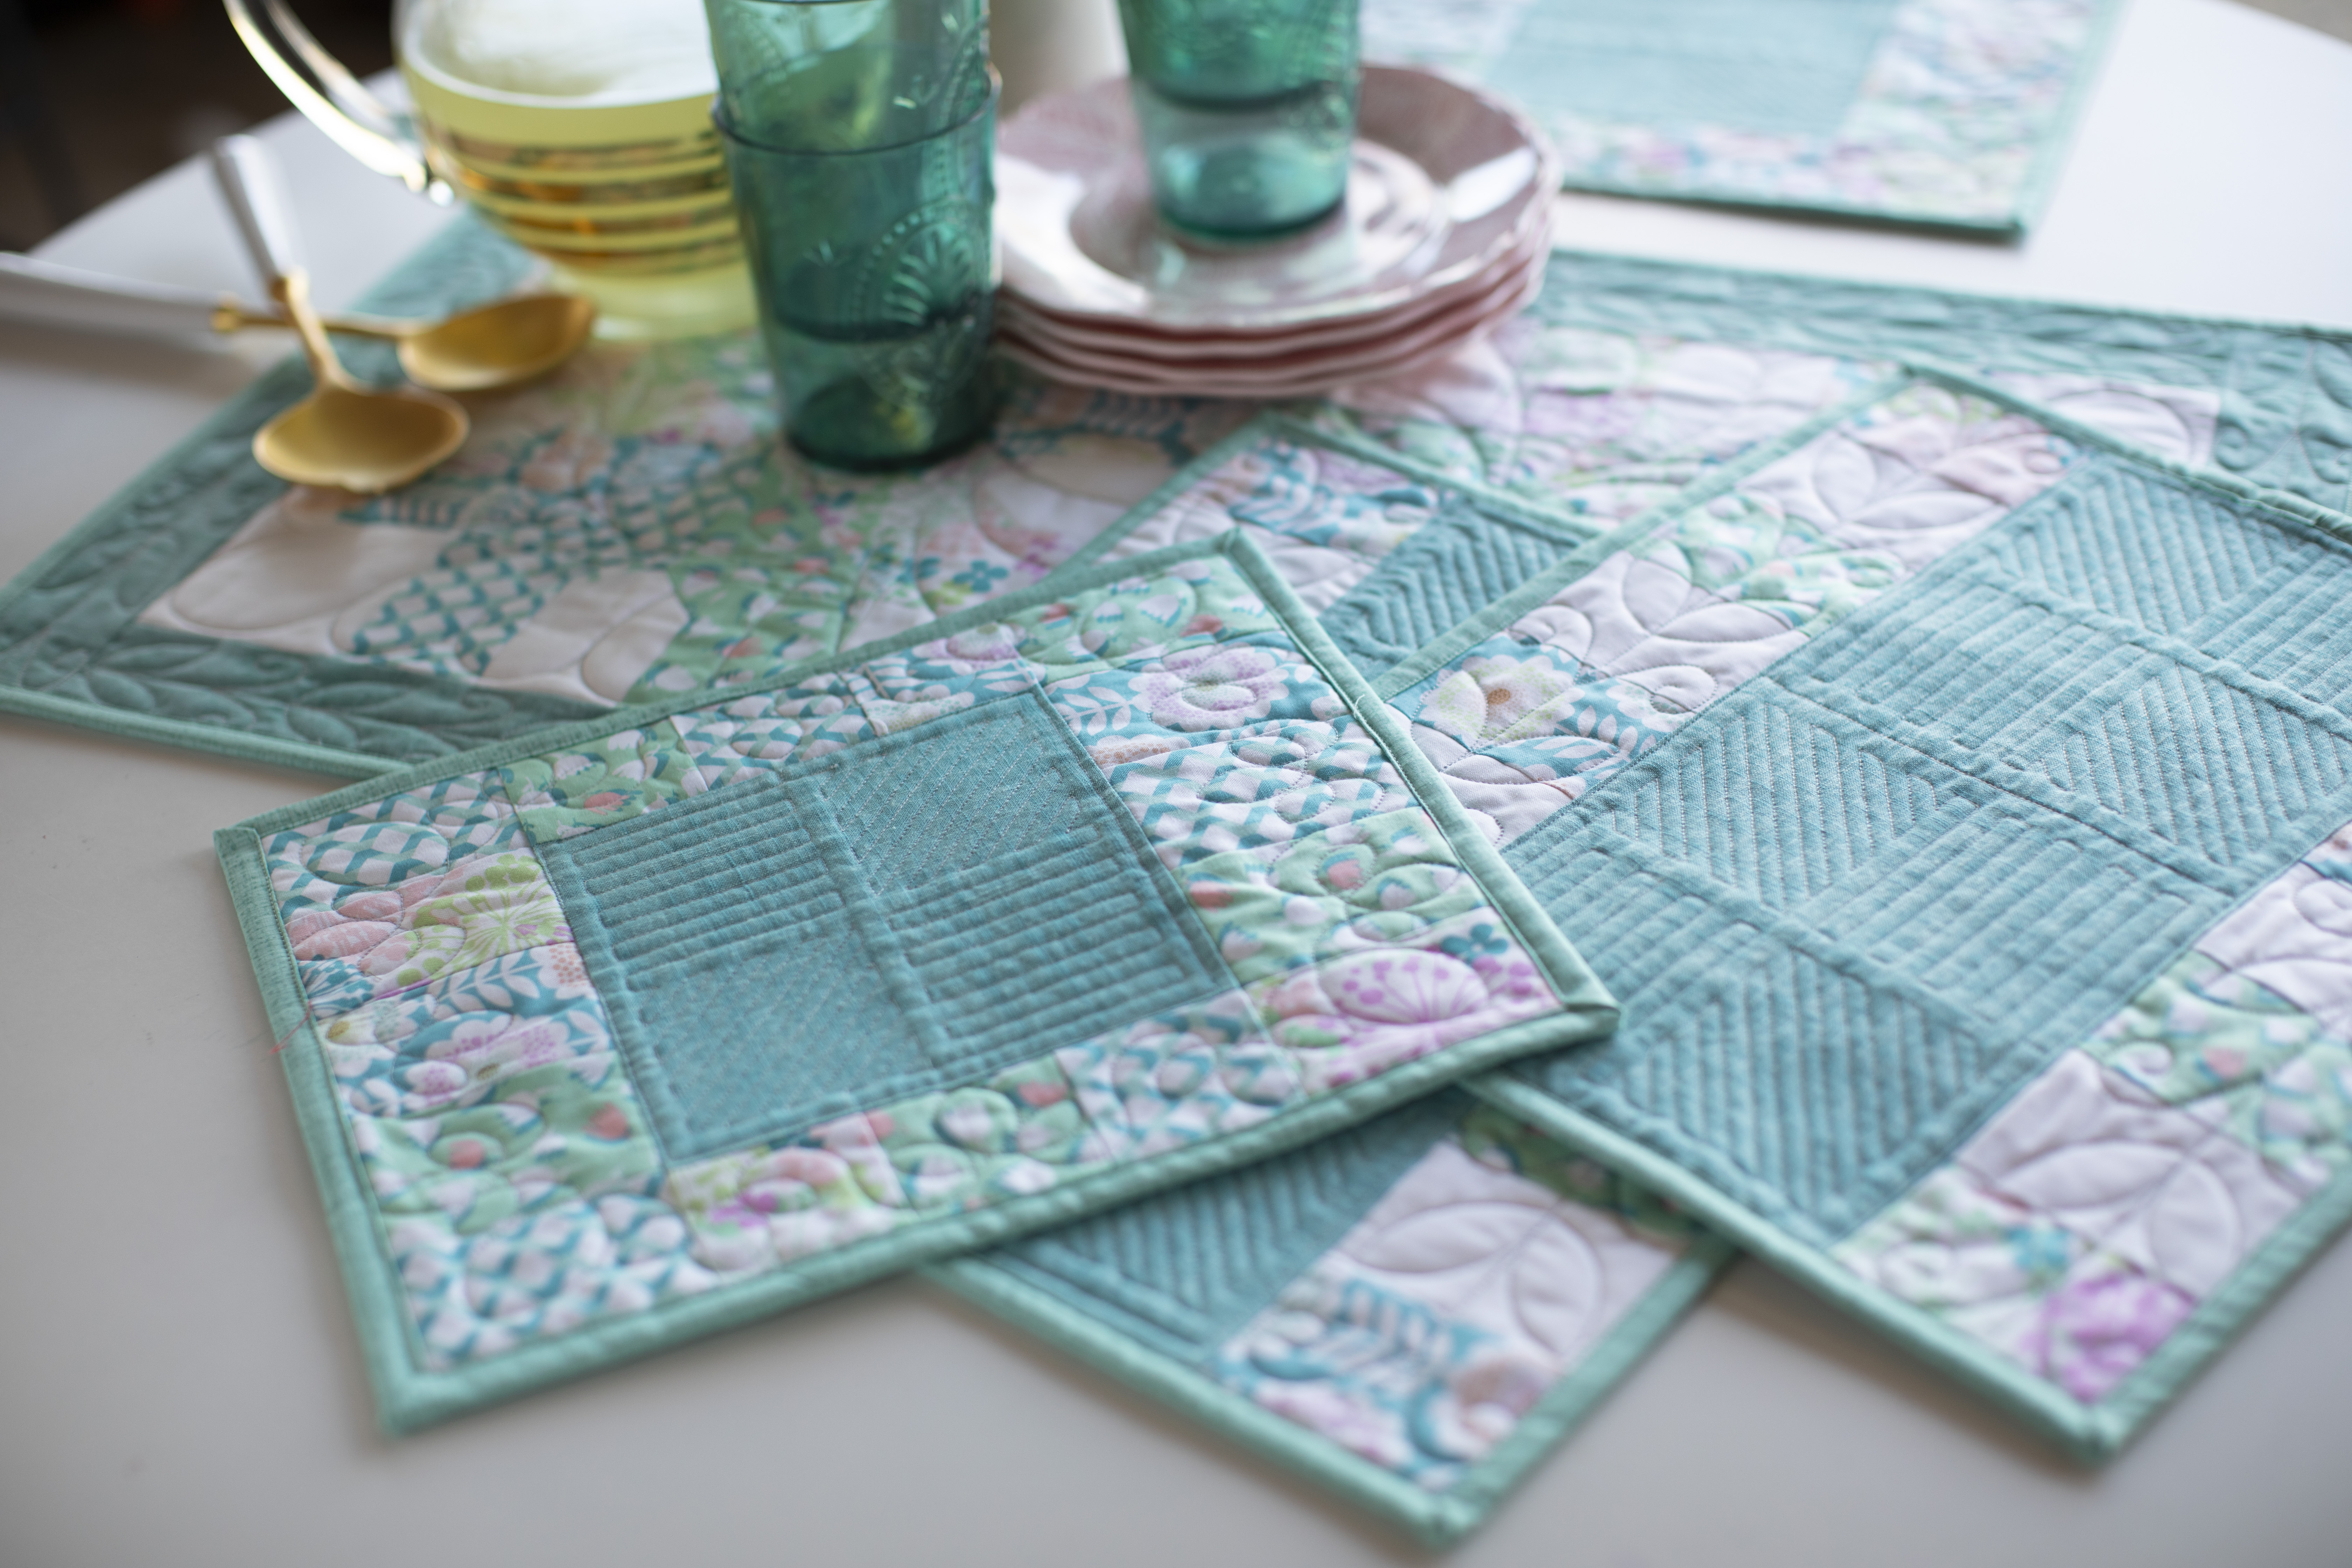
These placemats are quick and easy! The borders were put together with scraps leftover from another project. Just finish the piecing and then load the placemats on your quilting frame. The sample was quilted with the Baby Lock Gallant/Coronet with Pro-Stitcher Lite.
CLICK HERE TO DOWNLOAD PRINTABLE INSTRUCTIONS WITH ADDITIONAL PHOTOS.
All seams are stitched with ¼” seams and pressed to one side.
Supplies
- Center – ¼ yard solid fabric 4 pieces cut 6 ½” X 6 ½”
- Borders – (14) – 2 ½” X 2 ½” (4) – 2” X 2 ½” (2) – 1 ½” X 2 ½”
- Backing - ¾ yard
- Binding - ½ yard
- Batting – Craft or crib size
Instructions
-
Stitch top and bottom borders – All border were made from scraps.
- Create a 2 ½” border for each side of the placemat.
- This is a great no math project that uses scraps.
- Eight borders needed to complete 4 placemats.
- Stitch each border and press to one side.
- Stitch a border to the top and bottom of each center fabric.
- Square up the sides as you go.
- Press seams towards center
-
Stitch side borders – 2 ½” squares in a row of five for each side piece.
- Piece the border and press seams to one side.
- Stitch to the sides of the center fabric
-
Attach backing to frame lengthwise left to right.
- Place the batting on the backing and stitch in place using horizontal channel locks for a straight line.
- Place each placemat along the just stitched straight line. Stitch in place ¼” from 1st stitched line.
- Line up all 4 placemats.
- Using horizontal or vertical channel lock secure in place with a baste stitch or regular stitch length. Repeat for each placemat.
-
Using Pro-Stitcher Lite
- Click File Design and Open
- Open PS Blocks
- Open Border Loops Design
- Click Area
- Move the needle to the upper left corner of the 1st placemat.
- Place the foot on the edge of the placemat setting a ¼” margin. The needle is a ¼” from the edge of the foot.
- Click Multi-Corner Area
- Move the needle to the upper right corner of the same placemat
- Click Multi-Corner Area
- Move the needle to the lower right corner of the same placemat
- Click Multi-Corner Area
- Move the needle to the lower left corner of the same placemat
- Click Multi-Corner Area
- This set the area for the 1st placemat
- An Area is a magenta-colored space
- If you can not see the area click the refresh at the bottom of the screen.
- Refresh zooms to fit everything on the Workspace
- Move the needle to the upper left corner of the 1st placemat.
- Click Modify
- Click Skew
- On the Sidebar Click Skew
- Skew places the design in the space with just one click
- Click Baseline to freeze the modification you have made to the design
- Click Skew
- Click Pro-Stitcher Tab
- Click Quilt
- If the Quilt is green it has already been selected
- On the Sidebar click Trace Area – additional option to hold placemats in place is Trace Area. a. This will stitch out the Area holding the placemat in place. b. This stitching can be with a basting stitch or regular stitch length
- Click Run
- If it is pink it is not turned on
- On the Sidebar the customized settings are available
- Be sure to verify the setting before you proceed
- Stitch out the Border Loopy Design
- Click Quilt
- Click File Design and Open
-
Click File Design and Open
- Open PS Blocks
- Click Block of Lines
- Click Area
- Set a Multi-Point Area with 4 corners
- Keeping the foot inside the center square
- Click Modify
- Click Skew
- On Sidebar Click Border Skew
- Border Skew rotates design when needed
- Click Pro-Stitcher
- Click Quilt
- Click Run
- Stitch the Center of the placemat
- Repeat for all placemats on the frame.
-
Remove from frame.
- Square up placemats and bind


