This simple picnic quilt is the perfect project for beginner and seasoned sewists to dive into the world of quilting on a serger. With simple blocks a touch of ruffle and button tied quilting anyone can create this perfectly timeless keepsake.
CLICK HERE TO DOWNLOAD PRINTABLE INSTRUCTIONS WITH ADDITIONAL PHOTOS.
Supplies:
- Fabrics – This pattern uses a medium dark and light fabric. I chose to add a pop of color with the red ruffle and a solid black backing.
- Dark Fabric (A) -1 1/8 yards (30 - 6 ½” squares)
- Medium Fabric (B) – 1 7/8 yards (49 - 6 ½” squares)
- Light Fabric (C) – 7/8 yards (20 – 6 ½” squares)
- Ruffle Fabric – ¾ yard (4 – 6” x WOF strips)
- Backing Fabric – 3 ⅝ yards
- Batting – 54 ½” x 66 ½” rectangle
- Baby Lock 4-Thread Overlock Serger
- 4 Cones White Serger Thread
- Baby Lock Lace Applicator Foot (Optional)
- Baby Lock Ruffler Foot
- 12 Coordinating Buttons
- Hand Sewing Needle
- Scissors
Instructions
Quilt Top Assembly
- Arrange the quilt 9 blocks across in the following pattern:
Row 1: A B A B A B A B A
Row 2: B C B C B C B C B
Continue this arrangement for 11 rows.
- Set up serger for a 3- or 4- Thread Overlock Wide Stitch with white thread in the upper and lower loopers. Set your Stitch Length to 2.5 and Stitch Width to 6.5.
- Attach the Lace Applicator Foot set to a ¼” seam allowance.
- With right sides together stitch each row block together in each row.
• Pro Tip: If chain piecing sew a scrap piece of fabric between each row to keep organized.
- Press each seam towards Medium (B) Fabric. This will allow nesting rows.
- Serge each row together and press seams down.
Ruffle
- Stitch (2) 6” x WOF strips together. Press. Make 2.
- Press both strips in half lengthwise wrong sides together.
- Attach the Ruffler Foot and set the Stitch Length to 4 and the Differential Feed to 2.
- Insert the 6” strips under the foot and serge to ruffle.
- Once ruffled separate the needle threads from the looper threads and pull gently to create more ruffles.
- Measure your ruffled strips against the top and bottom of the quilt top. You may continue pulling threads to create more ruffles shortening the strip to fit or trim a ¼’’ to either side of the quilt fold and topstitch to close the ruffle.
- Pin or Quilt Clip the ruffle to top and bottom of the quilt with the ruffles facing in.
- Attach the Standard Foot and return the Differential Feed to N.
- Serge to attach ruffle to quilt top. Do not press open.
- Tape corners of ruffle out of the seam allowance area.
Assembly
- Measure quilt and use this measurement to cut backing and batting identical.
- Piece two pieces of backing with serger. Press.
- Lay out quilt top (right side up) backing (right side down) and batting consecutively.
- Pin from inside out to prevent movement.
- Serge around the edges ensuring that you are catching all three layers leaving a 12’’ opening to turn.
- Turn quilt right sides out.
- Remove tape from ruffle.
- Press ruffles out towards the top and bottom of quilt.
- Press entire quilt.
Finishing
- Using a whip stitch or your preferred closing stitch close the opening for turning.
- Lay out quilt and determine button placement.
- Attach buttons with the Button Foot on a Baby Lock Sewing Machine or hand stitch to finish.
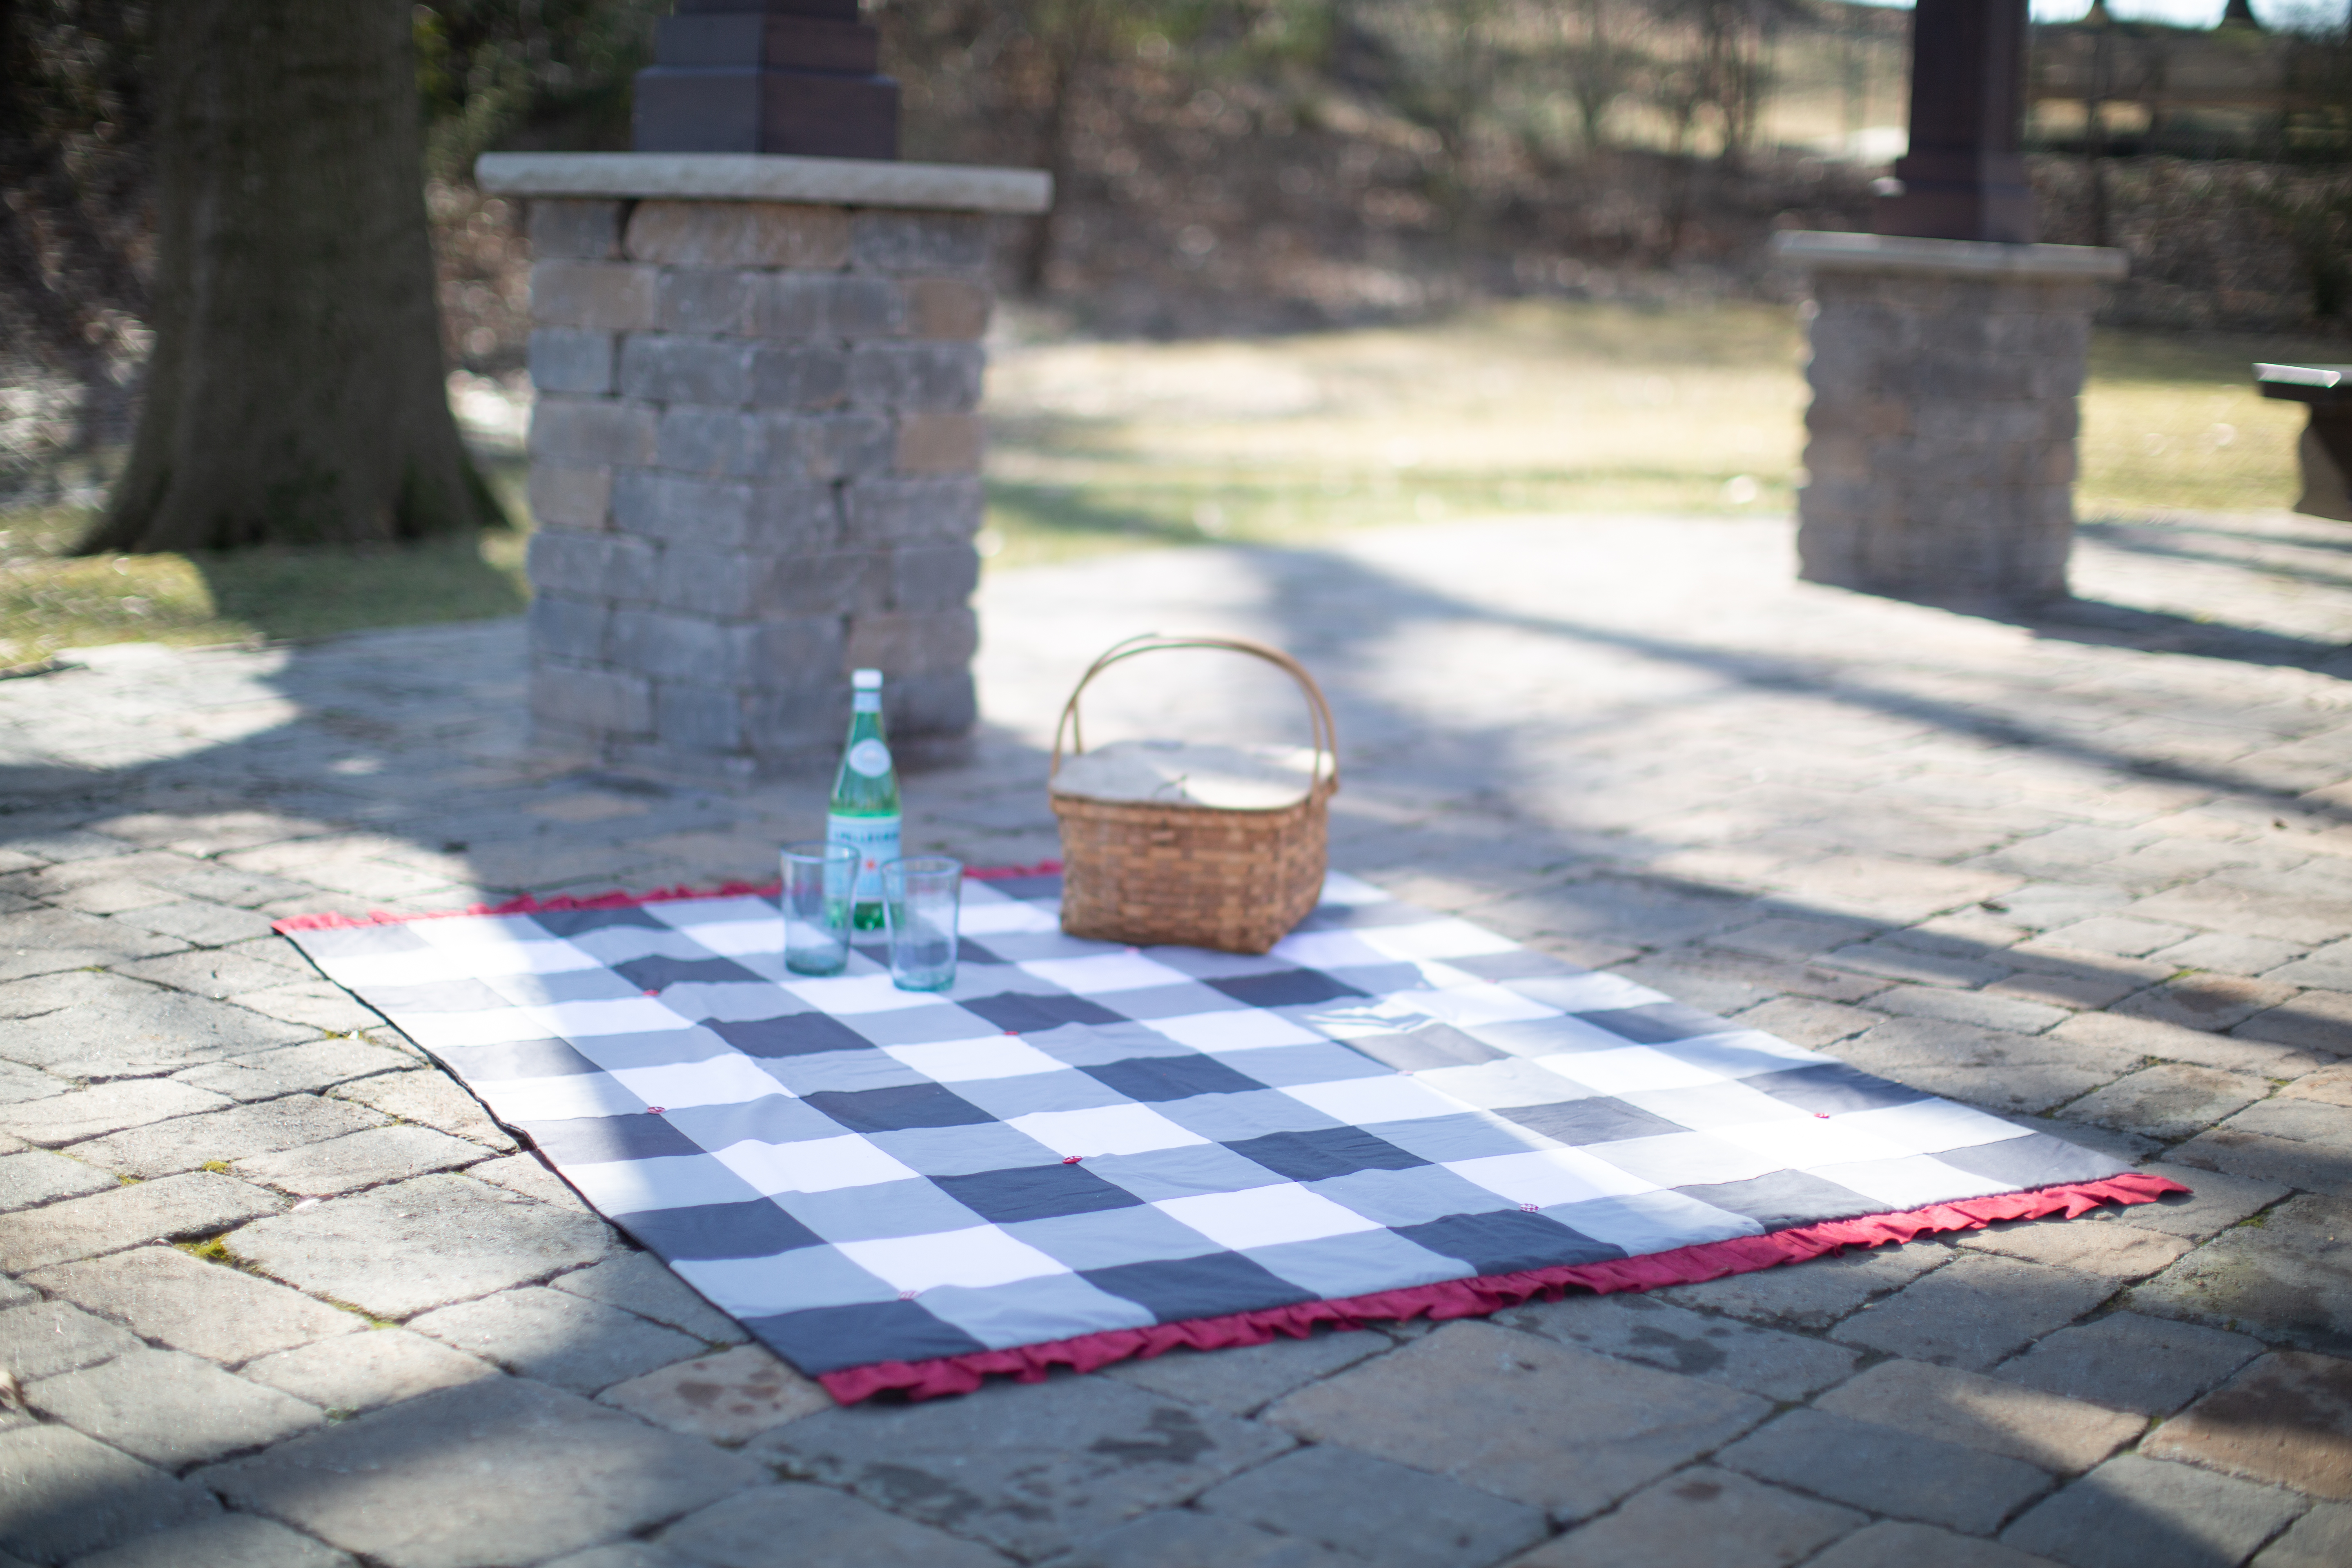
- Fill your basket head to your favorite spot and enjoy your new Picnic Quilt with your favorite people!!


