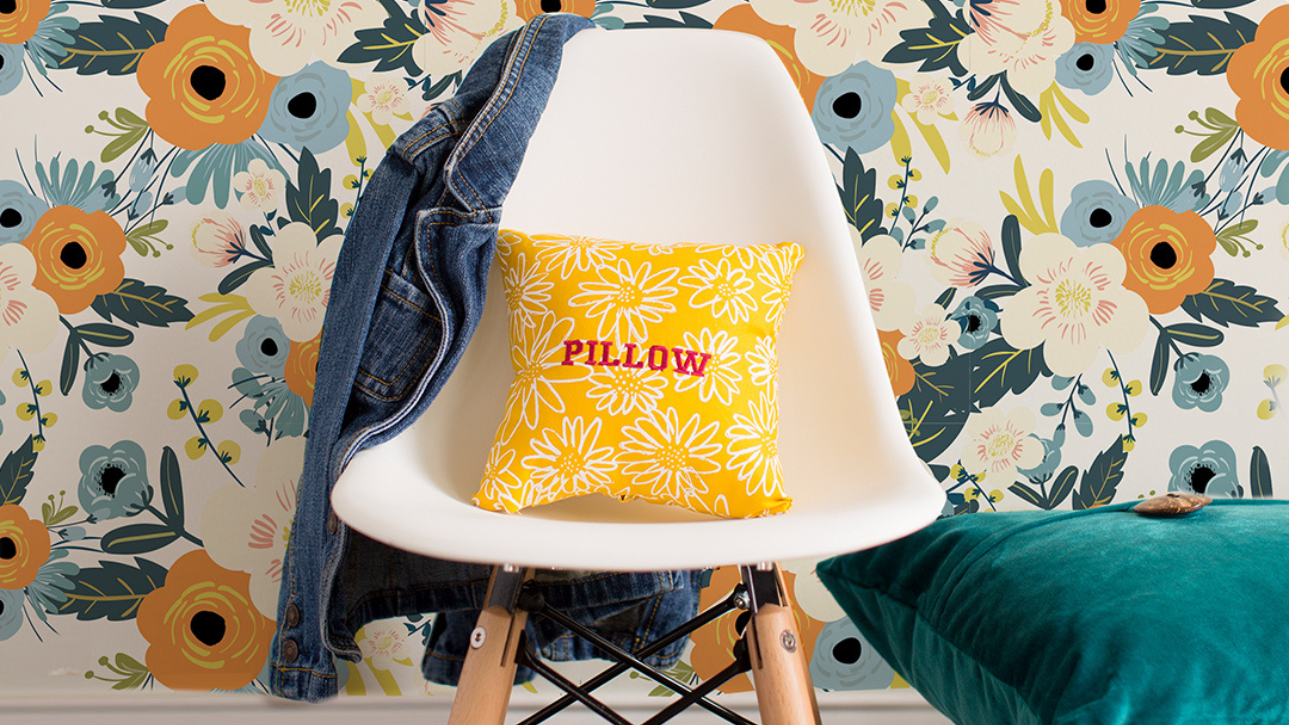
Embroidery can be fun no matter what age! In this tutorial learn how to sew and embroider a pillow. This project is fun and easy to make with a beginner sewist as they learn a few fundamentals of sewing along the way.
Download the project instructions here.
Supplies
- Baby Lock sewing and embroidery machine
- Embroidery hoop
- 2 pieces of fabric cut to desired measurements
- Baby Lock Tear-Away Stabilizer #BLT103
- Madeira Embroidery Thread
- Pillow stuffing
- Hand-sewing needle
Small & Mighty Mini Embroidered Pillow Instructions
- Hoop your fabric and stabilizer. You can use a 4" x 4" or 5" or 7" hoop
- Type in the word name or phrase and set it to fit the screen.
- Size rotate and position as desired.
- Stitch out your design with your desired color
- Take the hoop off the machine and the fabric out of the hoop.
- Place the front and back sides of your pillow pretty sides together.
- Using your sewing machine stitch around the entire perimeter of your pillow leaving a 4-5" opening. Clip the corners of your pillow to remove any bulk.
- Turn your pillow right side out stuff it and hand stitch the opening closed.


