
Liven up a party or create a focal point in your home with this fun and festive bunting! Use a cute heart print for Valentine’s Day or a birthday party and update the fabrics for any holiday or occasion. It’ll provide the perfect backdrop for your gathering! Download printable instructions. Download template.
Materials:
- Six different ¼ yard pieces of coordinating fabrics for the bunting triangles
- ¼ yard contrasting piece of fabric for the binding
- Matching thread
- Ruler and rotary cutter
- Iron
Tools:
Steps:
-
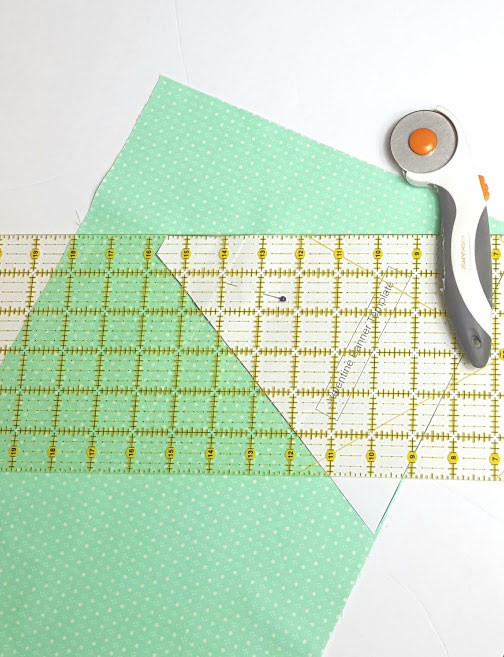
Using your ruler and rotary cutter cut around the template.
-
Tip: If your fabric is directional face the pattern towards the point of the triangle
-
-
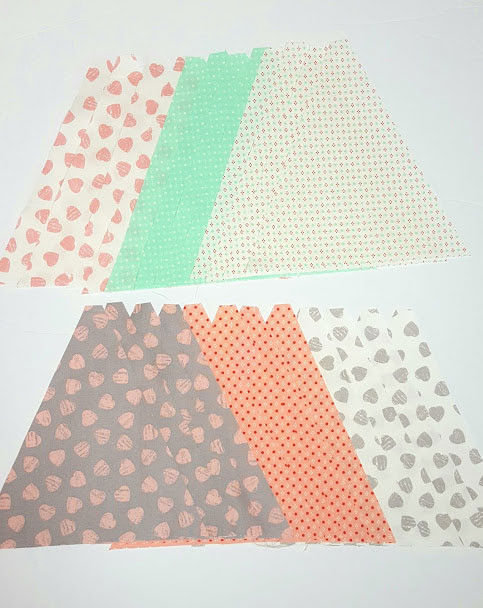
Cut a front and a back for each pair totalling 12 pairs of triangles 24 triangles in total
-
Attach the ¼” foot and set the machine to a straight stitch (middle) for general sewing selecting a 2.0mm stitch length
-
Thread the machine and bobbin with matching thread.
-
Sew right sides together leaving an opening at the top to turn right sides out.
-
If you have the pivot button on your machine this is a great time to use it.
-
The pivot function raises the pressure foot up when you go around corners allowing you to sew much faster without slowing down to raise and lower manually.
-
-
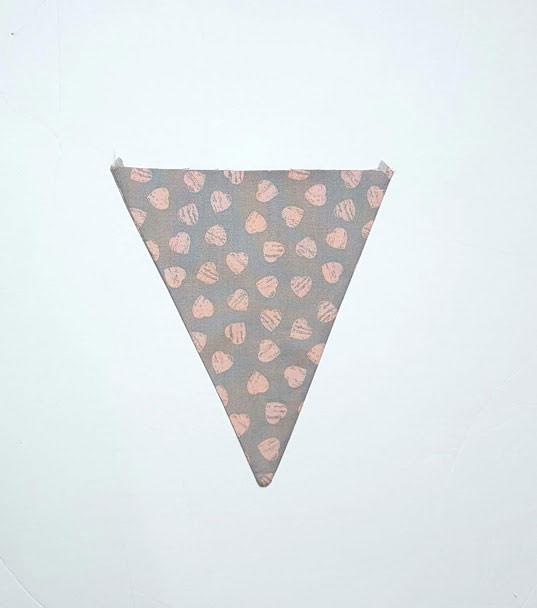
Once you have them all sewn turn right side out.
-
Use a point turner or other blunt object for smoothing the bottom corner to get a crisp point and trim off the two dog ears at the top of the open bunting.
-
-
Press each one flat with your iron.
-
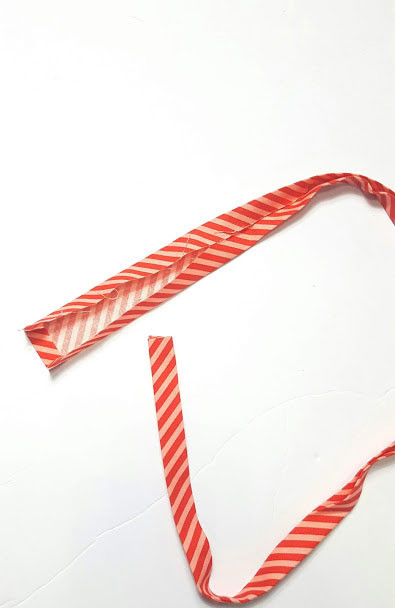
Now it’s time to make the bunting hanger.
-
Cut your final piece of fabric: 3 strips at 2 ½ inches and the width of the fabric.
-
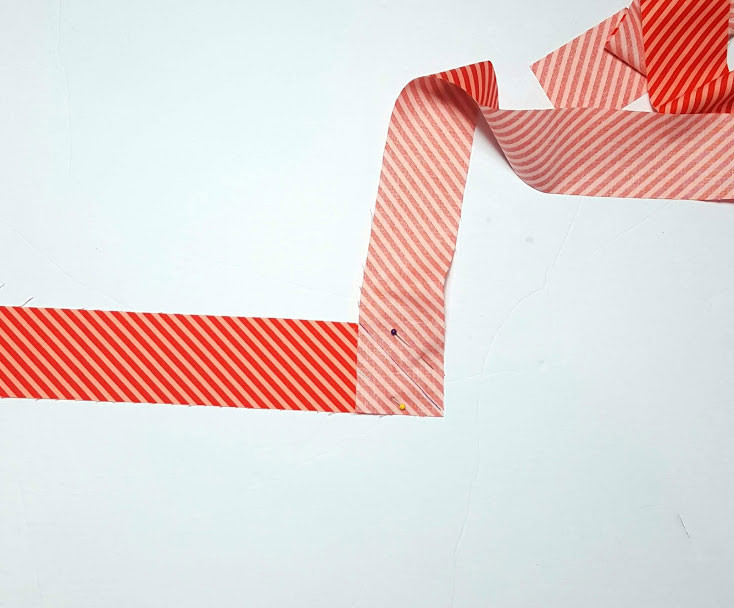
Join the two ends using a 45-degree mark on the wrong side of your fabric. A heat-removable pen or iron-off pen works well for this.
-
Be sure to pay attention to any directional fabrics and make sure your triangles’ patterns are facing the same direction!
-
-
Fold over and press. Cut off excess fabric from this cut seam.
-
Iron by folding in half to provide a nice center crease. Open up and fold each raw edge to that center crease and press.
-
I also like to fold the ends in so I have no raw edges showing.
-
Then fold the binding in half again creating a fold for your flags to be inserted in.
-
-
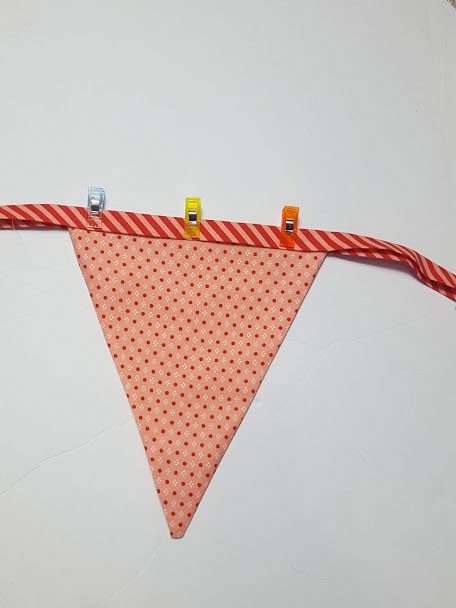
Attach your first flag to the binding strip 10” from the start with wonderclips.
-
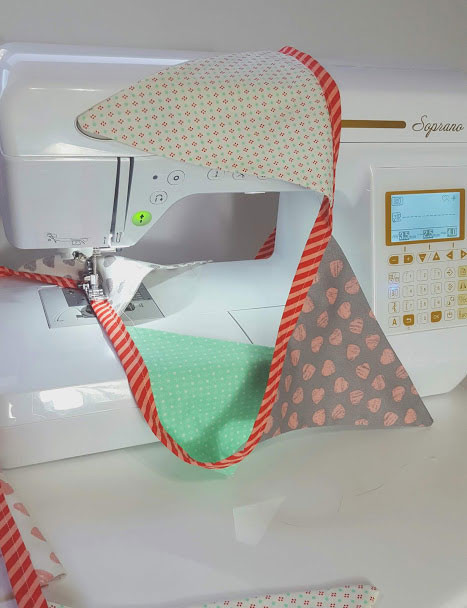
Start at the beginning of your strip and start to top stitch down the opening of the binding enclosing all the open edges.
-
Use a straight stitch on 2.5 stitch length. Ensure you are sewing both the front and back of the triangle to the hanger. Go slow if you need to.
-
-
When you are ready to insert your next flag place it corner-to-corner from your last one.
-
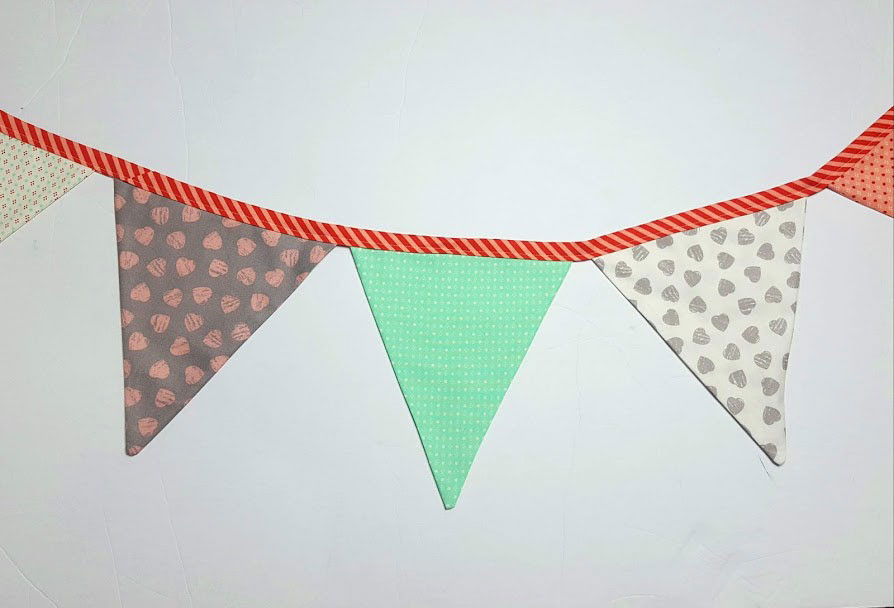
When you come to the last flag finish stitching it. Then mark the binding strip 10 ¼ ” from the end and cut. Fold over the raw end edges and sew to the end.
-
The overall project will be approximately 110” long
-
Happy Valentine’s Day!


