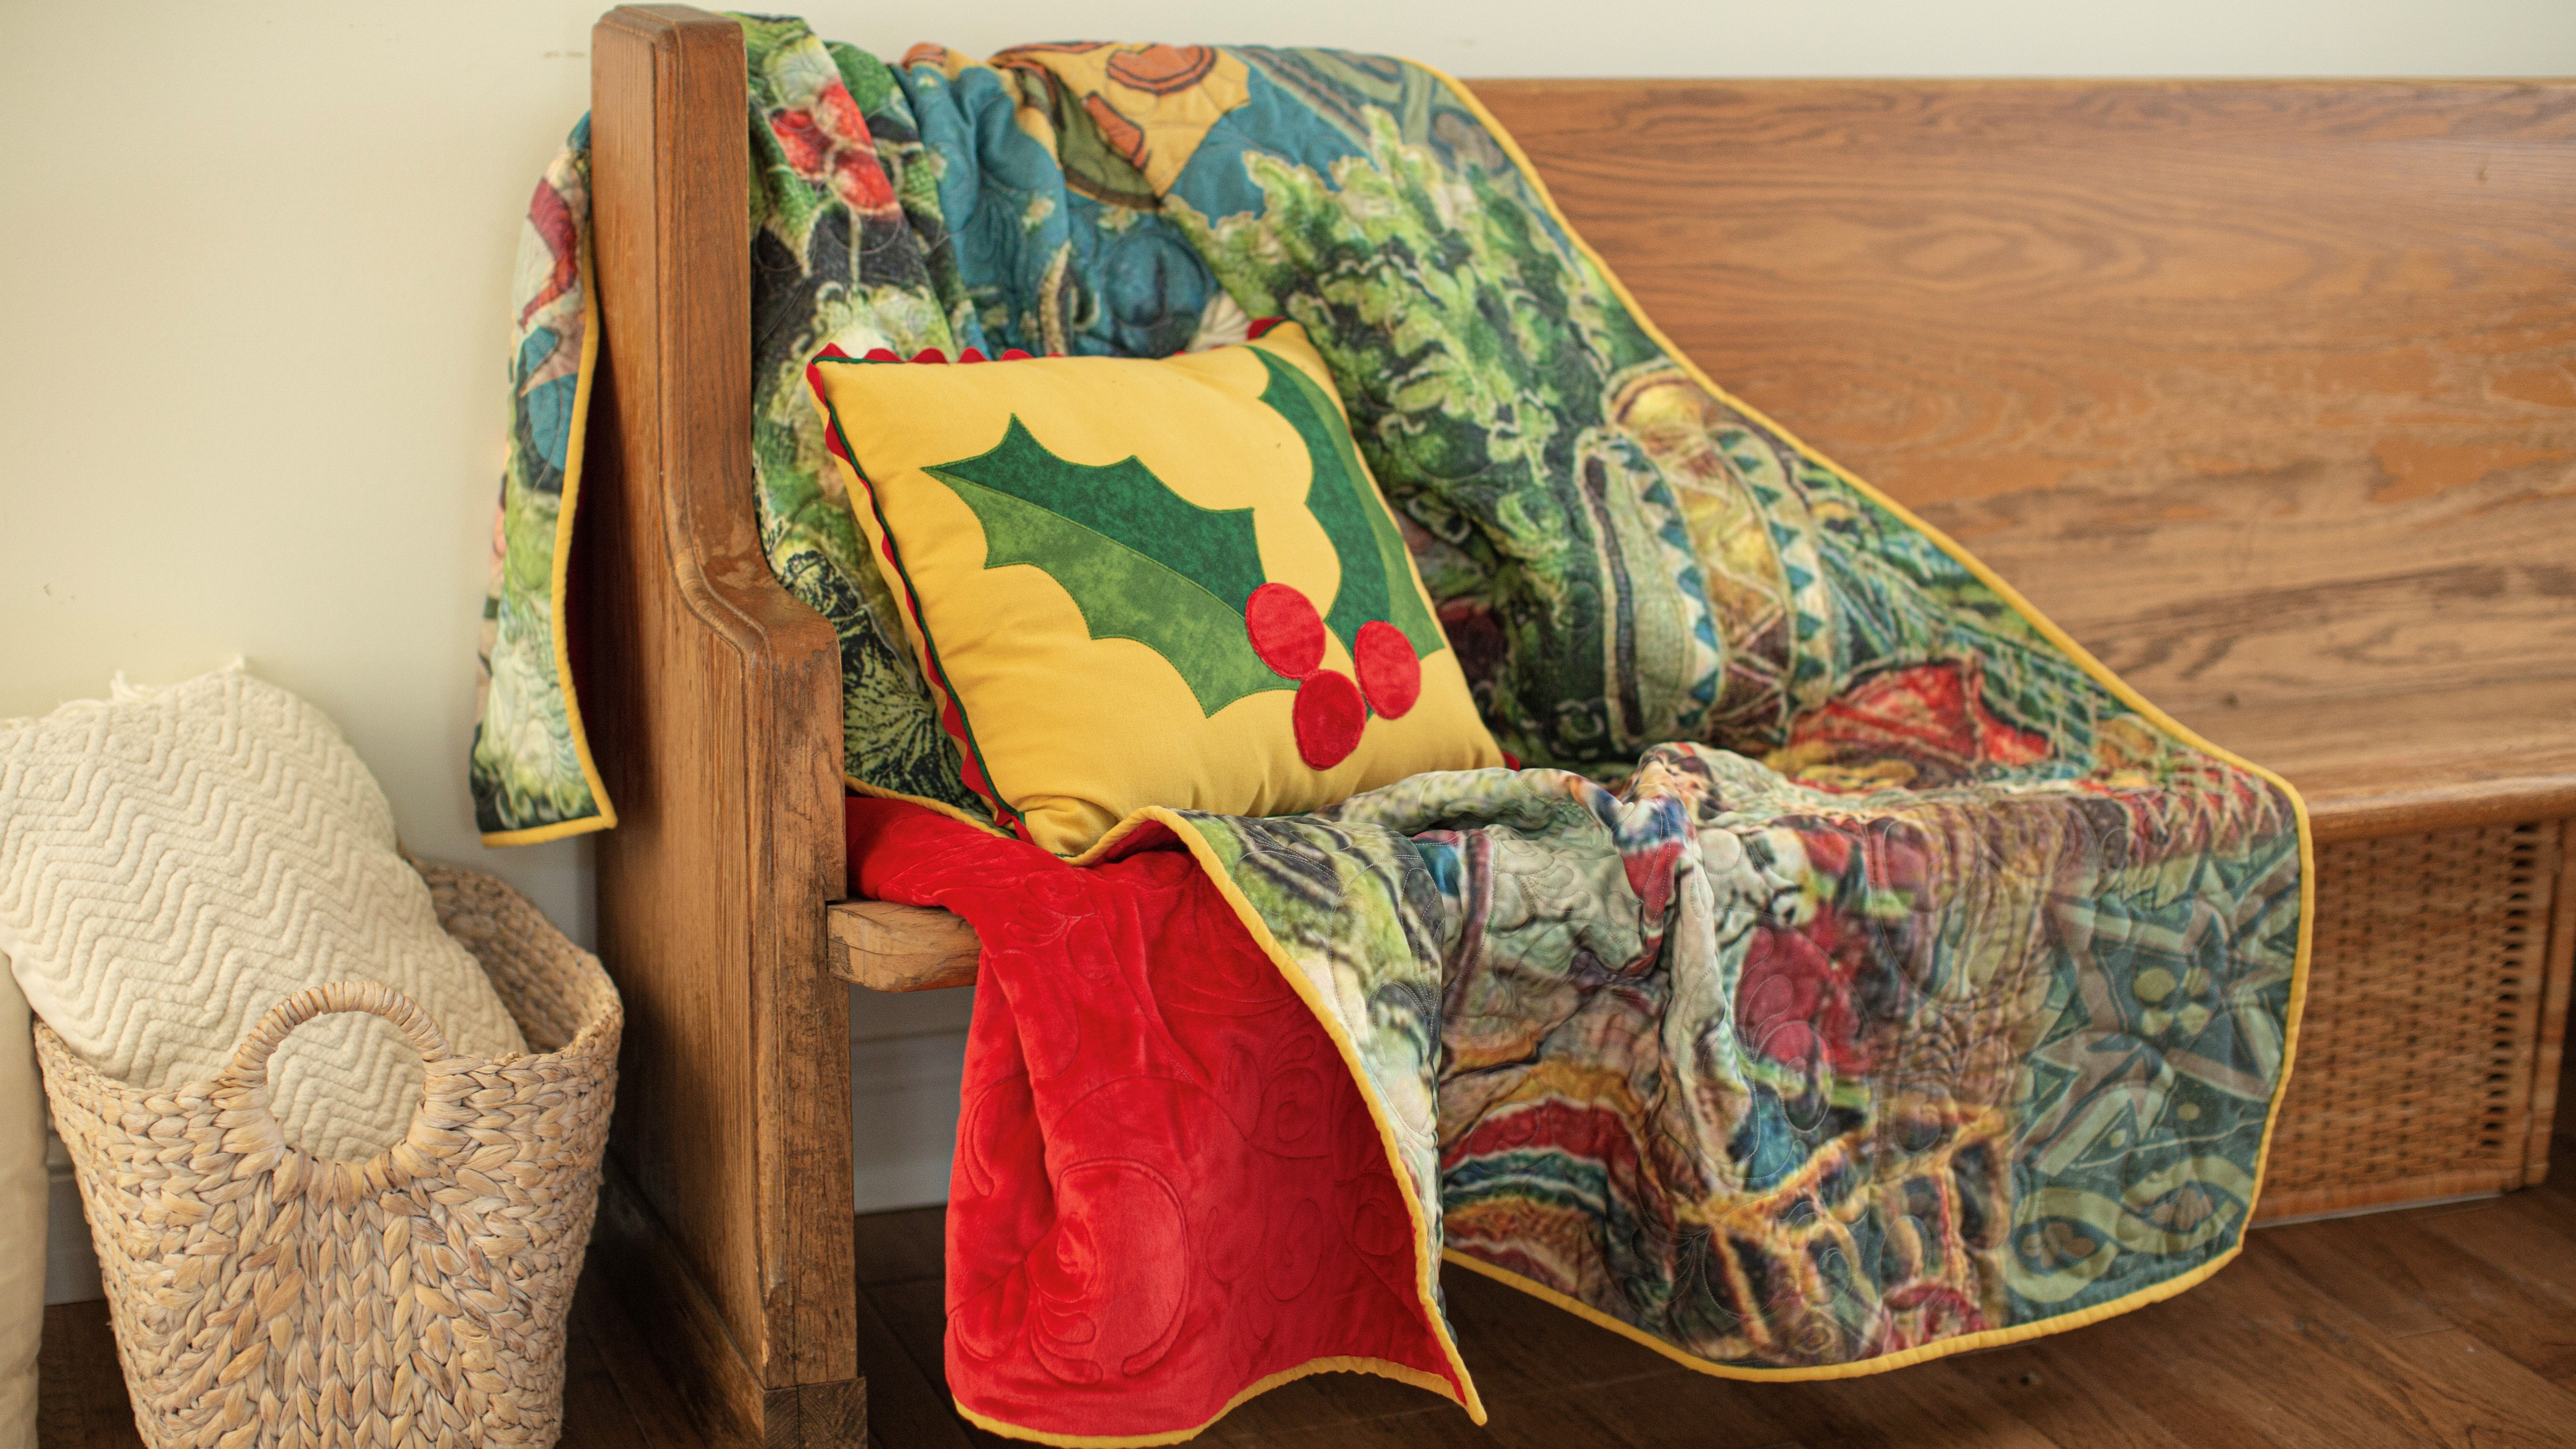
This large panel quilt was created using a fabric shower curtain. Many shower curtain designs are available online. When shopping for a suitable shower curtain make sure the description states it is “fabric” and not vinyl. Also the best is a shower curtain made from cotton but polyester is suitable too. Download Instructions Here. Download leaf patterns here.
Materials:
- 1 shower curtain; (Café Press is a good online resource)
- 1 3/8 yards of 45” wide gold cotton fabric
- ¼ yard of 45” wide moss green cotton fabric
- ¼ yard of 45” wide spruce green cotton fabric
- 2 ½ yards of 90” Minky fabric to back the quilt and for holly berries
- 1 package of extra-large red rickrack
- 2 yards of cotton cording or 1 package of pre-made spruce green piping
- Lightweight fusible webbing with paper backing
- Lightweight tear away stabilizer
- 1 copy of each holly leaf pattern
- Quilt batting
- Pillow form insert; 18” x 18”
- All-purpose thread
Tools:
- Baby Lock Embroidery and Sewing Machine
- Rotary cutting system
- Basic sewing supplies
Steps:
-
Instructions for Quilt:
-
Inspect Buttonholes.
Decide if the buttonholes on the top of the shower curtain can be stitched closed well enough to not be noticeable or if the top of the shower curtain would be best completely removed and discarded.
-
To allow for the maximum usable area of the shower curtain un-stitch the side seams and hem press the folded edges flat.
-
Cut the Minky backing fabric; allow an additional 6”- 8” in length and width beyond the size of the shower curtain.
-
Layer the quilt top batting and backing. Baste the layers together.
-
Quilt as desired either by machine or hand.
-
Bind the quilt
Cut seven 2 ⅜” strips for the binding from the gold cotton fabric. Piece the strips together end to end. Press the length of the strips in half forming the binding strip. Stitch the binding to the front of the quilt matching the raw edges of the binding to the raw edges of the quilt.
-
Turn the binding to the back side of the quilt machine or hand stitch the binding to the quilt.
-
Add a quilt label!!
-
-
Instructions for Pillow:
-
Trace the holly leaf patterns onto the paper backing of the fusible web. Cut around each leaf and mark the left sides of each leaf with an A. Mark the right sides with a B.
Trace the holly leaf patterns onto the paper backing of the fusible web. Cut around each leaf and mark the left sides of each leaf with an A. Mark the right sides with a B. Fuse the A-leaf sections to the wrong side of the spruce green fabric
-
Fuse the B-leaf sections to the wrong side of the moss green fabric.
-
Cut the holly leaf shapes from the fabric remove paper backing and fuse an A and B leaf section on to the gold fabric.
Allow the A and B pieces to overlap slightly at the center of each holly leaf. Repeat for the second holly leaf.
-
Using your favorite applique stitch stitch the leaves to the gold fabric.
Also stitching along the center of each leaf creating the center vein of the holly leaf. You may want to place a lightweight tear away stabilizer beneath the pillow front this will help to improve the stitch placement along the edge of the applique leaf.
-
To make holly berries use the Frame Pattern feature of your embroidery machine. Begin by marking the center of each berry at the base of the holly leaves.
-
Hoop the gold fabric and tear away stabilizer. Load the hoop onto the embroidery machine.
Select the straight stitch circle frame. Adjust the size to 2.43 inches. Move the needle so it is centered over one of the berry’s center placement marks. Stitch the circle frame. Leave the hoop attached to the machine.
-
Place the applique Minky fabric over the circle embroidered in Step 8.
Embroider the same pattern on the applique Minky fabric. Trim close to the straight stitching removing the excess Minky fabric.
-
Select a satin-stitch circle frame and adjust the size to 2.48 inches. Stitch the satin-stitch circle.
-
Remove the frame from the machine. Trim any fussy edges that may have poked out during the stitching process.
-
Repeat for the remaining two berries.
-
Wrap and cover the cotton cording with 2” wide strips of the spruce cotton fabric. Using a zipper foot stitch close to the cording. Or use the pre-package cording.
-
Baste the piping to the edges of the pillow raw edges together.
-
Next baste the rickrack to the edge of the pillow centering it over the cording.
-
Stitch the front and back of the pillow together right-sides of fabric facing. Leave an opening along the bottom edge about 12” in length.
-
Turn the pillow right-side out. Insert pillow form and stitch the opening closed.
-
Cut two 17” x 19” pieces of gold fabric for the pillow front and back.
-


