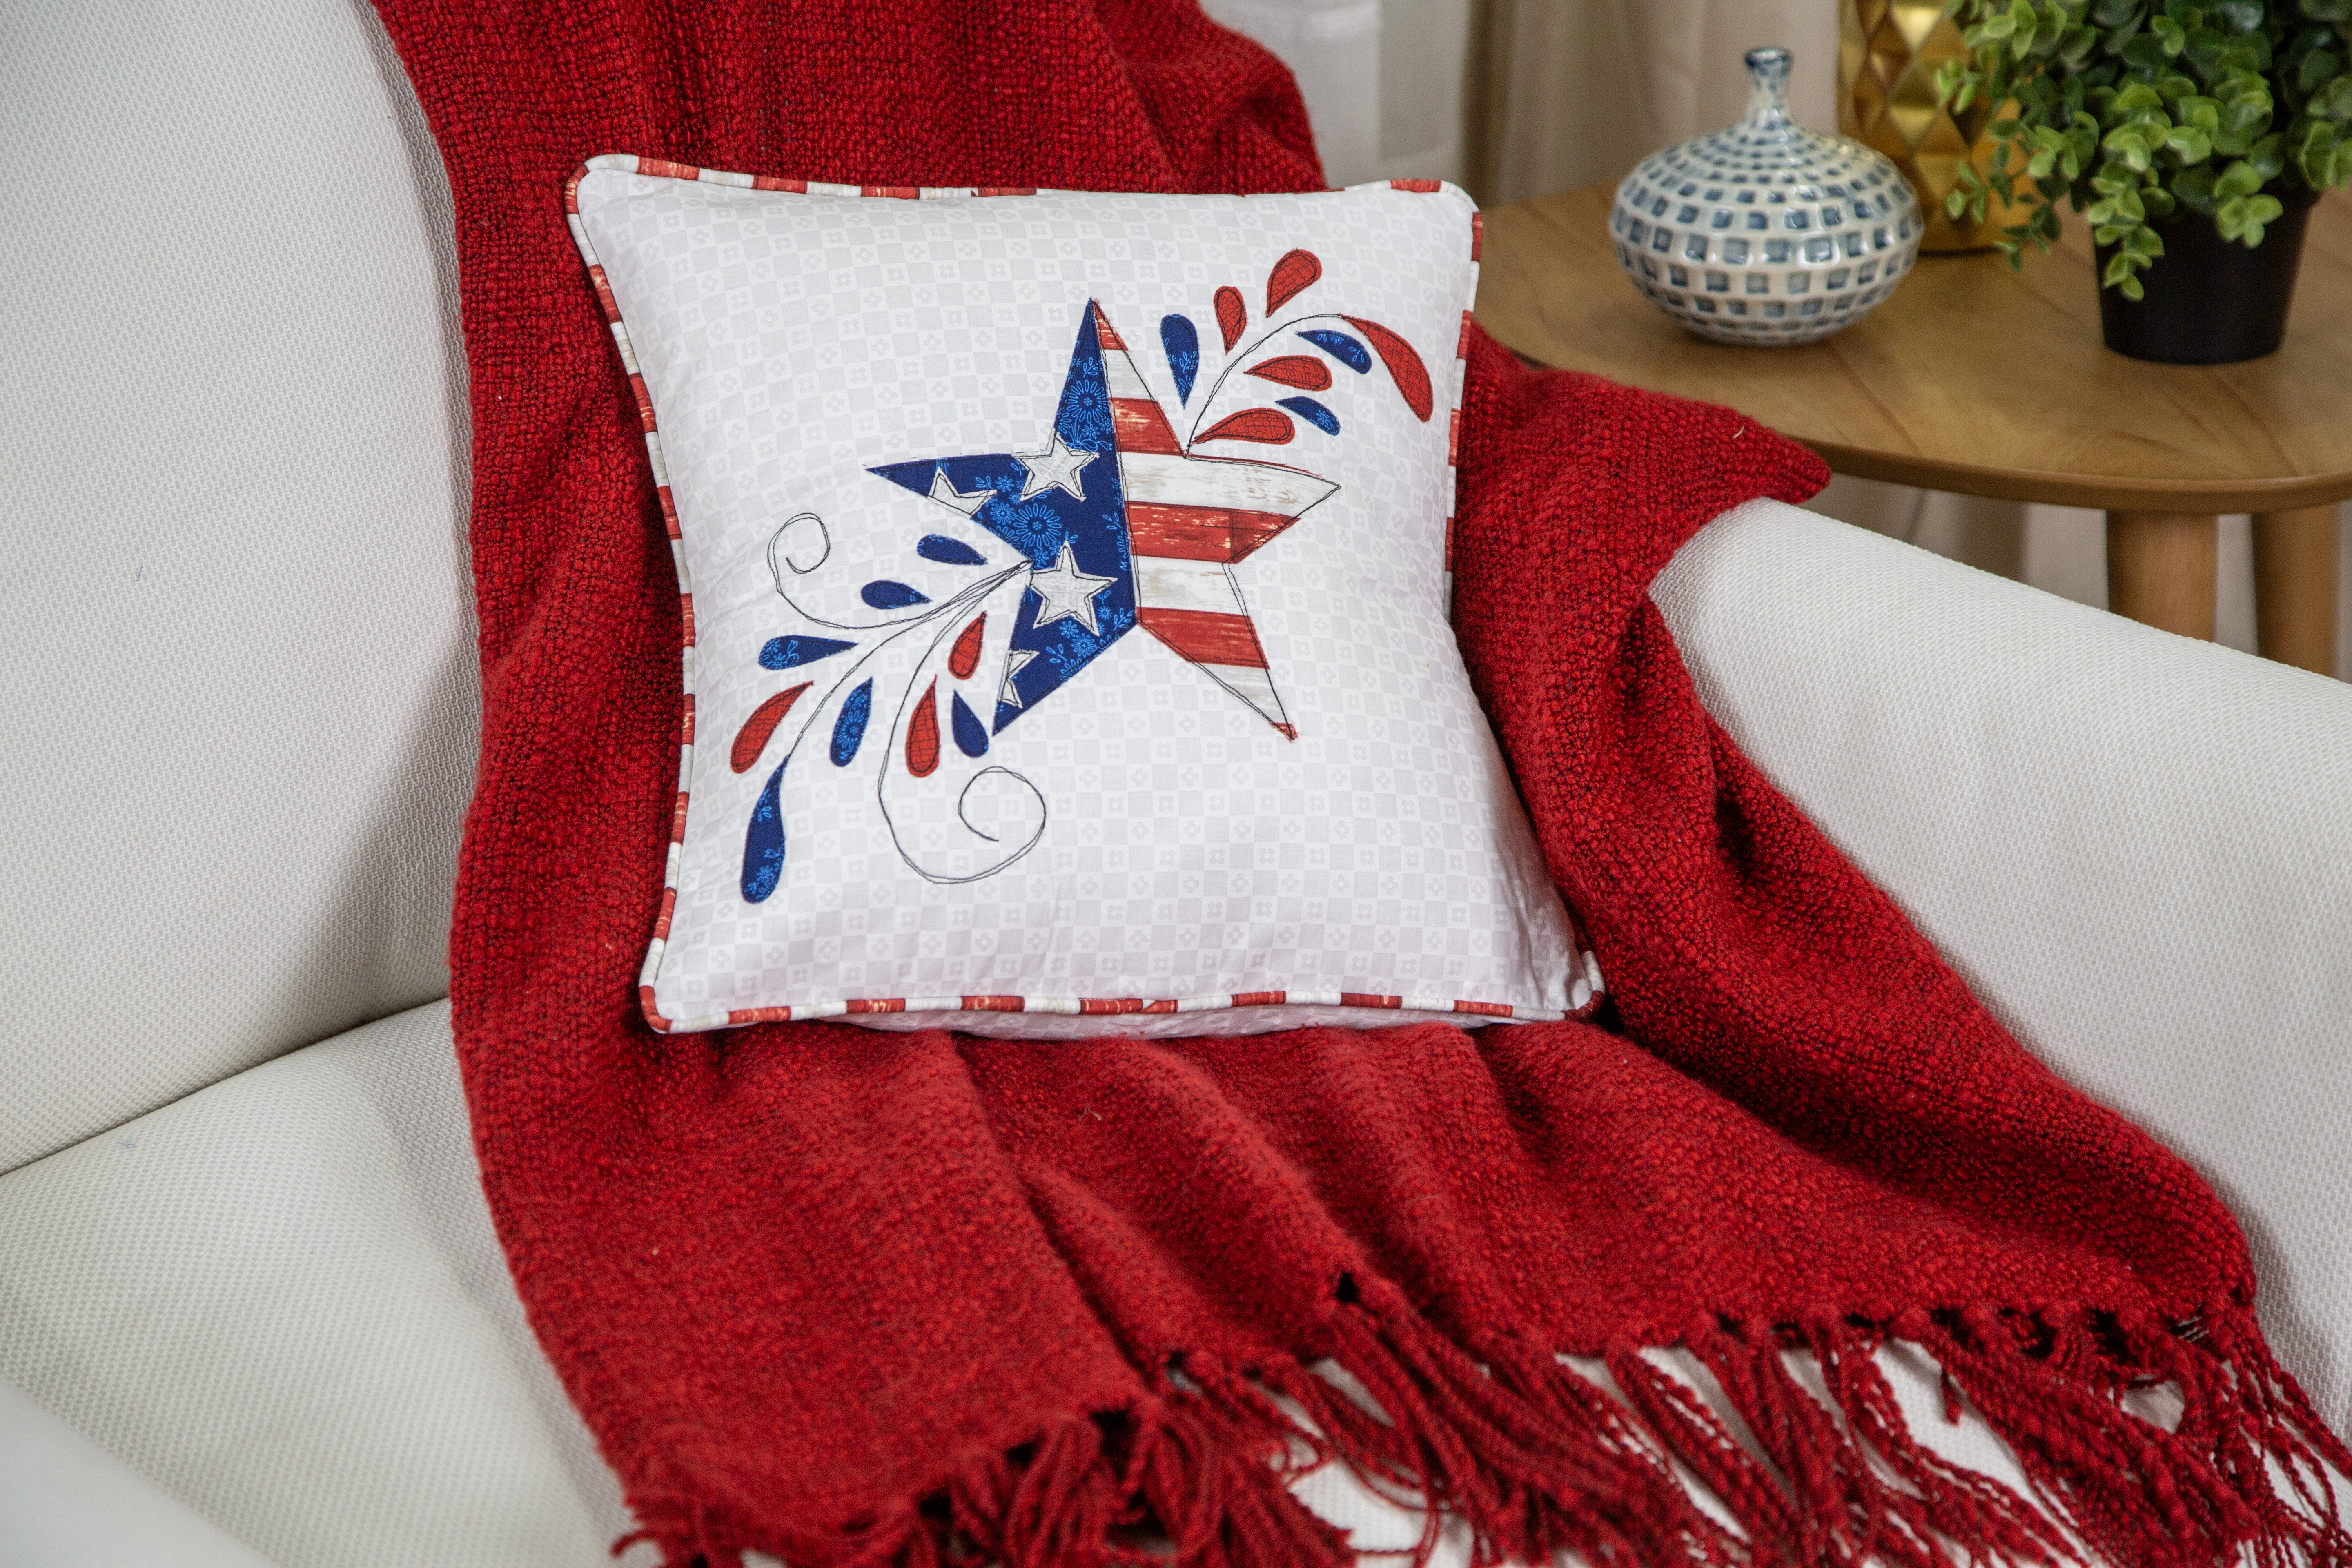
Sew a touch of patriotism into your home with this quilted throw pillow. This project will merge your creativity with love of your country! Enjoy this project, not only as a decorative piece but also to show a touch of warmth and a proud spirit! So, gather your materials, and let’s make this fun project with stitches and stars! Finished Size 14” X 14”.
Click HERE to download printable instructions with additional photos.
Supplies
· 15” x 15” fabric for front
· 15” x 9” fabric for back
· 15” x 8” fabric for back
· 15” x 15” fusible fleece
· Nylon zipper at least 18” long
· 14” x 14” pillow form
· 65” - ¼” cording
· 2- 2” x 42” piping fabric (you will need about 65”)
· 8” x 15” Heat ‘n Bond Lite
Applique pieces:
· 10” x 5” fabric for paisley
· 4” x 3” fabric for stars
· 8” x 5” striped fabric for large star
· 8” x 5” solid fabric for large star
Other supplies:
· Baby Lock Sewing Machine
· Madeira Sewing Thread
· Matching thread
· Dark thread
· Free Motion Foot
· Pearl & Piping Foot
· Zipper Foot
· Erasable fabric marker
Instructions:
1. Reverse the applique templates and trace on the paper side of the Heat ‘n Bond Lite. This can be done using a light table or holding the paper up to a window to trace. Be sure to transfer the numbers for easy placement.
2. Cut the templates out, leaving ¼” all around. Iron the templates to the WRONG side of the selected fabrics.
3. Cut directly on the template lines. Do not remove the paper yet.
4. Fuse the fleece to the wrong side of the front fabric.
5. Mark the center of the front fabric.
6. Remove the paper for each piece as you go. Remove the paper by folding a corner of the template to the paper side. The paper will remain folded, and the fabric bounce back. Peel back the paper.
7. Place the large star applique piece on the center of the front fabric. Using the diagram as a guide, place the rest of the applique pieces. Press in place.
8. With the fabric marker add the stems and swirls.
9. Attach the Free Motion Foot to your machine. Lower the Feed Dogs.
10. Using the dark thread, doodle applique around all the fabric pieces by stitching just inside the edges of the fabric. Go around each piece twice. Don’t try to follow your lines. Let them be free, easy and fun as if you were doodling on paper. You will need to stop and start between each shape. Don’t worry about pulling up your bobbin thread each time. Remember to stitch the stems and swirls that you drew.
11. Remove the fabric marker lines as suggested by the manufacturer.
12. Keeping the applique centered, trim to 14 ½” x 14 ½”.
13. Attach the J Foot.
14. Sew the two cording fabrics together end to end on the bias.
15. Attach the Pearl & Piping Foot.
16. Change thread to matching thread.
17. Fold the piping fabric in half lengthwise with wrong sides together. Place the cording in the fold.
18. Place the piping fabric under the foot with a little cording extending out the end. You will be using a straight stitch. Move your needle to the left a bit so it stitches close to the cording.
19. Stitch the length of the piping fabric. Make sure to keep the cording snug in the fold of the fabric.
20. Trim the piping seam to ¼”.
21. Still using the Pearl & Piping Foot, beginning at the bottom of the pillow, stitch the piping to the right side of the pillow front, with the raw edges even. The piping will be to the center of the pillow. Leave about an inch tail of piping to the outside of the seam as you stitch.
22. When you come to a corner, clip the piping so it can go around the corner. Continue sewing around the corner.
23. To join the piping where you began, angle the end of the piping to the outside and continue stitching overlapping the piping about an inch. Trim off the excess. Set aside.
24. Attach the Zipper Foot.
25. Place the right side of the zipper right sides together with the 15” x 8” back piece along the 15” side, sew the zipper with ¼” stitch.
26. Press the fabric away from the zipper. Top stitch.
27. Place the 15” side of the 15” x 9” fabric on the other side of the zipper tape, with right sides together. Stitch with a ¼” stitch.
28. Do not press away from the zipper. Instead fold the fabric back, leaving about a inch to cover the zipper. Press.
29. Stitch again about ¼” away from the zipper. This will leave a nice flap over the zipper teeth.
30. Move the zipper head to the center. Sew each end of the zipper to secure. Make sure to leave the flap over the zipper.
31. Center the zipper and trim to 14 ½” x 14 ½”. Secure the zipper ends again if necessary.
32. Place the pillow back on the pillow front with right sides together. Make sure to place the zipper going from side to side.
33. Attach the Pearl & Piping Foot to help guide your fabric.
34. Stitch all four sides.
35. Turn right side out through the zipper opening.
36. Insert the pillow form.


