
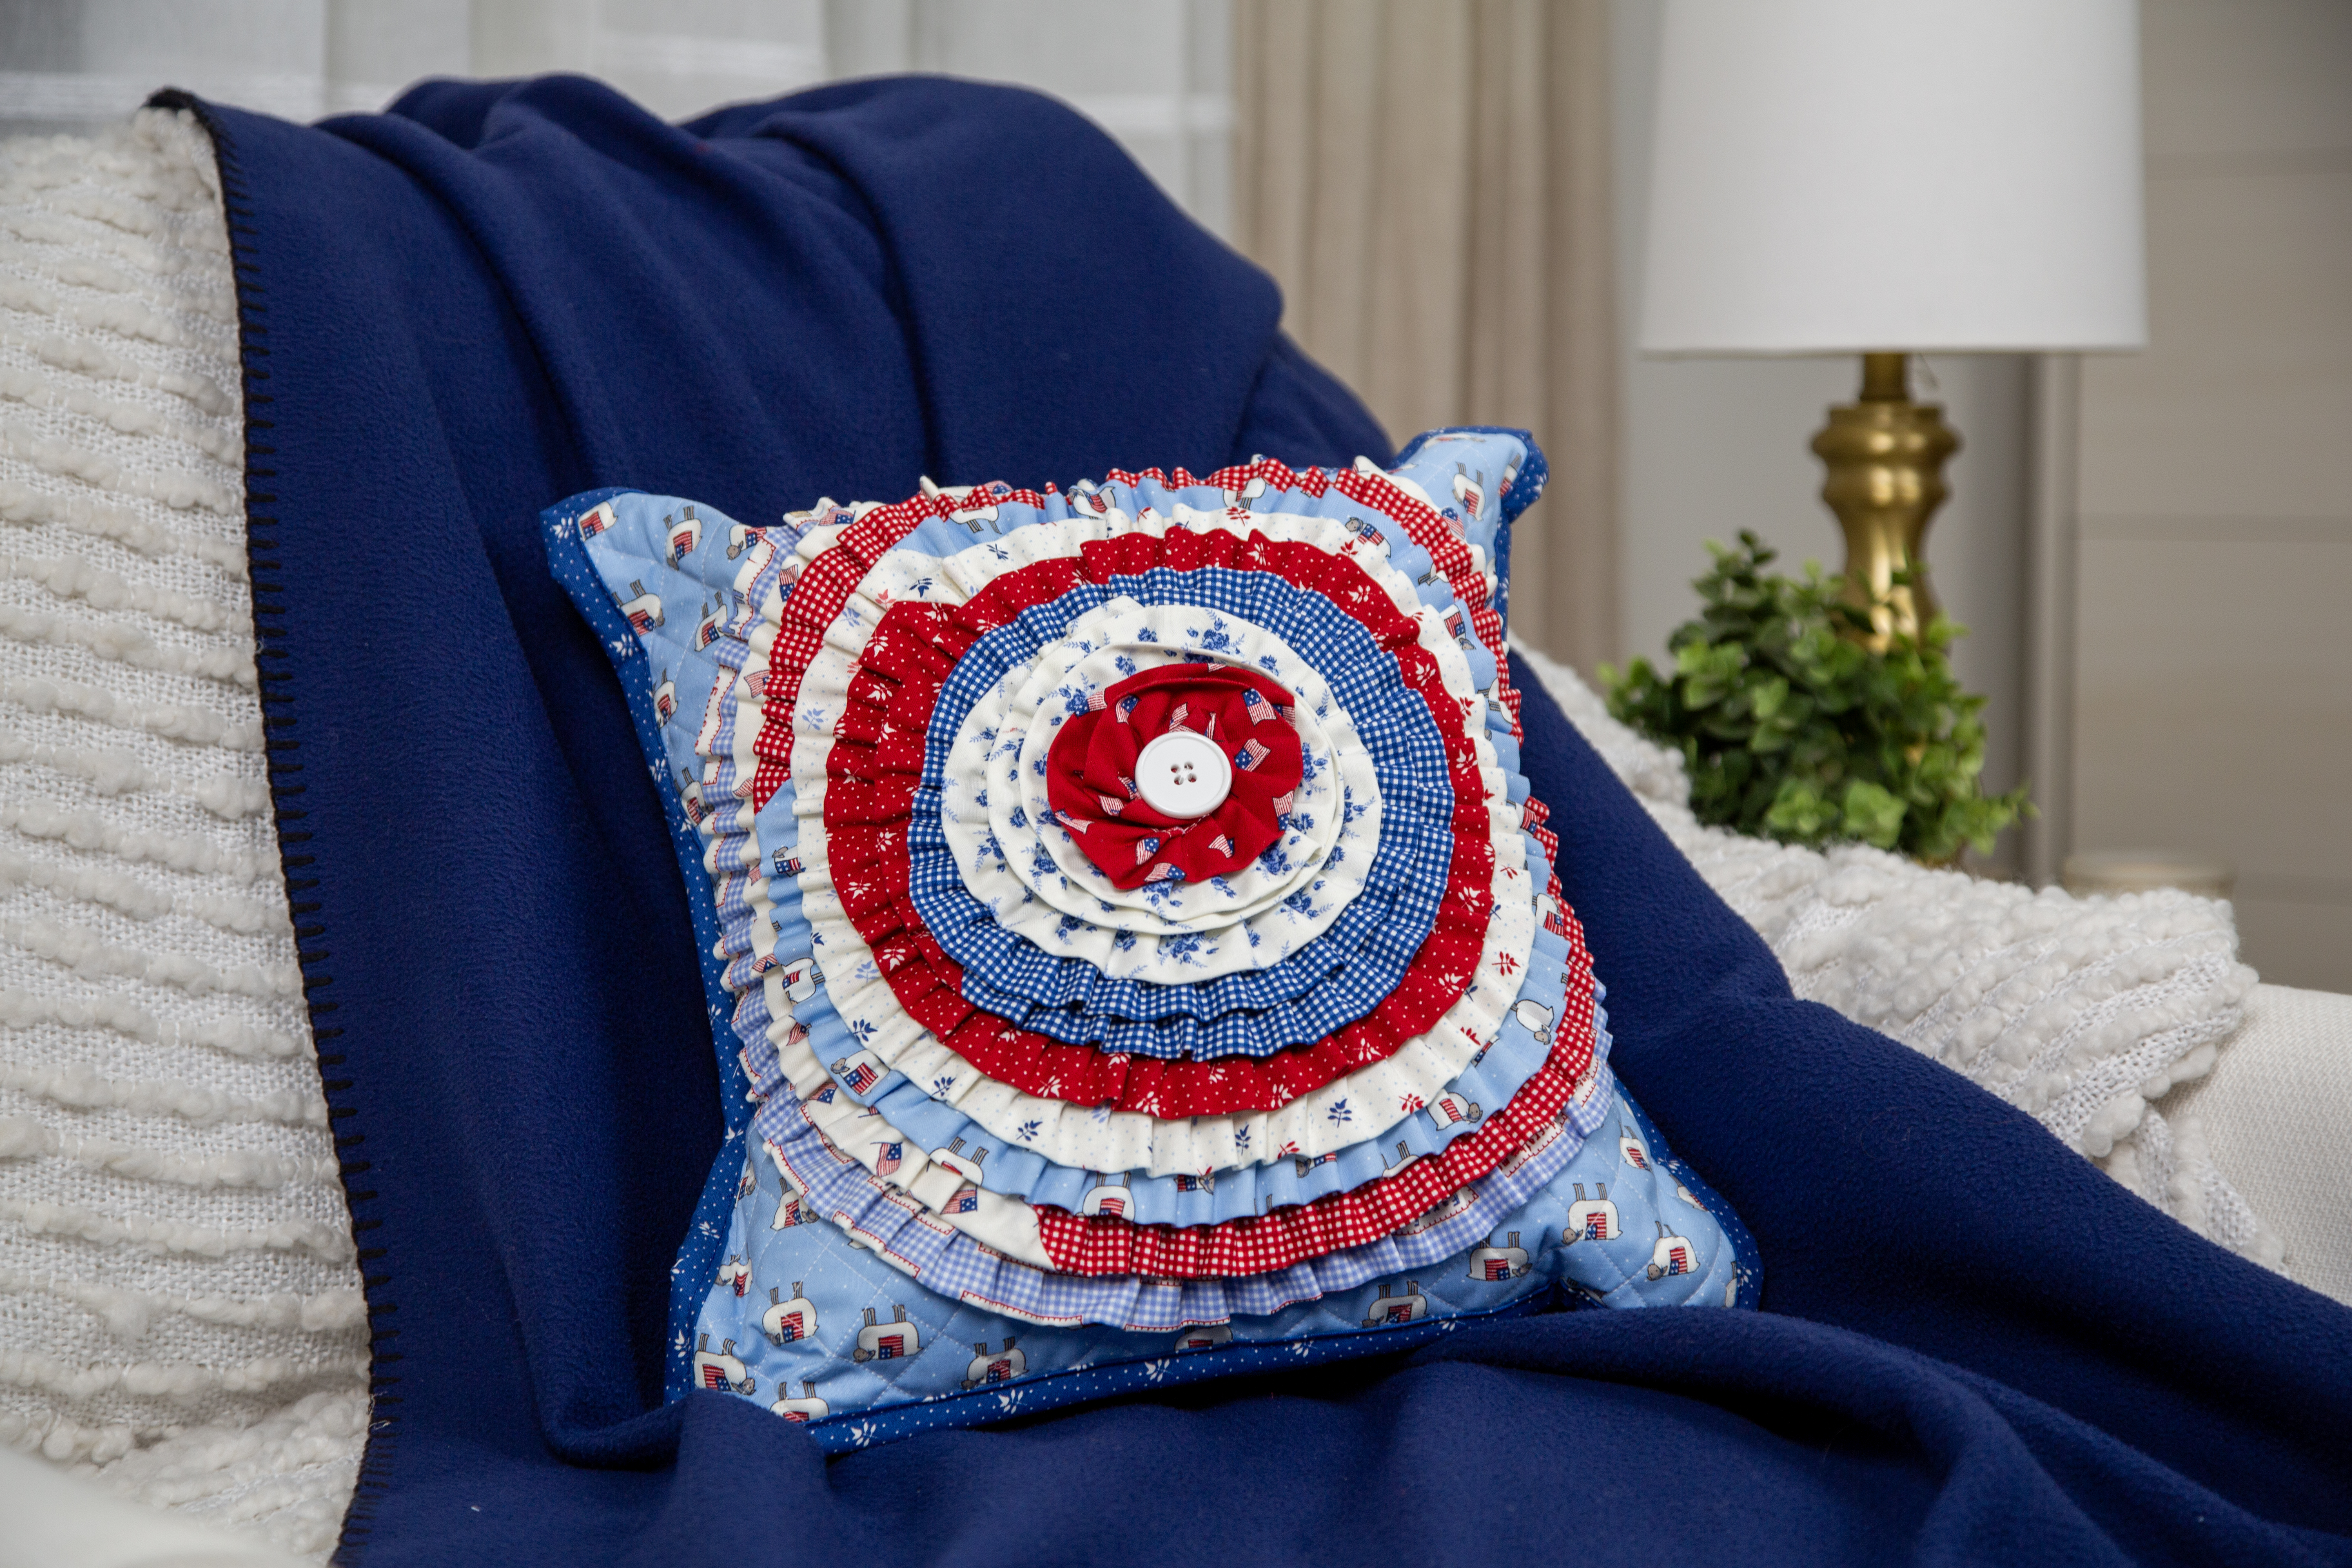
Create this festive pillow to show your patriotism or make it for any theme! This adorable pillow showcases texture and volume all created using the Ruffling Foot. Finish it off with a cute decorative button and enjoy for any occasion.
Click HERE to download printable instructions with additional photos.
Supplies:
- Baby Lock Sewing Machine
- Fabric:
- (1) 15 1/2” x 15 1/2” cotton fabric for background
- (1) 15 1/2” x 15 1/2” batting
- (1) 15 1/2” x 15 1/2” cotton fabric for backing, this can be muslin or a solid as this will be inside the pillow cover so it will not be seen
- (2) 15” x 10” cotton fabric for envelope backing
- (9) 2 ½” x WOF strips of cotton fabric
- OPTIONAL: (2) 2 ½” x WOF strips of cotton fabric for binding
- 14” pillow form
- Madeira Sewing Thread
- (1) large button
- Feet:
- Baby Lock Ruffling Foot
- Baby Lock Button Fitting Foot M
- ¼” Foot
- Walking Foot, Digital Dual Feed Foot, or Free Motion Foot
- Dinner-sized plate
- Other supplies: 80 universal needles, scissors, adhesive spray, marking tools, blue painter's tape, etc.
Instructions:
Envelope Back:
1. Prepare the envelope backing pieces by folding down one 15” edge ¼” and press, fold again ¼”, press. Stitch along the hem with a 1/8” seam. This will encase the raw edges. Do this for both pieces. Set aside.
Pillow Front:
1. Layer the 15 ½” square background piece, batting and backing. Quilt as desired. In the sample I used the Digital Dual Feed foot to create a crosshatch style of quilting. Trim down to 15” square. Set aside.
2. Join all the 2 ½” strips together using the diagonal method.
3. After all the strips are stitched together press in half wrong sides touching.
4. Attach the Ruffling Foot to the machine. Align a piece of painter’s tape with the ¼” mark on the stitch plate on the machine.
5. Adjust the Adjustment Lever to 6. Align the raw edges with the painter’s tape. Slide the fabric between the upper and lower blades making sure there is at least an inch of fabric beyond the needle. Start stitching keeping straight with the painter’s tape. Ruffle the whole strip.
6. Next, center the dinner plate on the quilted piece. Using a marking pen or tool draw around the plate.
7. On the gathered strip, fold both ends over twice and stitch.
8. Next, with the raw edges facing in, pin the ruffle around the circle leaving a 2”-3” opening.
9. Place ¼” foot on machine. Begin stitching using a ¼” seam allowance at the folded edge and stitch around until you meet the opening.
10. Next, pin the next row of ruffles leaving about ½” of the previous ruffle showing stopping about 2” before you stopped sewing on the first ruffle.
11. Continue in this pattern until you get to the middle.
12. Once the ruffles reach the center, trim the end to around 3”. Fold the end under a couple of times and stitch in place.
13. Place the Button Fitting Foot on the machine. Select the Buttonhole section on your machine and look for the button sew on key . Slide the button along the metal plate and into the presser foot. Lower the presser foot in the center of the ruffle pillow top. Turn the handwheel to check that the needle goes into each hole correctly. If it does not, adjust the stitch width. Now stitch the button in place. To make the button more secure repeat the process.
Finishing:
1. With the Ruffle Pillow Right Side Up lay the two envelope backing pieces Wrong Sides Up so they are overlapping. Pin or clip the edges.
2. With a ¼” seam stitch around the pillow.
Pro Tip: If using pins make sure to remove the pins before sewing over them.
3. Once stitching is complete flip the pillow inside, insert pillow. Now you have a sweet pillow to celebrate any holiday!


