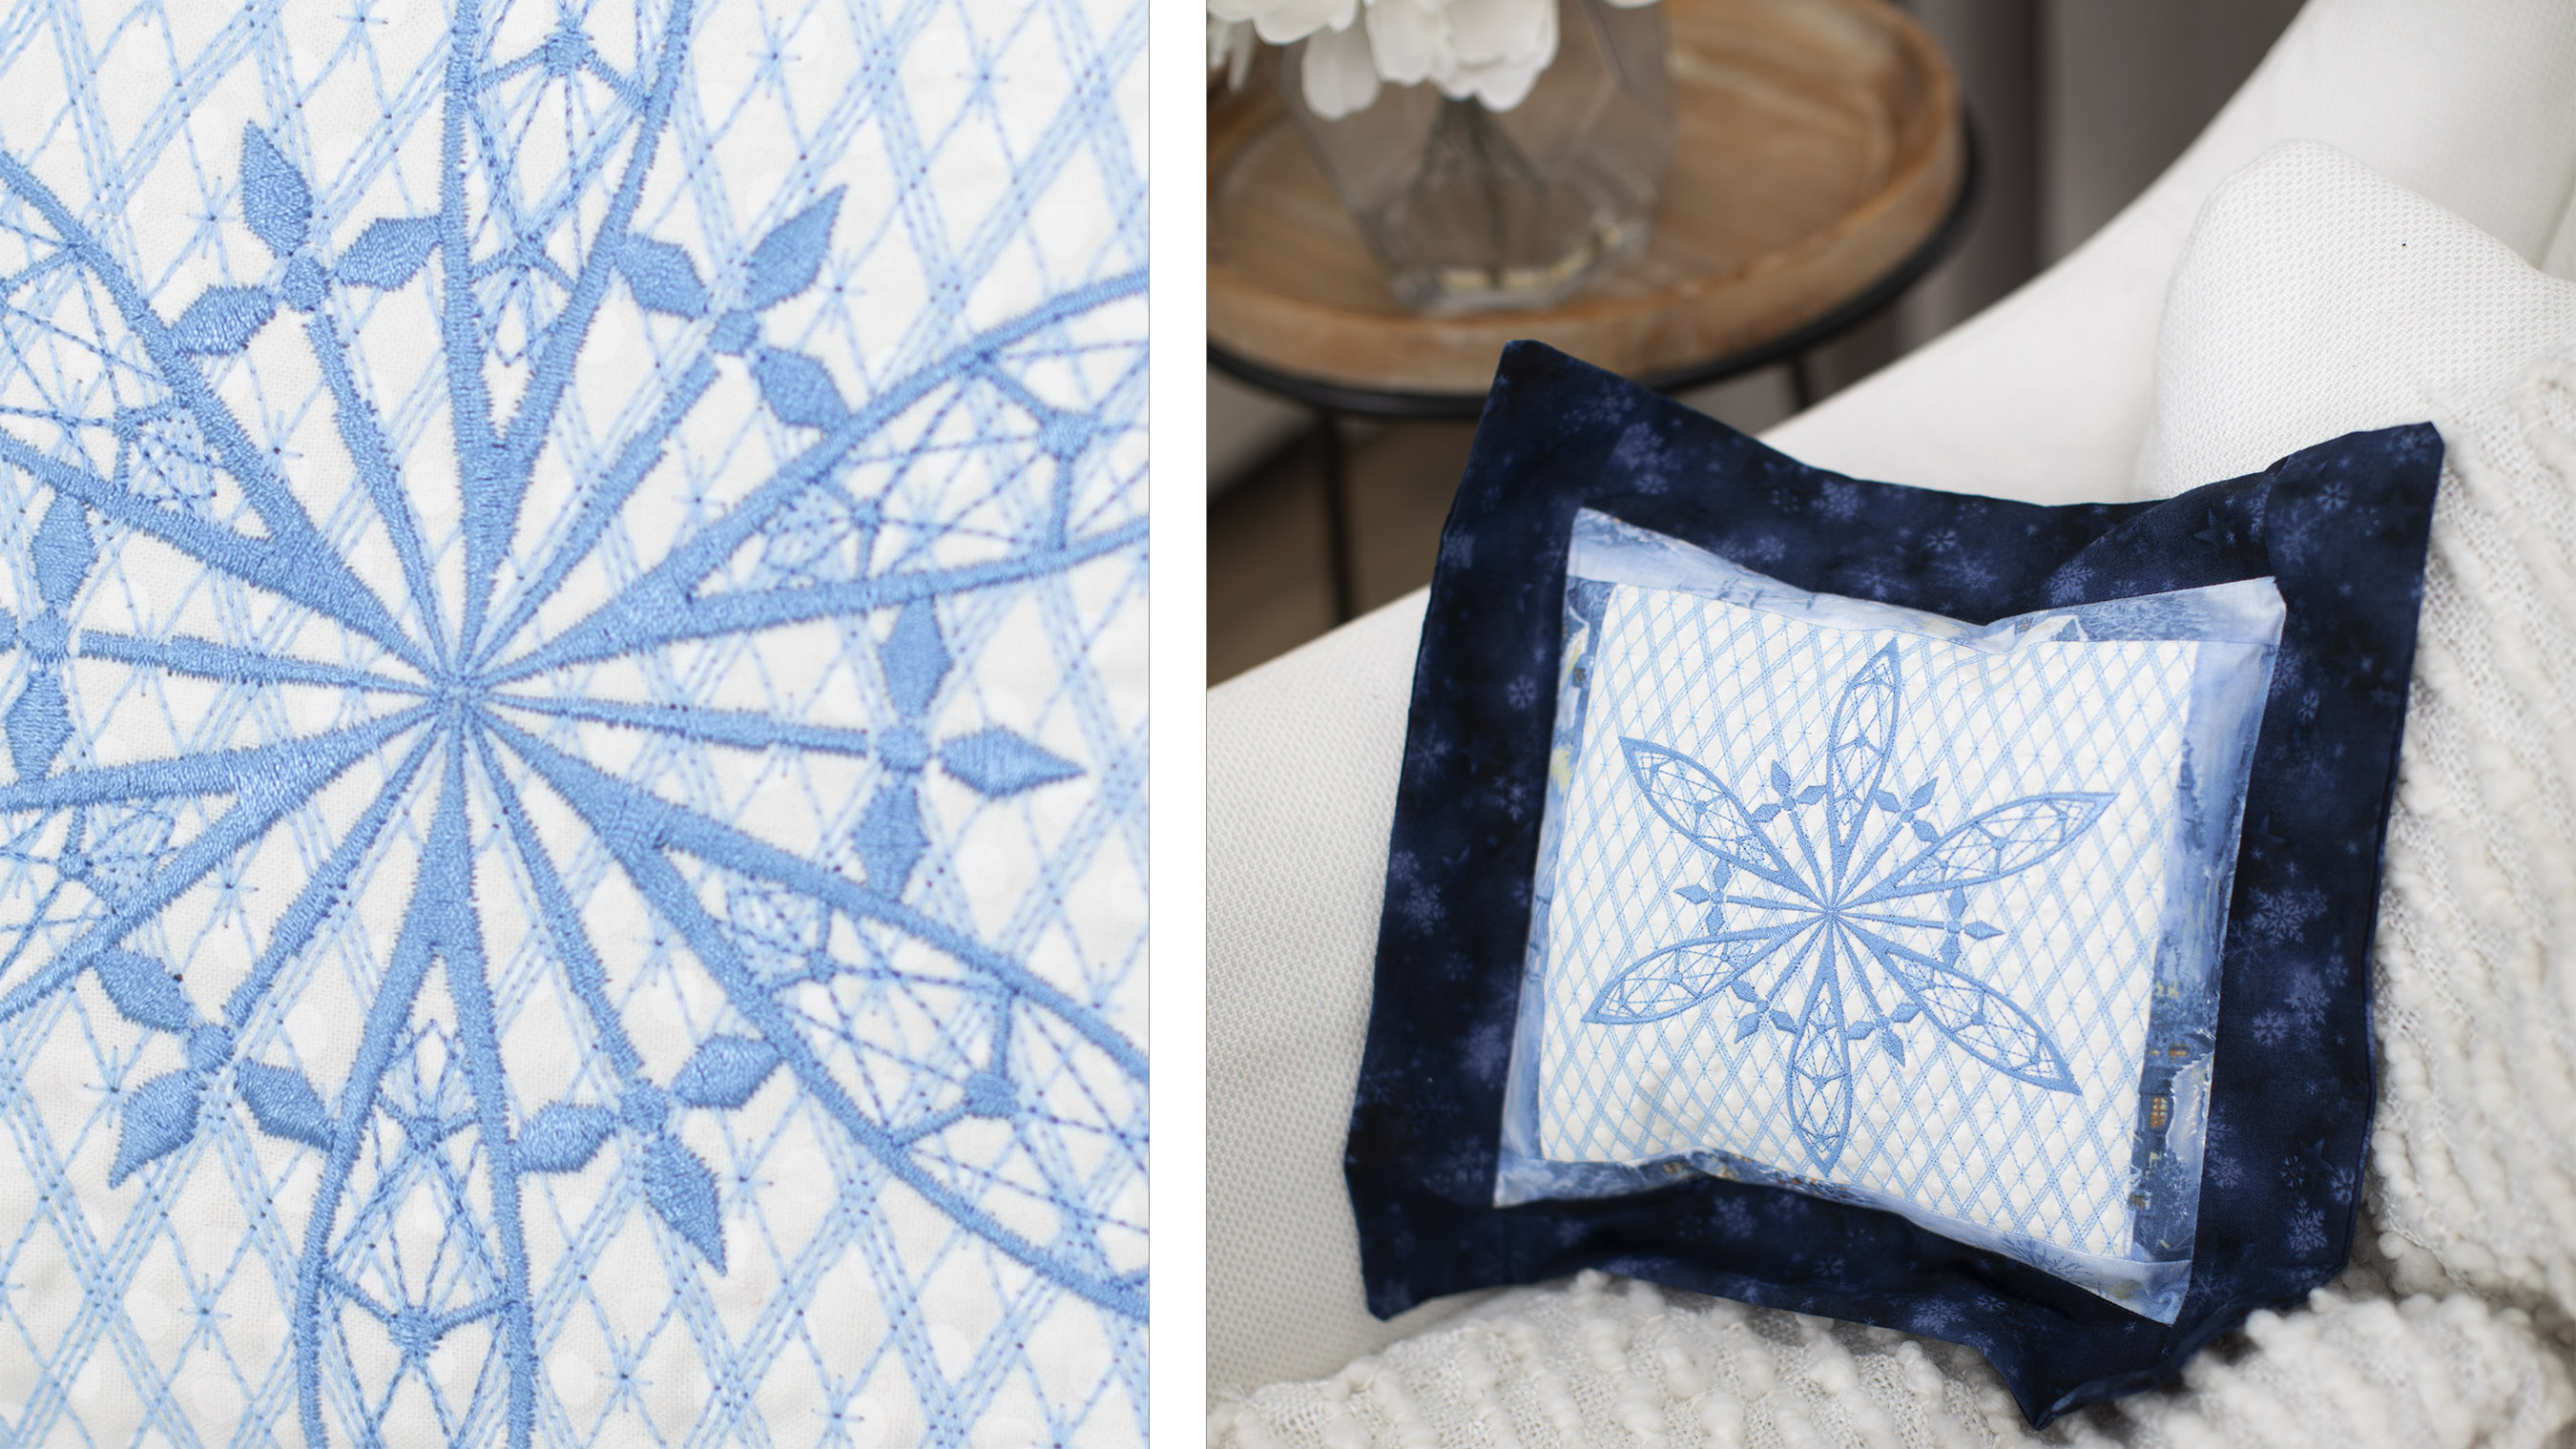
Create this wintery throw pillow and embellish it with a beautiful snowflake design built into the Solaris Vision or find your own favorite embroidery design to add.
CLICK HERE TO DOWNLOAD PRINTABLE INSTRUCTIONS WITH ADDITIONAL PHOTOS. .
Supplies
- Baby Lock Solaris Vision Sewing and Embroidery Machine
- Embroidery and Universal needles
- Iron and press pad
- Madeira Sewing Thread
- Rotary cutter and mat
- Scissors
- Embroidery foot
- Digital dual feed foot and ¼” sole with guide
- Optional - Stitch-in-the-Ditch sole for Digital dual feed food
- Optional Magnetic Sash Frame 7” X 14”
Cut List
- Center fabric: 1@14”x14”
- Sashing: 4@1 ½”x12”
- Faux ruffle: 4@2 ½”x14”
- Fusible webbing: 1@14”x14”
- No show mesh: Cut to fit hoop
Getting Creative
- Fuse fusible webbing to back of center fabric
- Hoop no show mesh and fabric and place in embroidery machine
Instructions
- Select IQ Designer
- Select the Shapes/Stamp Key.
- From the first tab select square 01. Touch OK.
- Select Size and resize the square to 8”x8.
- Select Line Properties.
- Select running stitch and a color. Touch OK.
- Select Fill Cup/Paint Bucket and Selecton square to apply the run stitch.
- Select Fill Properties.
- Select decorative fills option.
- Select Fill #48 or fill of choice and a color. Touch OK.
- Select the Fill Cup/Paint Bucket and click inside square to apply fill.
- Touch Next.
- No changes will be made to the default settings.
- Touch Set and OK. (You will be sent to Embroidery side of machine)
- Touch Add
- Select #1 Exclusive designs
- Select Holidays
- Select the first snowflake design#13.
- Touch Set.
- Touch Edit.
- Select Size with Stitch-recalculation & OK. Increase snowflake to roughly 7.35”x6.41”. Touch OK.
- Select Embroidery.
- Stitch out designs make certain to stitch fill first.
- When complete remove hoop from machine and fabric from hoop.
- Trim center fabric to 7 ½”x7 ½”.
Assembling the Pillow
- Set the Solaris up for sewing with sewing thread & bobbin. Attach the Digital Dual feed foot with the ¼” sole.
- Gather sashing strips.
- Stitch right side sashing to right center fabric using ¼” seam allowance.
- Stitch next strip to left side.
- Press both strips to dark fabric.
- Stitch sashing to top.
- Stitch sashing to bottom.
- Press to dark fabric.
- Square up all sides.
- Gather faux ruffle strips.
- Stitch in same order as sashing.
- Press and square up once again.
- Set pillow front aside.
- Gather backing pieces.
- Fold both long ends twice ¾” and press.
- Stitch top and bottom of fold with DDF and ¼” foot to give clean professional look.
- Place pillow front on flat surface right side up.
- Place backing fabrics right side down on pillow front.
- Folded sides of pillow back will overlap roughly 2 ½”.
- Clip pillow back to pillow front.
- After pillow stitched clip all four corners careful not to clip stitches.
- Turn pillow right side out using awl to extend corners
- Press pillow avoiding embroidered area.
- Place Edge Joining foot on machine and straight and stitch between sashing and ruffle
- Place pillow form in pillow and ENJOY!


