Drafting and Sewing a Cape Inspired by Sky Children of Light


Atticus takes inspiration from a beautiful multiplayer online role-playing game called Sky Children of Light! In the game, you have a magical cape, and go on adventures, connecting with others and returning stars to their constellations.
Like all of their cosplay projects, Atticus adds their own unique style. Are you ready to embark on a sewing adventure and bring the enchanting world of Sky Children of Light to life?
In this loose tutorial, we'll guide you through creating a stunning cape inspired by the game. With your Baby Lock sewing, embroidery, and serger machines and a variety of sewing feet, you'll be able to craft a truly magical piece. Let's take flight!
Step 1: Drafting the Pattern
Making the pattern for this cape is rather simple and can be freehanded!
You will need:
Paper scissors /Fabric scissors
Drafting paper or craft paper or fabric for drafting
A large flat working surface
Measuring tape
Writing utensils I like to use colored pencils.
Thumbtack
1. Start with taking a measurement for the desired length of the cape; measure from your shoulder to mid thigh. I chose to measure to the bottom of my dress form, which would translate to about your fingertips with your hands at your sides.

2. Then measure loosely around your neck, this will be your neck opening.

3. Now we get our craft paper and fold it in half once. (this fold will be your center back)
4. Measure down along the long folded edge your length measurement that we just took plus half your neck measurement. Half the neck because our fabric is folded in half. If you want to make a full circle, fold your paper down your folded edge and then you will need to quarter your neck measurement.
5. Using a thumb tack poke into your measuring tape at .5 inch, then poke that into the corner of the drafting material at the top corner on the folded side. Then press that into a stable surface. I have seen some people use a wooden cutting board. I use my table. The key is that what you use is stable so that it won’t slide when you apply tension to the measuring tape. This way it holds my measuring tape and paper in place for drawing my lines. Tip: you can use string in substitute for a measuring tape.


6. Measure down the measuring tape half your neck measurement (be sure to add .5 inch because you have the measuring tape held at .5 inch mark which means we need to add that back in.
7. Take a drawing utensil, wrap your measuring tape at your neck measurement around the drawing utensil and give slight tension on your measuring tape draw a line from the folded edge of your paper to the opposite edge of your paper. This is your neck opening!
It should look something like this:


8. Repeat that same process for the length of your cape, this time using the halved neck measurement plus the desired length (this is your shoulder to length measurement we took first) I always make this longer than I think it might need to be so I can make adjustments.
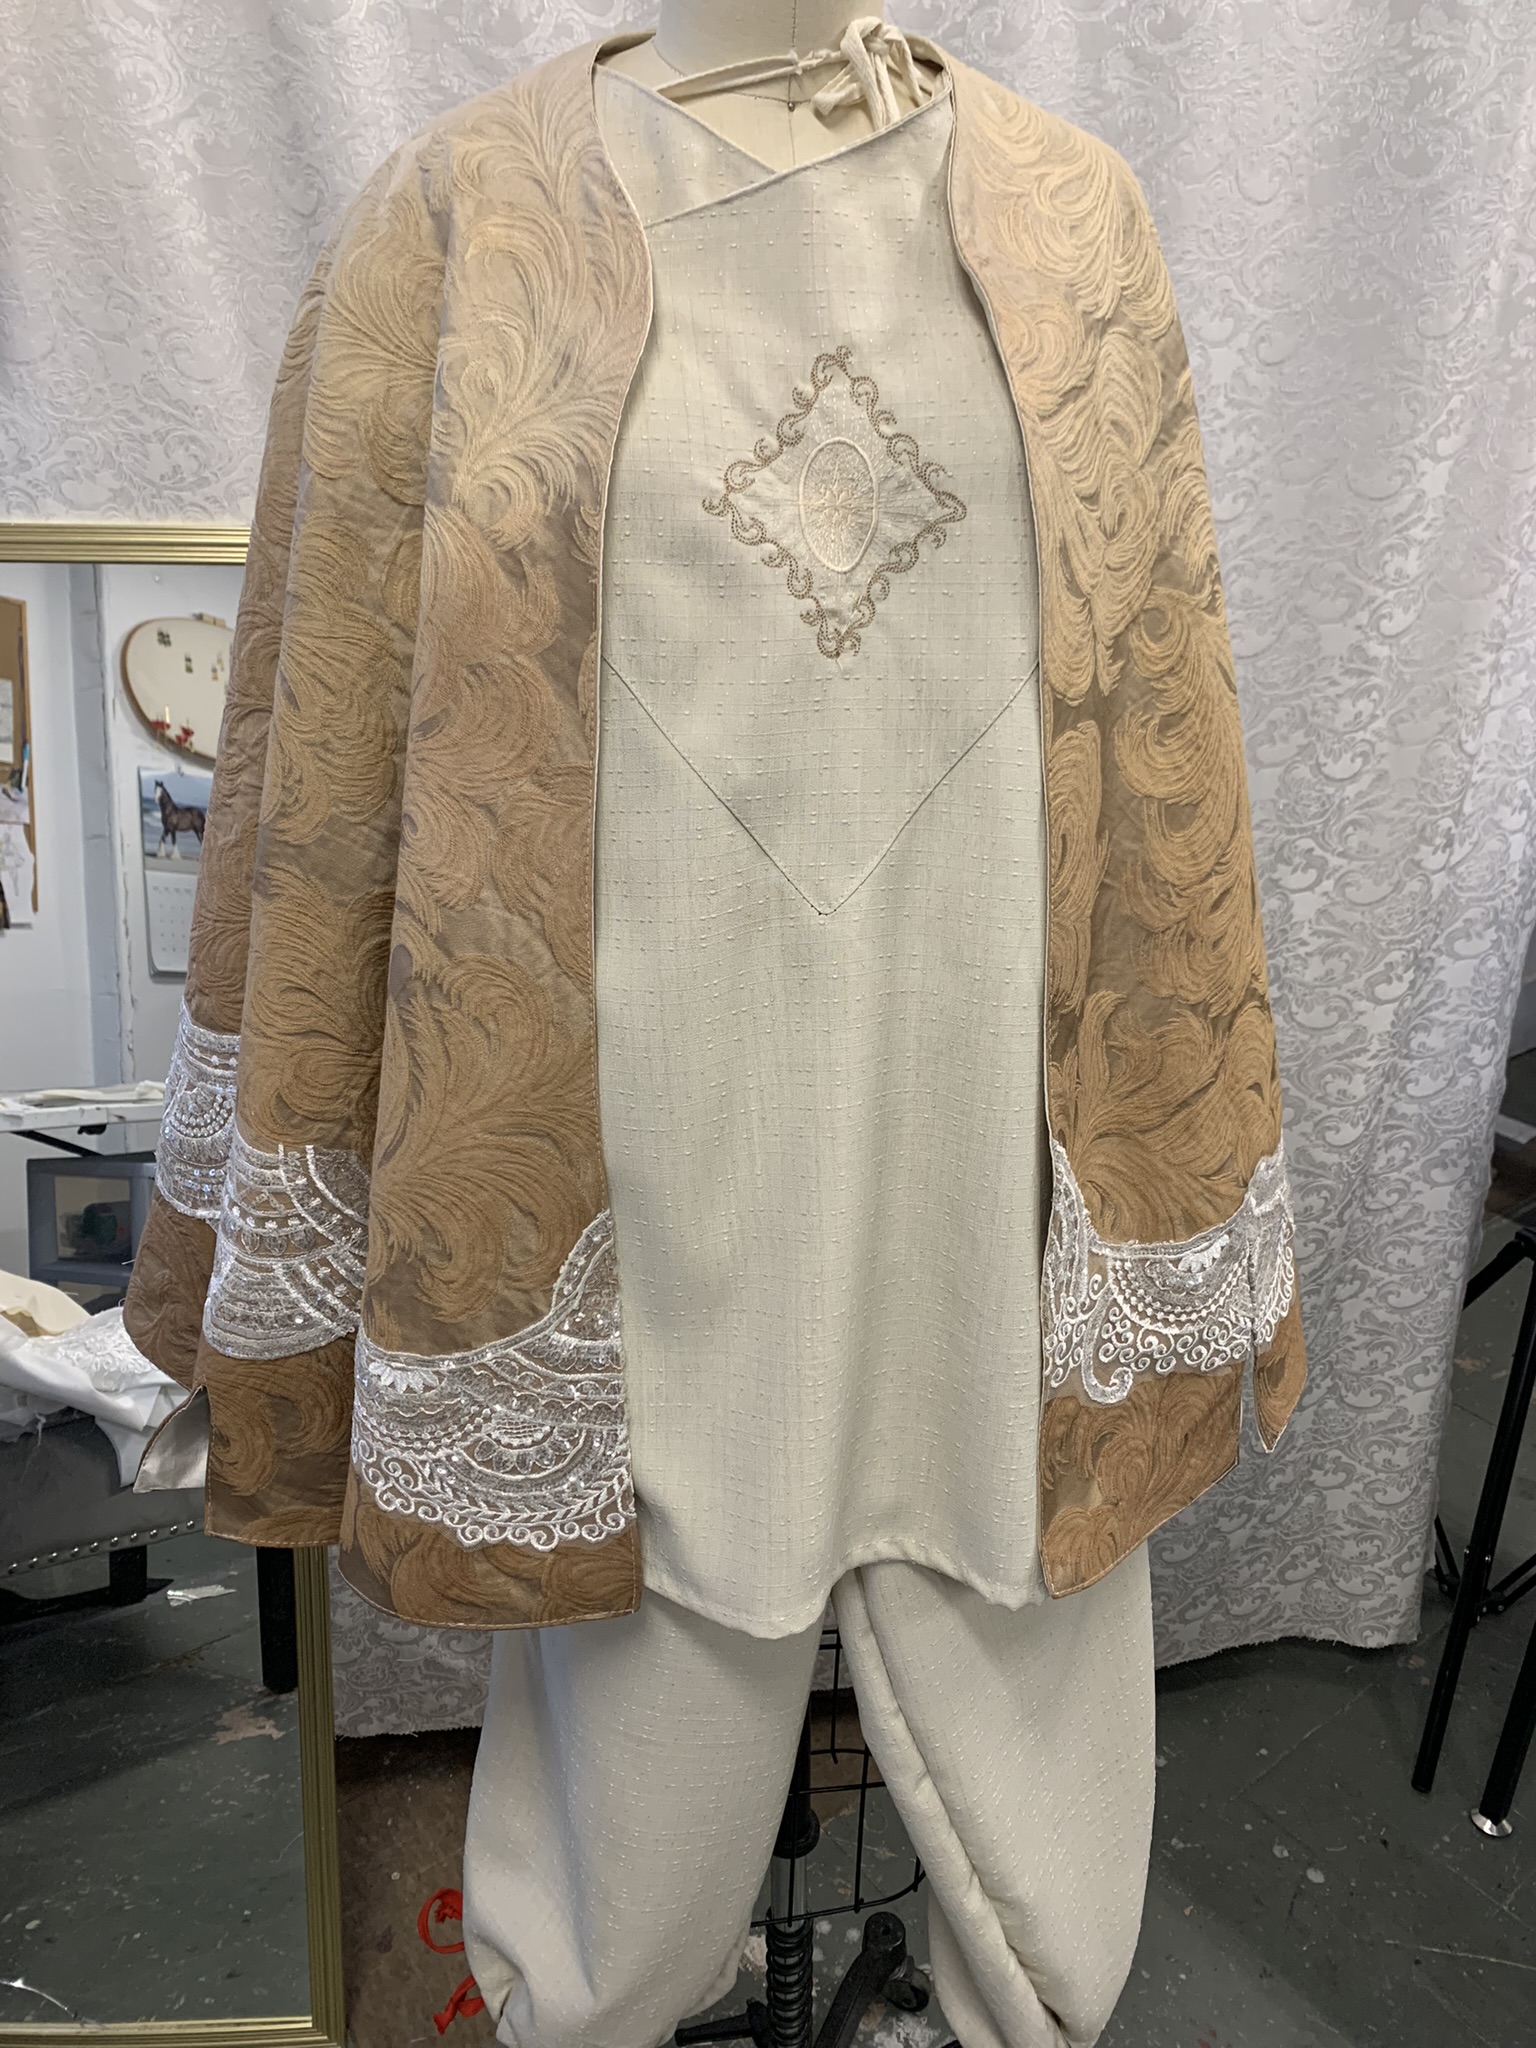
9. Now we just have to cut this out using our appropriate scissors. I decided to curve the sharpness of the corner and dip and flair the center front.


The pattern can be draped on yourself or a dress form and make adjustments as needed.

I will go in and add any fine touches, shorten the black reduce the curve, etc. This is the best stage to mess with a pattern, and really make it what you want it to be!
Moving on to making the cape:
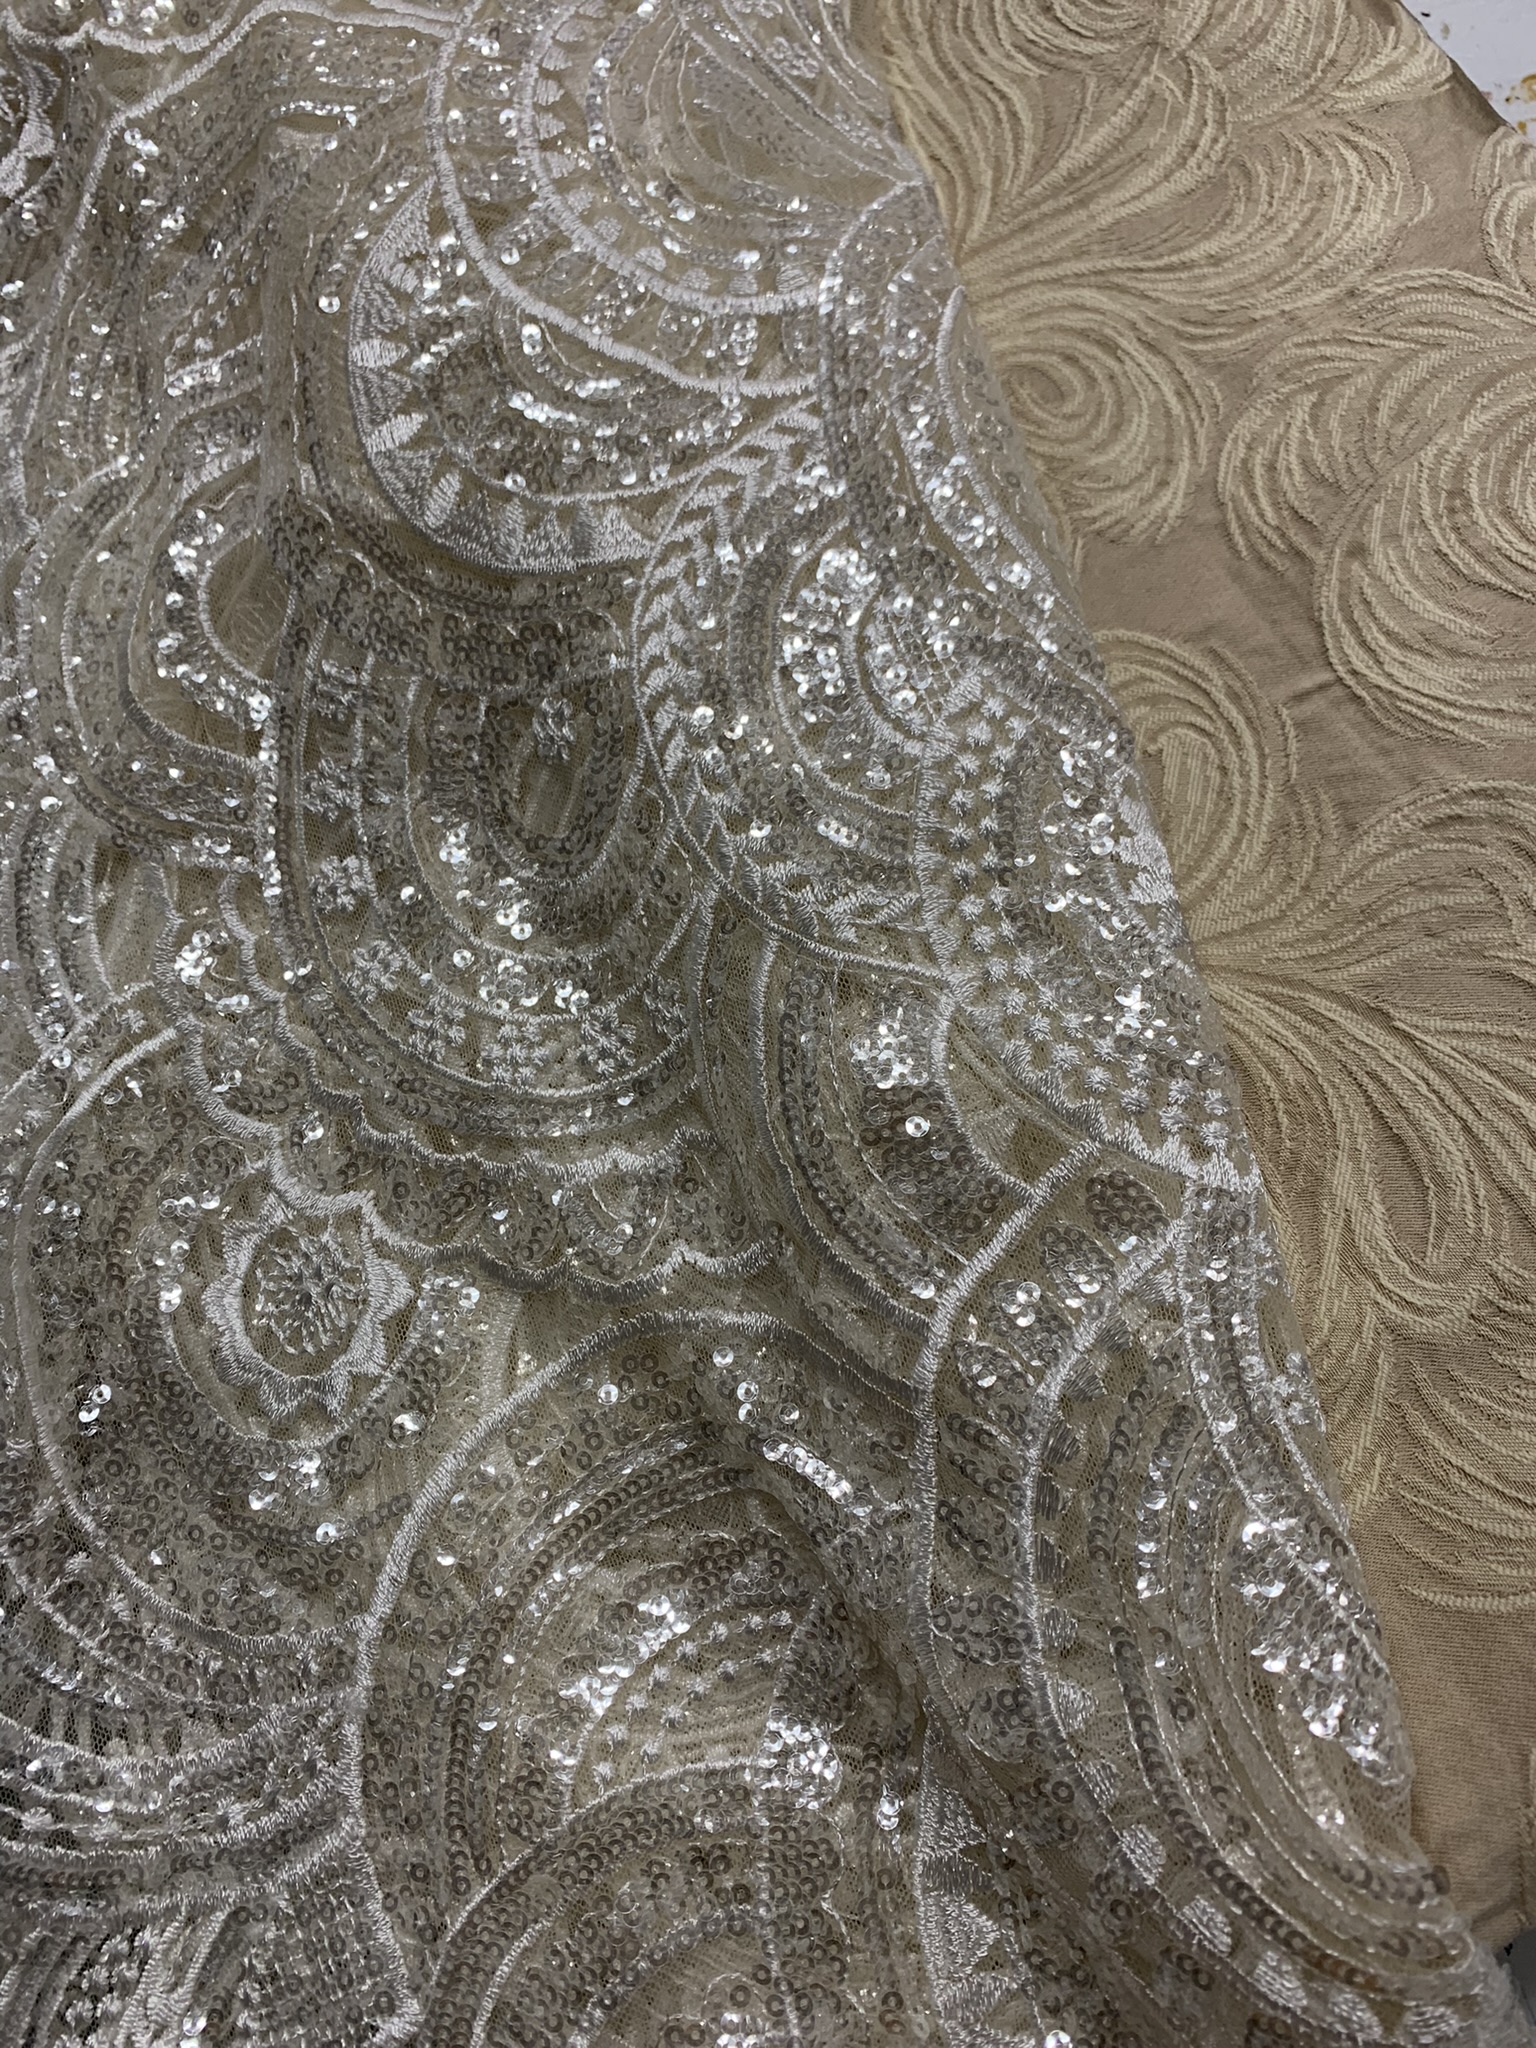
- Using your pattern, cut out your liner fabric and your outside fabric.
2. Choose a fabric you would like to applique, using the Babylock Accomplish or Accomplish 2 and the Freehand quilting foot attach your applique to the outside fabric in your desired pattern.

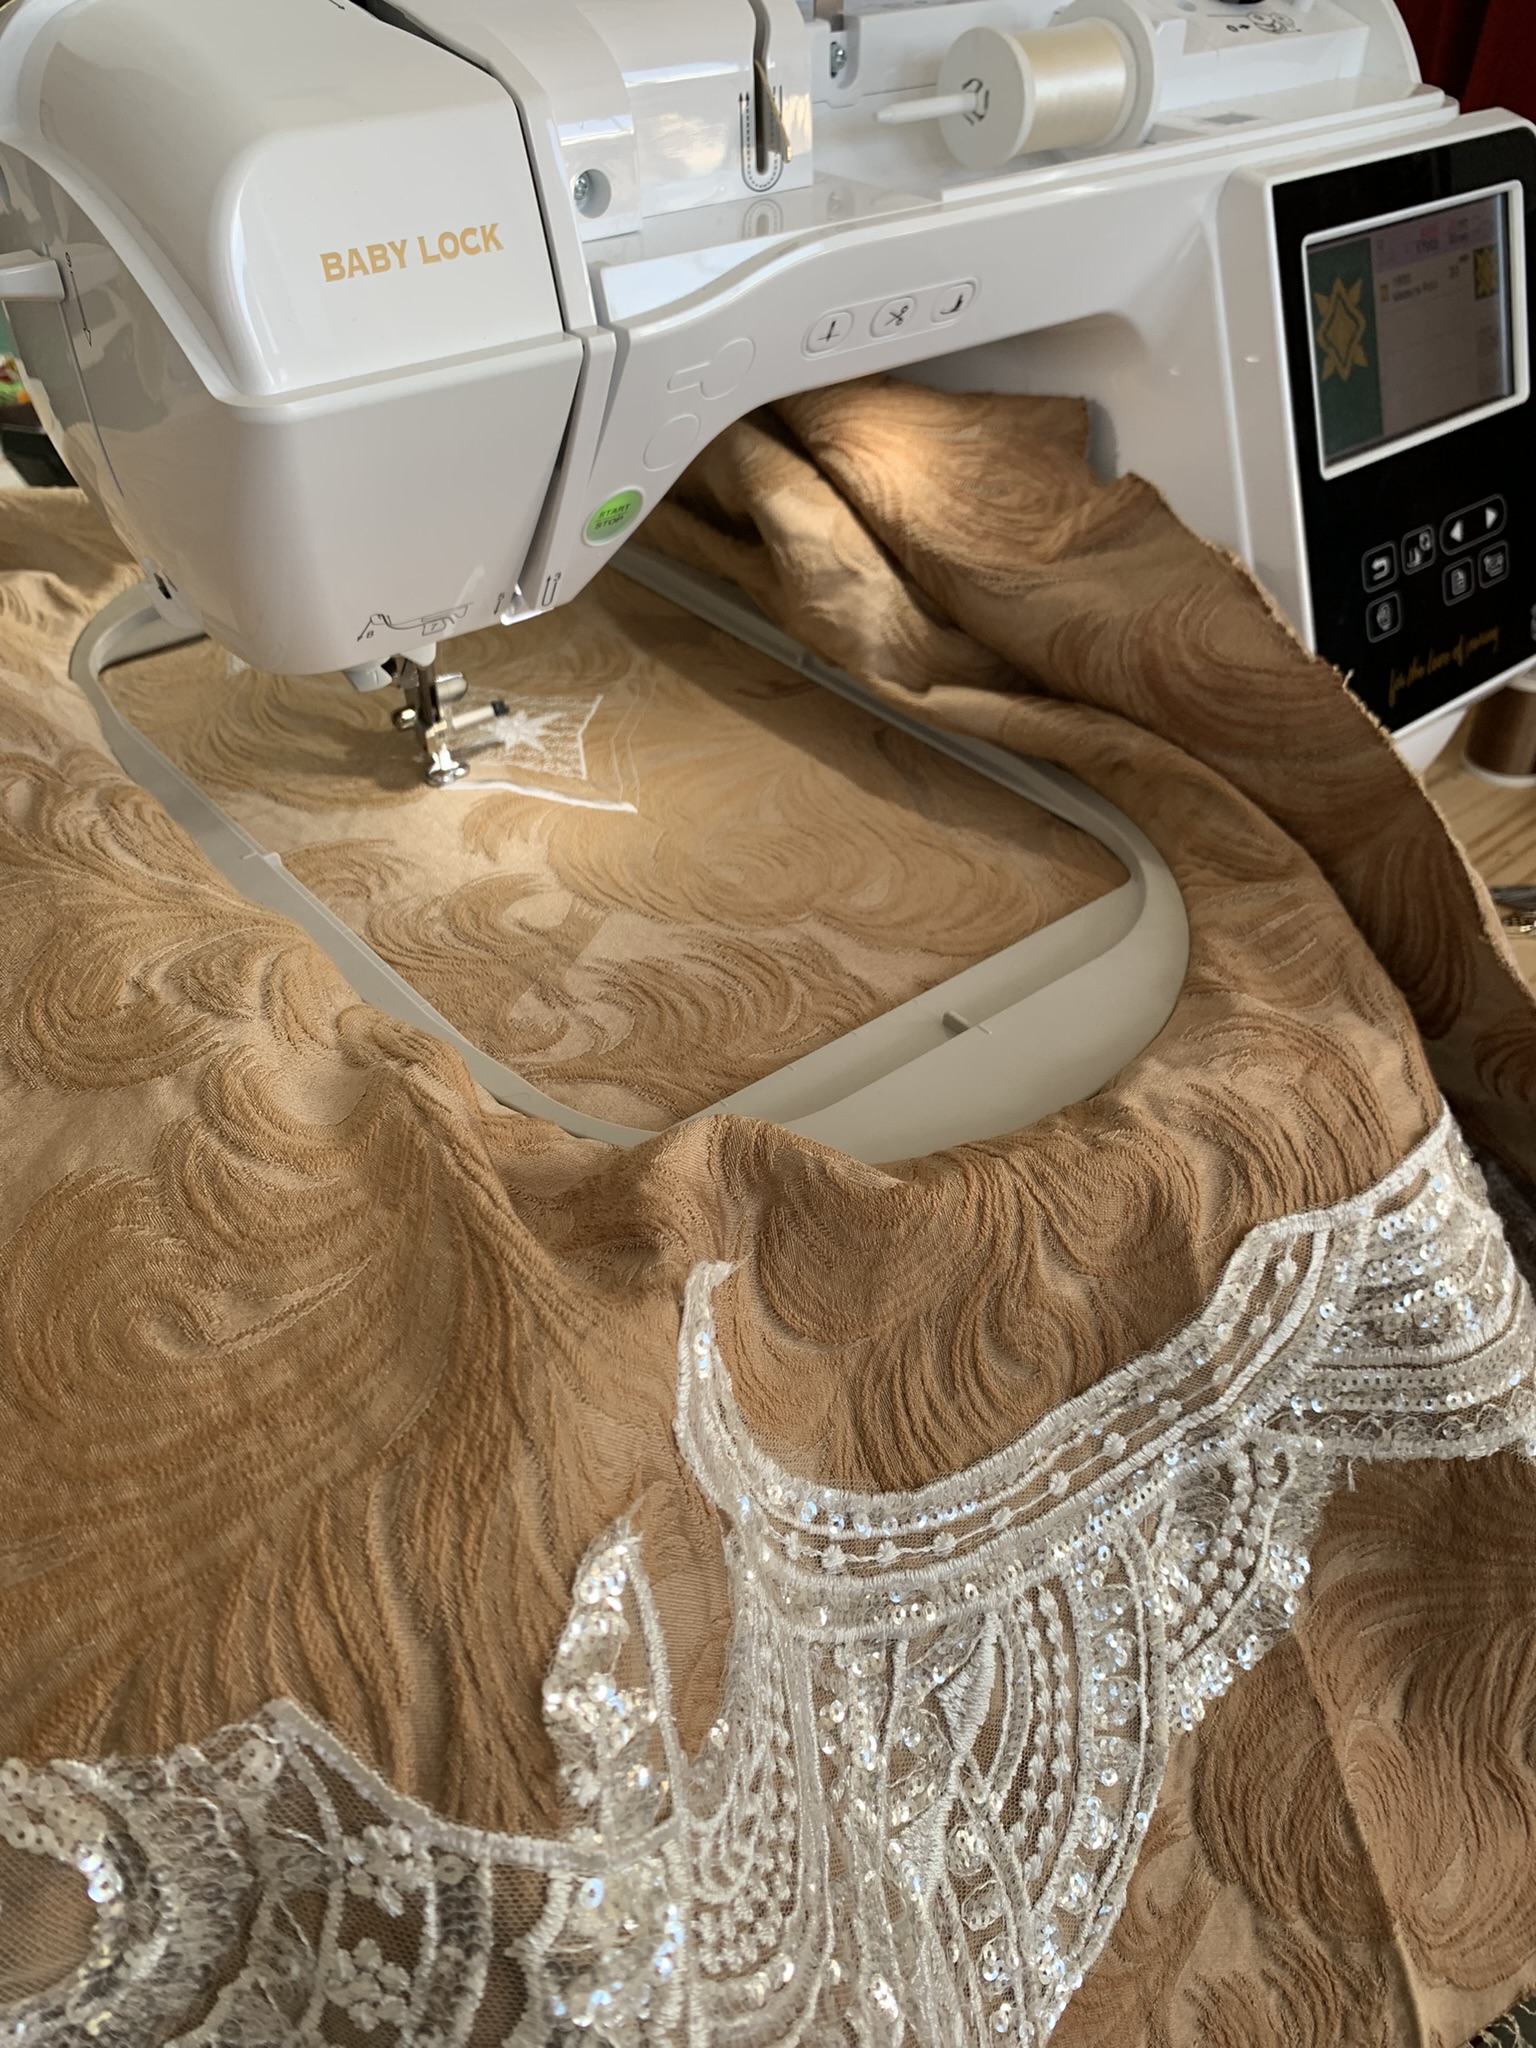
3. Next using the Baby Lock Flare and a 200x200 hoop, Embroider the stars down the middle of the back.
4. Taking your liner fabric and your outside fabric, sew right sides together the Neckline and front seams.
5. Finish these seams with a Baby Lock Serger.
6. Clip any curved edges being sure not to cut through the straight stitch.
7. Keeping your cape right sides together (inside out) Lay your cape on a flat surface, cut the little wing slits out of the bottom hem, you want to be cutting through both liner fabric and outside fabric. Pro tip, this part needs to be pretty precise so the cuts on the liner and the outside perfectly match up. After lying your cape flat, smooth out any wrinkles, adjust both fabrics to be as perfectly aligned with one another as possible and pin both outside and liner together. This is a type of basting so nothing will shift as you cut and sew.
8. Next sew with a quarter inch allowance around all your slits, leaving a small section on the bottom hem unsewn. We will pull the garment right side out through that unsewn section. You should leave your pins in your fabric for this, but be sure to not run over them with your machine.
9. Pull your garment right side out.
10. Take your time and carefully iron all of your seams flat.
11. Top stitch as close to the edge of your seams as possible all the way around your cape.
Congratulations! You are ready to take flight with your finished cape, Happy Sewing!


