
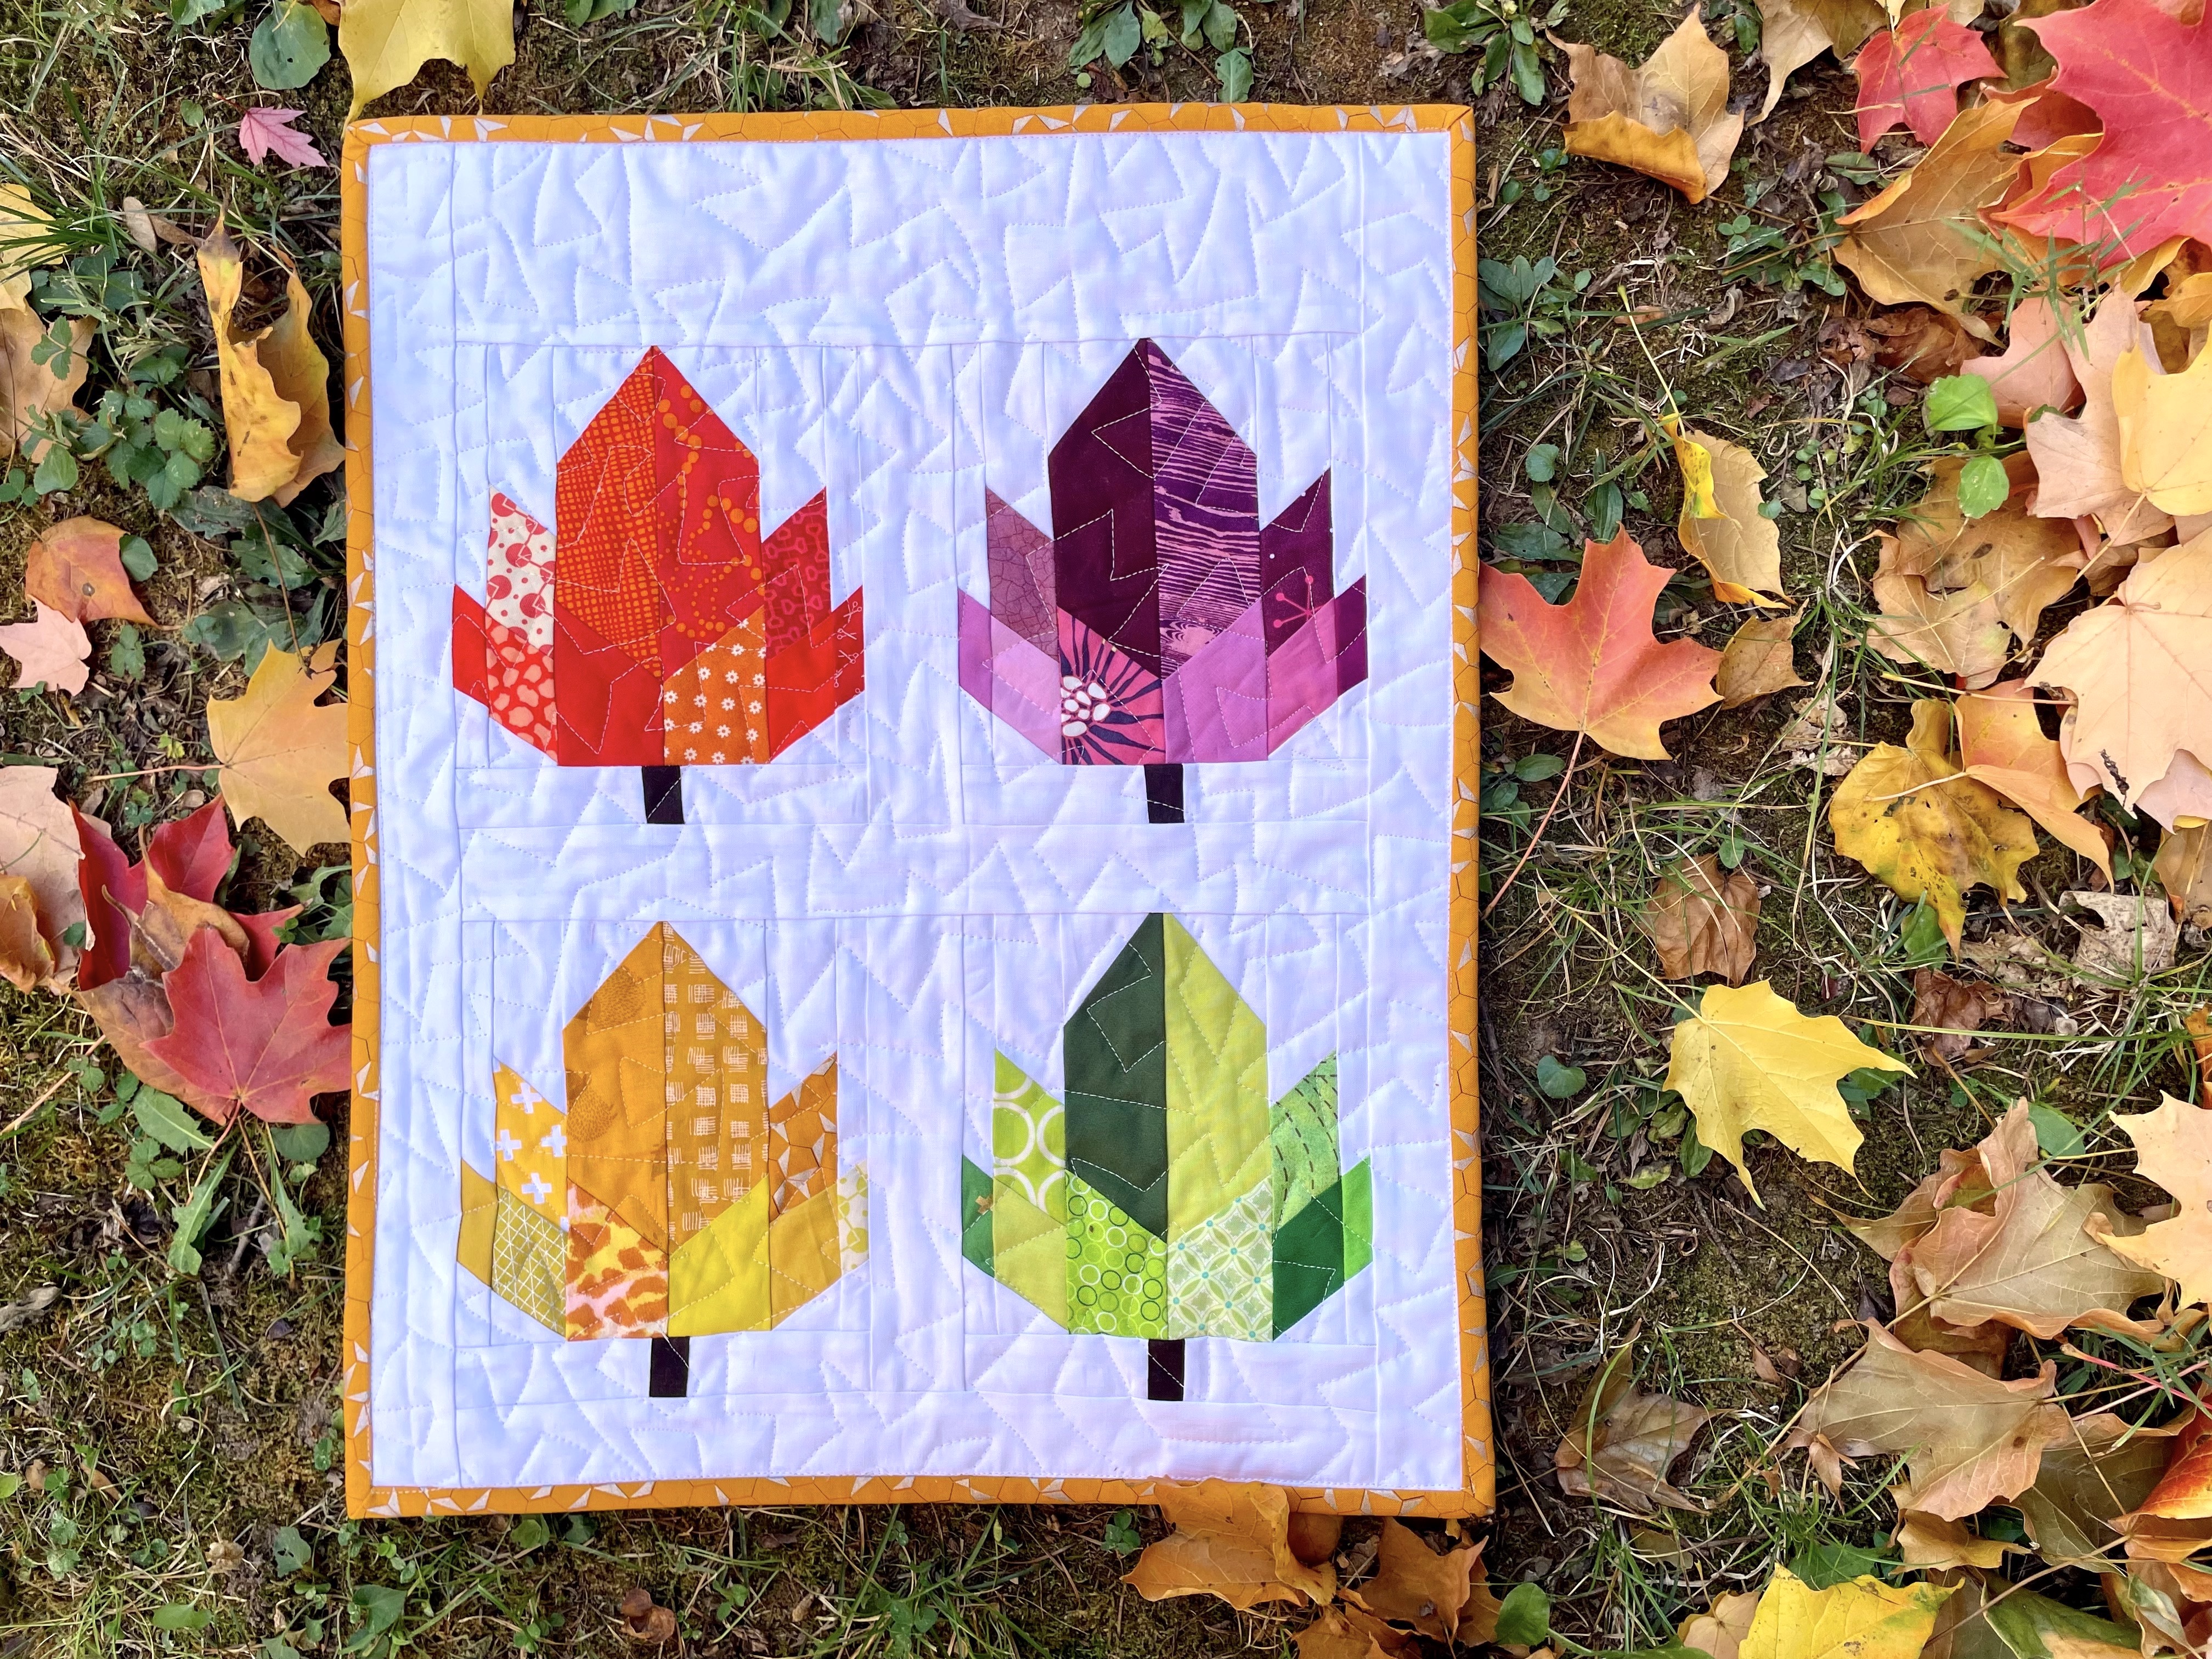
Celebrate the fall season with this scrappy quilted wall hanging! Pull out all your warm autumn colored fabric (reds-oranges golden yellows warm purples and even greens)—even scraps will do!
This free foundation paper-piecing project is a great one for beginners to try because you’ll get lots of practice at pining and sewing your fabrics to the paper. Enjoy this fall wall hanging quilt which will look great in your home all the way from the first days of fall through the Thanksgiving holiday!
CLICK HERE TO DOWNLOAD PRINTABLE INSTRUCTIONS WITH ADDITIONAL PHOTOS.
Supplies
- Baby Lock sewing machine
- Fall Leaves Wall Quilt paper piecing pattern – download HERE
- Assorted fabric scraps in four colorways (try red yellow green purple orange or brown)
- 1½ yards of background fabric (includes sashing)
- 20” x 24” piece of backing fabric
- 20” x 24” piece cotton batting
- 2 strips 2.5” x WOF binding fabric
- (2) 3” squares fabric for hanging corners
- Basting spray or pins
Instructions
Make the Fall Leaves Blocks
- Gather a variety of fabric scraps in four fall color families such as gold red green and purple. Print the PDF pattern at 100% scale. Print a total of 4 copies. Color each pattern with colored pencils to show which sections will be shades of the chosen color or brown for the stem. Leave the background uncolored. Using paper scissors cut the pattern apart on the dotted lines.
- Beginning with section A place a piece of background fabric behind section A1. With right side facing up place a large colored scrap behind that as shown. Pin in place along the A1-A2 line.
- While still pinned fold the colored fabric back beneath the paper and make sure that it completely covers the A2 area. Once confirmed fold it back the other way and sew along the A1-A2 line.
- Fold back the paper along the line you sewed. Use scissors to trim the fabric ¼” past that line. Fold back the colored fabric behind the A2 section. If desired use a dot of glue stick to hold it in place against the paper.
- Place a piece of colored fabric behind the paper as shown. Pin it in place along the A2- A3 line. While still pinned fold the colored fabric back beneath the paper and make sure that it completely covers the A3 area. Once confirmed fold it back the other way and sew along the A2-A3 line.
- Fold back the paper along the line you sewed. Use scissors to trim the fabric ¼” past that line. Fold back the colored fabric behind the A3 section and if desired use a dot of glue stick to hold it in place. Trim off the excess fabric all around the paper. (The “G” stem section shown was made in the same way.)
- Use the foundation paper piecing tips (attached) to complete the rest of the leaf sections one at a time (B through G). Once all are trimmed along the dotted lines: • Sew section A to section B to make the block center. • Sew section F to D to make the block left. • Sew section C to E to make the block right. • Attach section F/D to the left of section A/B. Attach section C/E to the right of section A/B. • Finally attach section G (stem) to the bottom of the leaf block.
- Leave the paper attached to the fabric for now.
- Make a total of 4 leaf blocks.
Sew the Quilt Top
- From the background fabric cut: a. 1 strip 3.5” x WOF. Subcut a 3.5” x 13.5” strip. b. 2 strips 2” x WOF. Subcut (2) 2” x 7” strips (2) 2” x 13.5” strips and (2) 2” x 20” strips.
- Arrange the 4 blocks in a quadrant. Between the top 2 blocks add a 2” x 7” background strip. Repeat to add a 2” x 7” background strip between the bottom 2 blocks.
- Sew a 2” x 13.5” background strip between the top and bottom row to join them. Add another 2” x 13.5” background strip to the bottom of the quilt. Add a 3 ½” x 13.5” background strip to the top of the quilt.
- Add a 2” x 20” background strip to both the left and the right sides of the quilt.
- Remove the paper backing from the quilt. Press.
Quilt & Finish
- Stack the backing right side up. On top place the batting and finally add the quilt top right side up. Use basting spray or pins to keep the layers in place.
- Quilt through all the layers with straight lines (tip: use a walking foot) or free-motion quilting.
- Square up the edges of the quilt.
- To make hanging corners fold a 3” square in half diagonally right sides together and press. On the back side of the quilt align the raw edges with a top corner. Baste along the raw edges 1/8” from the edge. Repeat with other 3” square on the other top corner.
- Use your favorite method to sew the quilt binding around the edges of the quilt trapping the hanging corners inside.
View more projects and tutorials from Lindsay Sews here.


