Quilted Jacket Front for Cosplay


Quilted Jacket Front Tips for Cosplayers
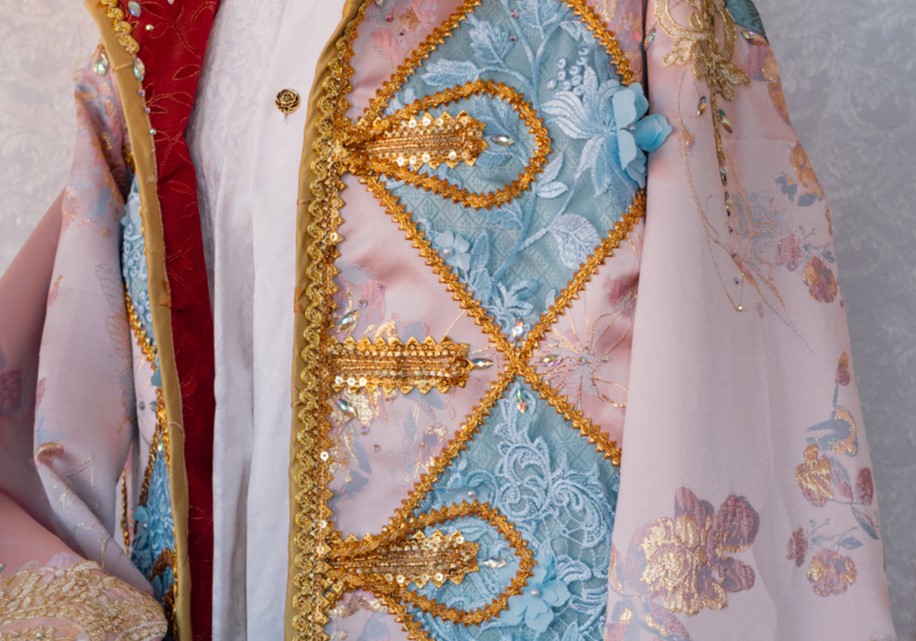
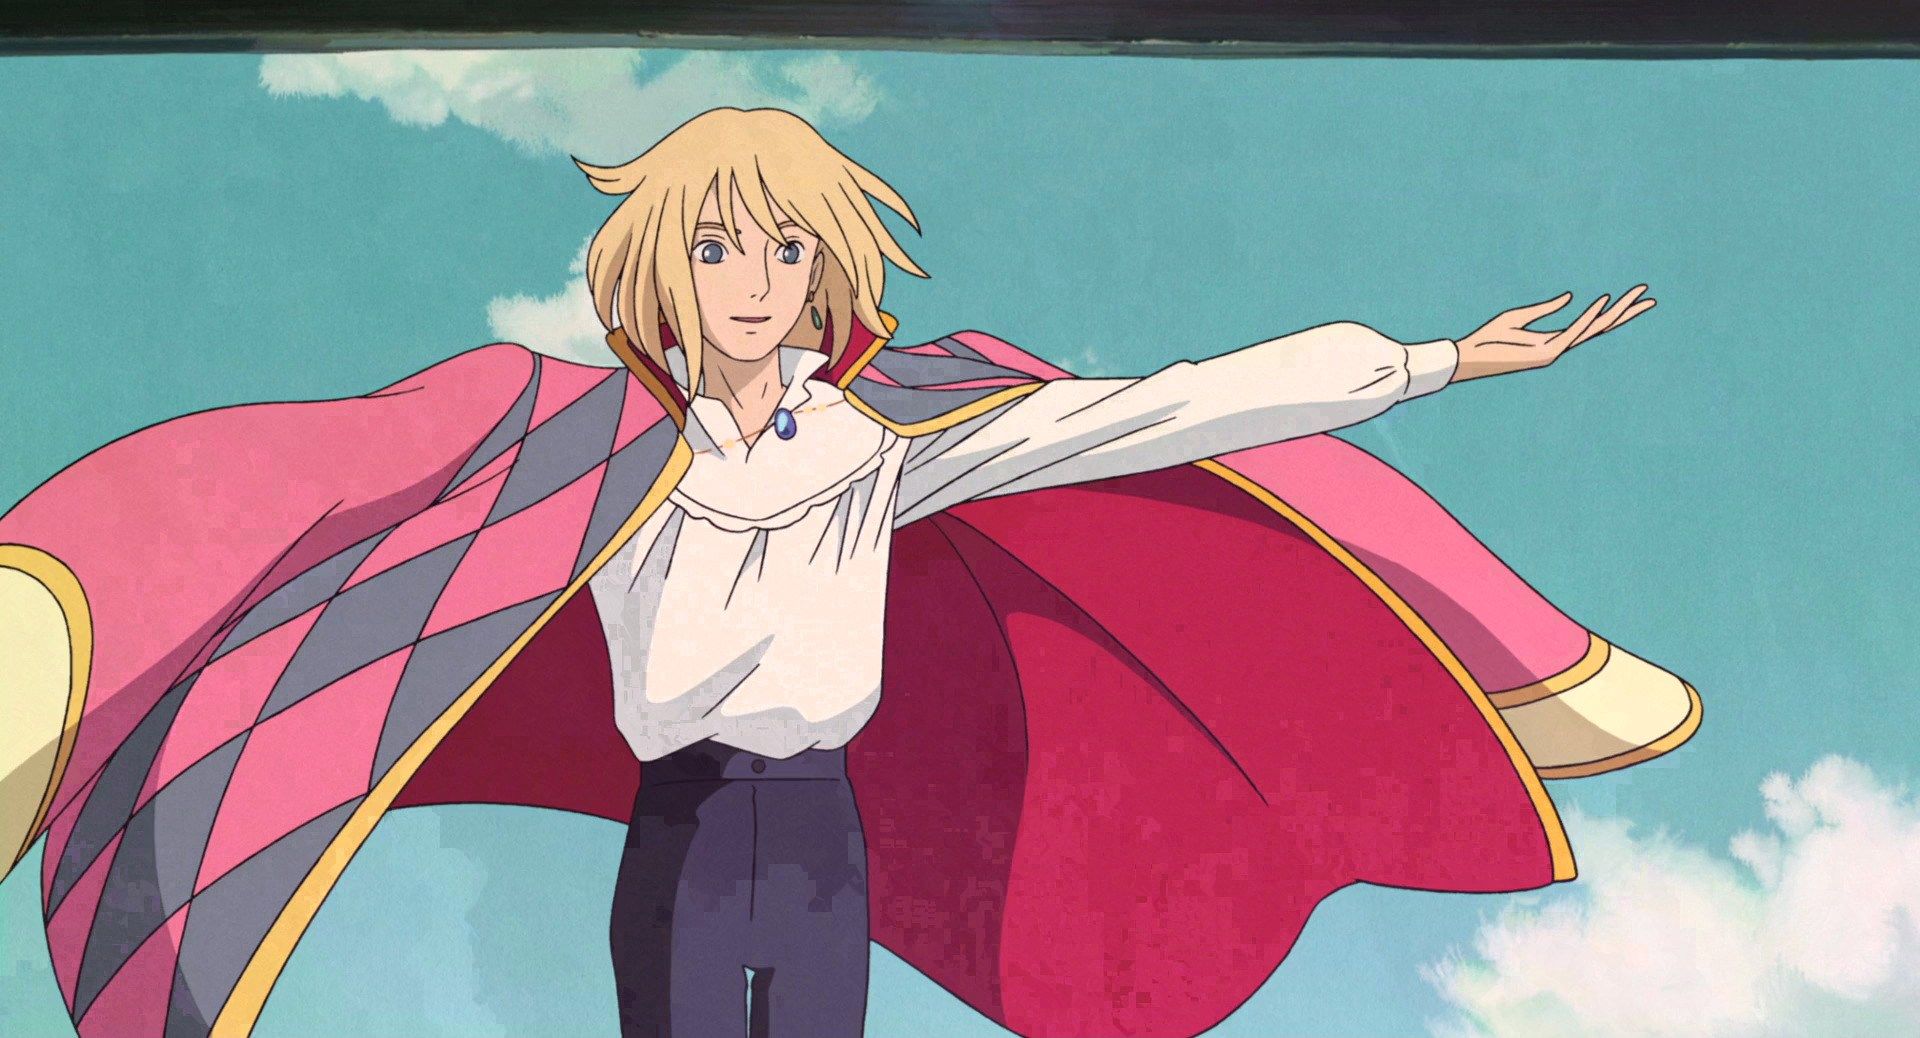
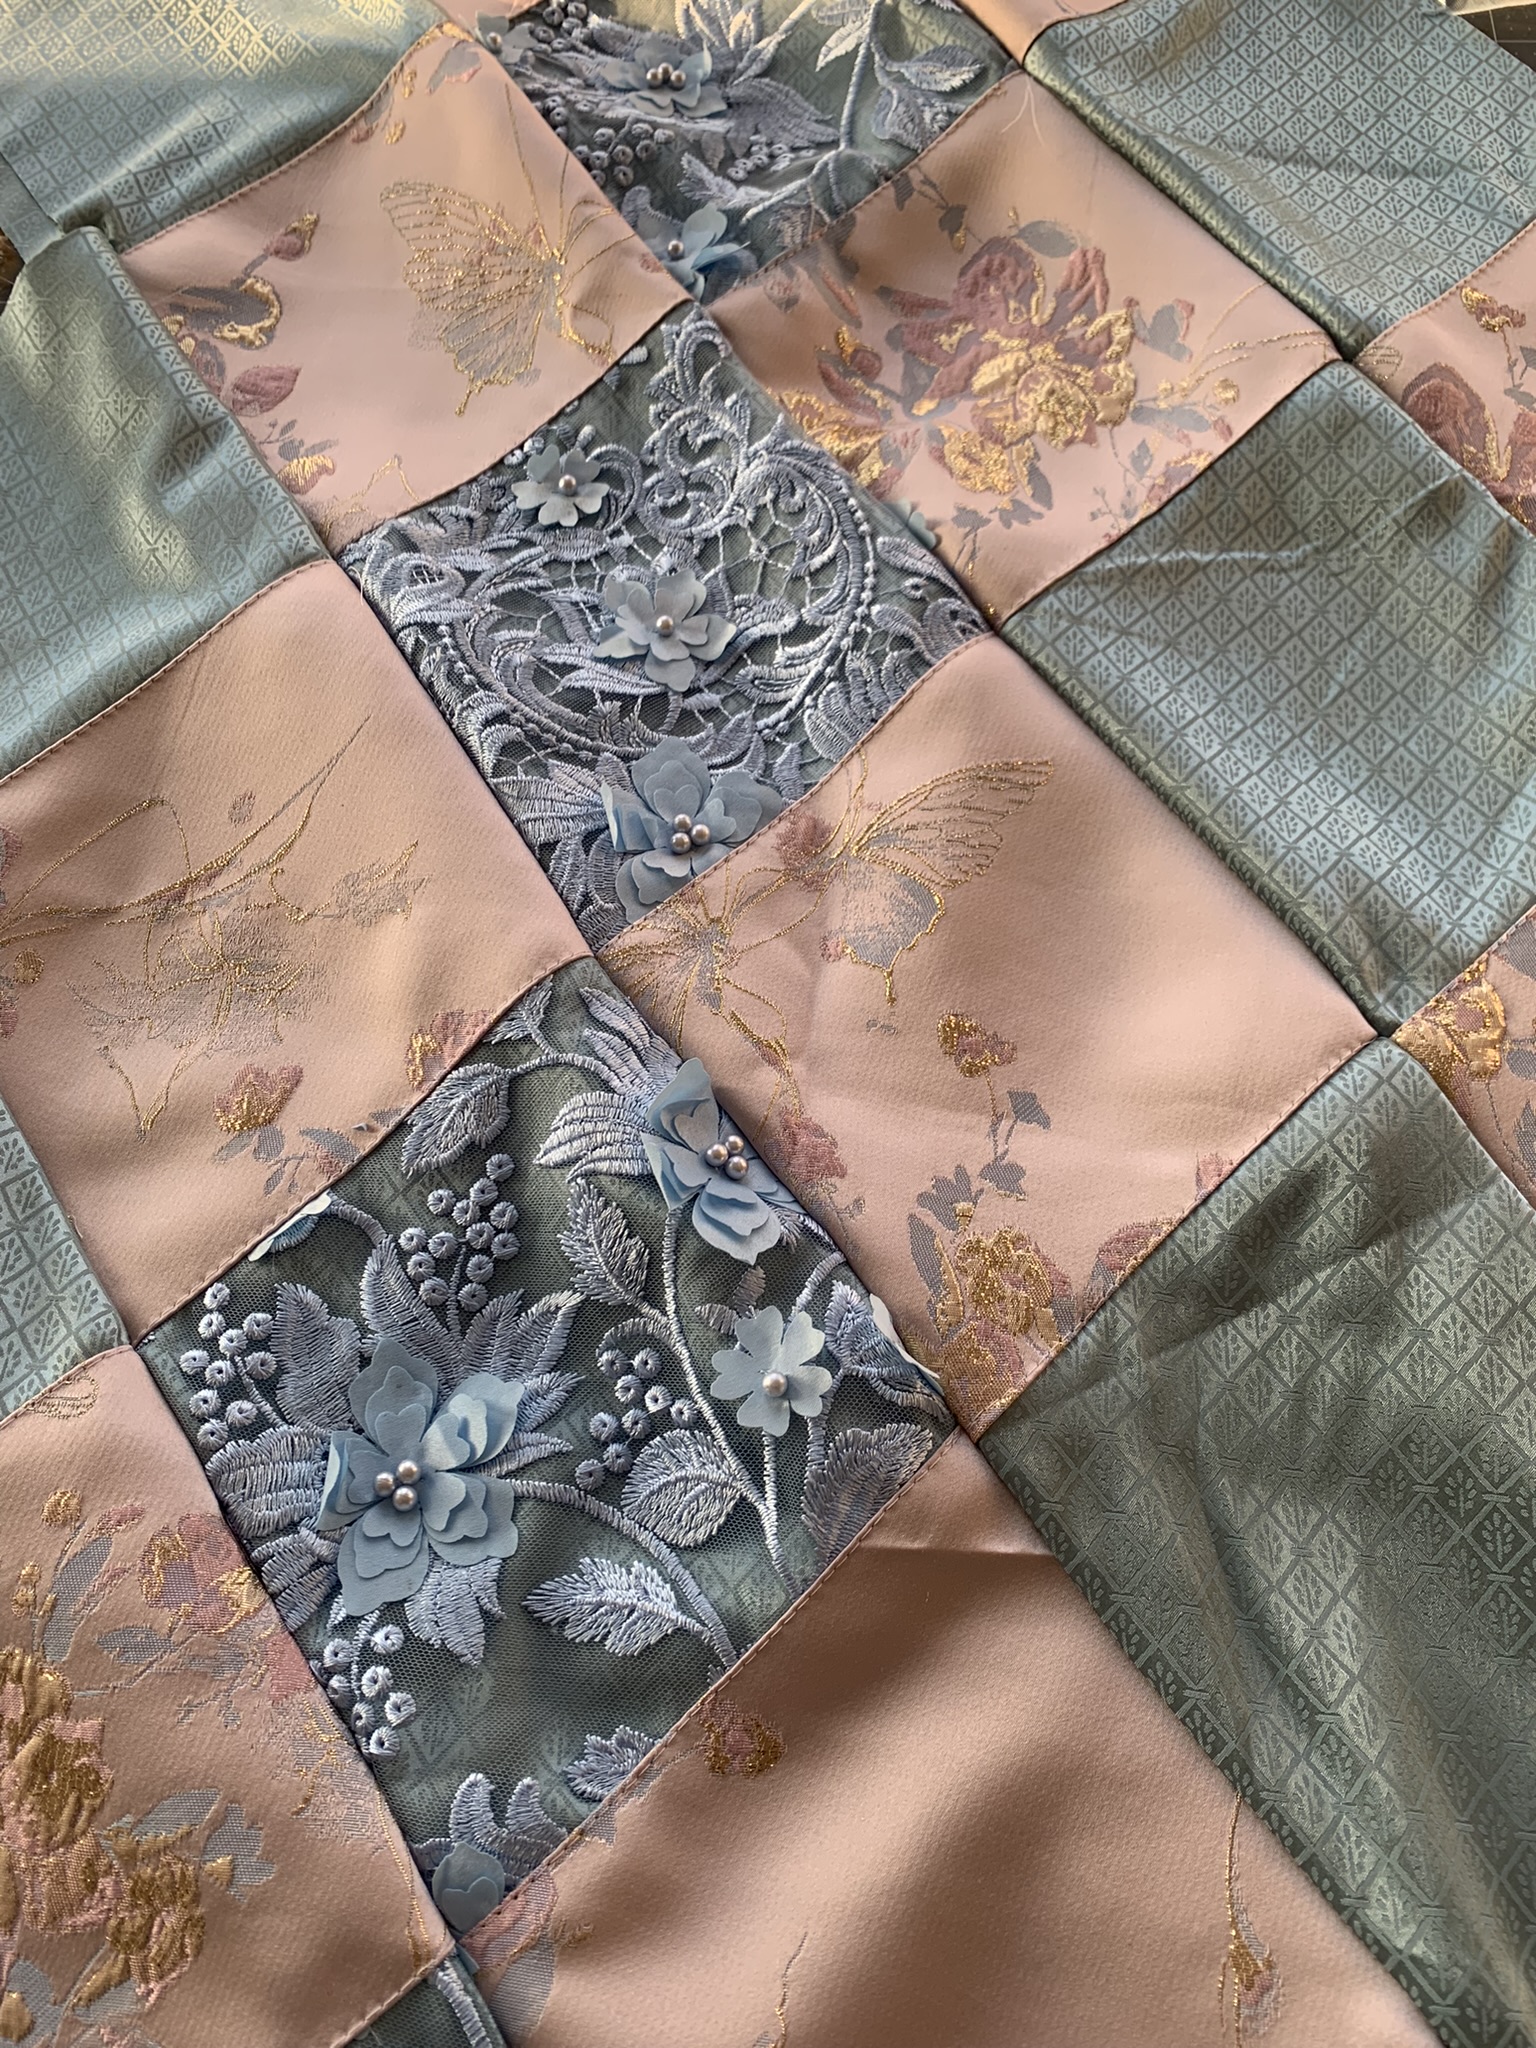
Baby Lock Ambassador Atticus of Gilded Stitch is creating a series of garments inspired by Howl's Moving Castle. You can see how they took creative liberties while still capturing the vibe of the Hayao Miyazaki film. Learn how to create quilted fabric with a jacket front pattern as the base for your next cosplay or streetwear look!
Before we dive into quilting, it's essential to understand the unique features of different fabric types. Typically fabric has different weights, textures, and weave types. These fabrics may react differently when sewn together. I suggest beginners choose similar fabrics to avoid this challenge.
Supplies
- A sewing Machine (I used the Babylock Accomplish)
- Sewing thread (any type, but not embroidery thread)
- Sewing needles (I used Klasse Universal Home Machine Needles size 10)
- Desired fabric in two color variations
- Scissors or rotary cutter
- Cutting mat
- Clear ruler
- Front jacket pattern piece
Contruction Steps
Determine the number of squares: The exact number of squares needed will depend on the desired size of the jacket. For a small size, approximately 20 squares in your primary color and 20 squares in your secondary color should be sufficient.
Cut the fabric squares according to your desired size, ensuring you have enough allowance for seam allowances. Tip Using a rotary cutter, ruler, and cutting mat, cut the squares to the desired size. Ensure all squares are cut consistently to maintain a uniform appearance.
Quantity: We’ll need to cut about 20 squares in one color and about 20 squares of your secondary color. This will get you both sides of the jacket using the front pattern piece in a small size. More squares will be needed for larger sizes.
Sew: Lay out your pieces on a table, it’s important we keep the shapes all in the correct directions as we will begin sewing.
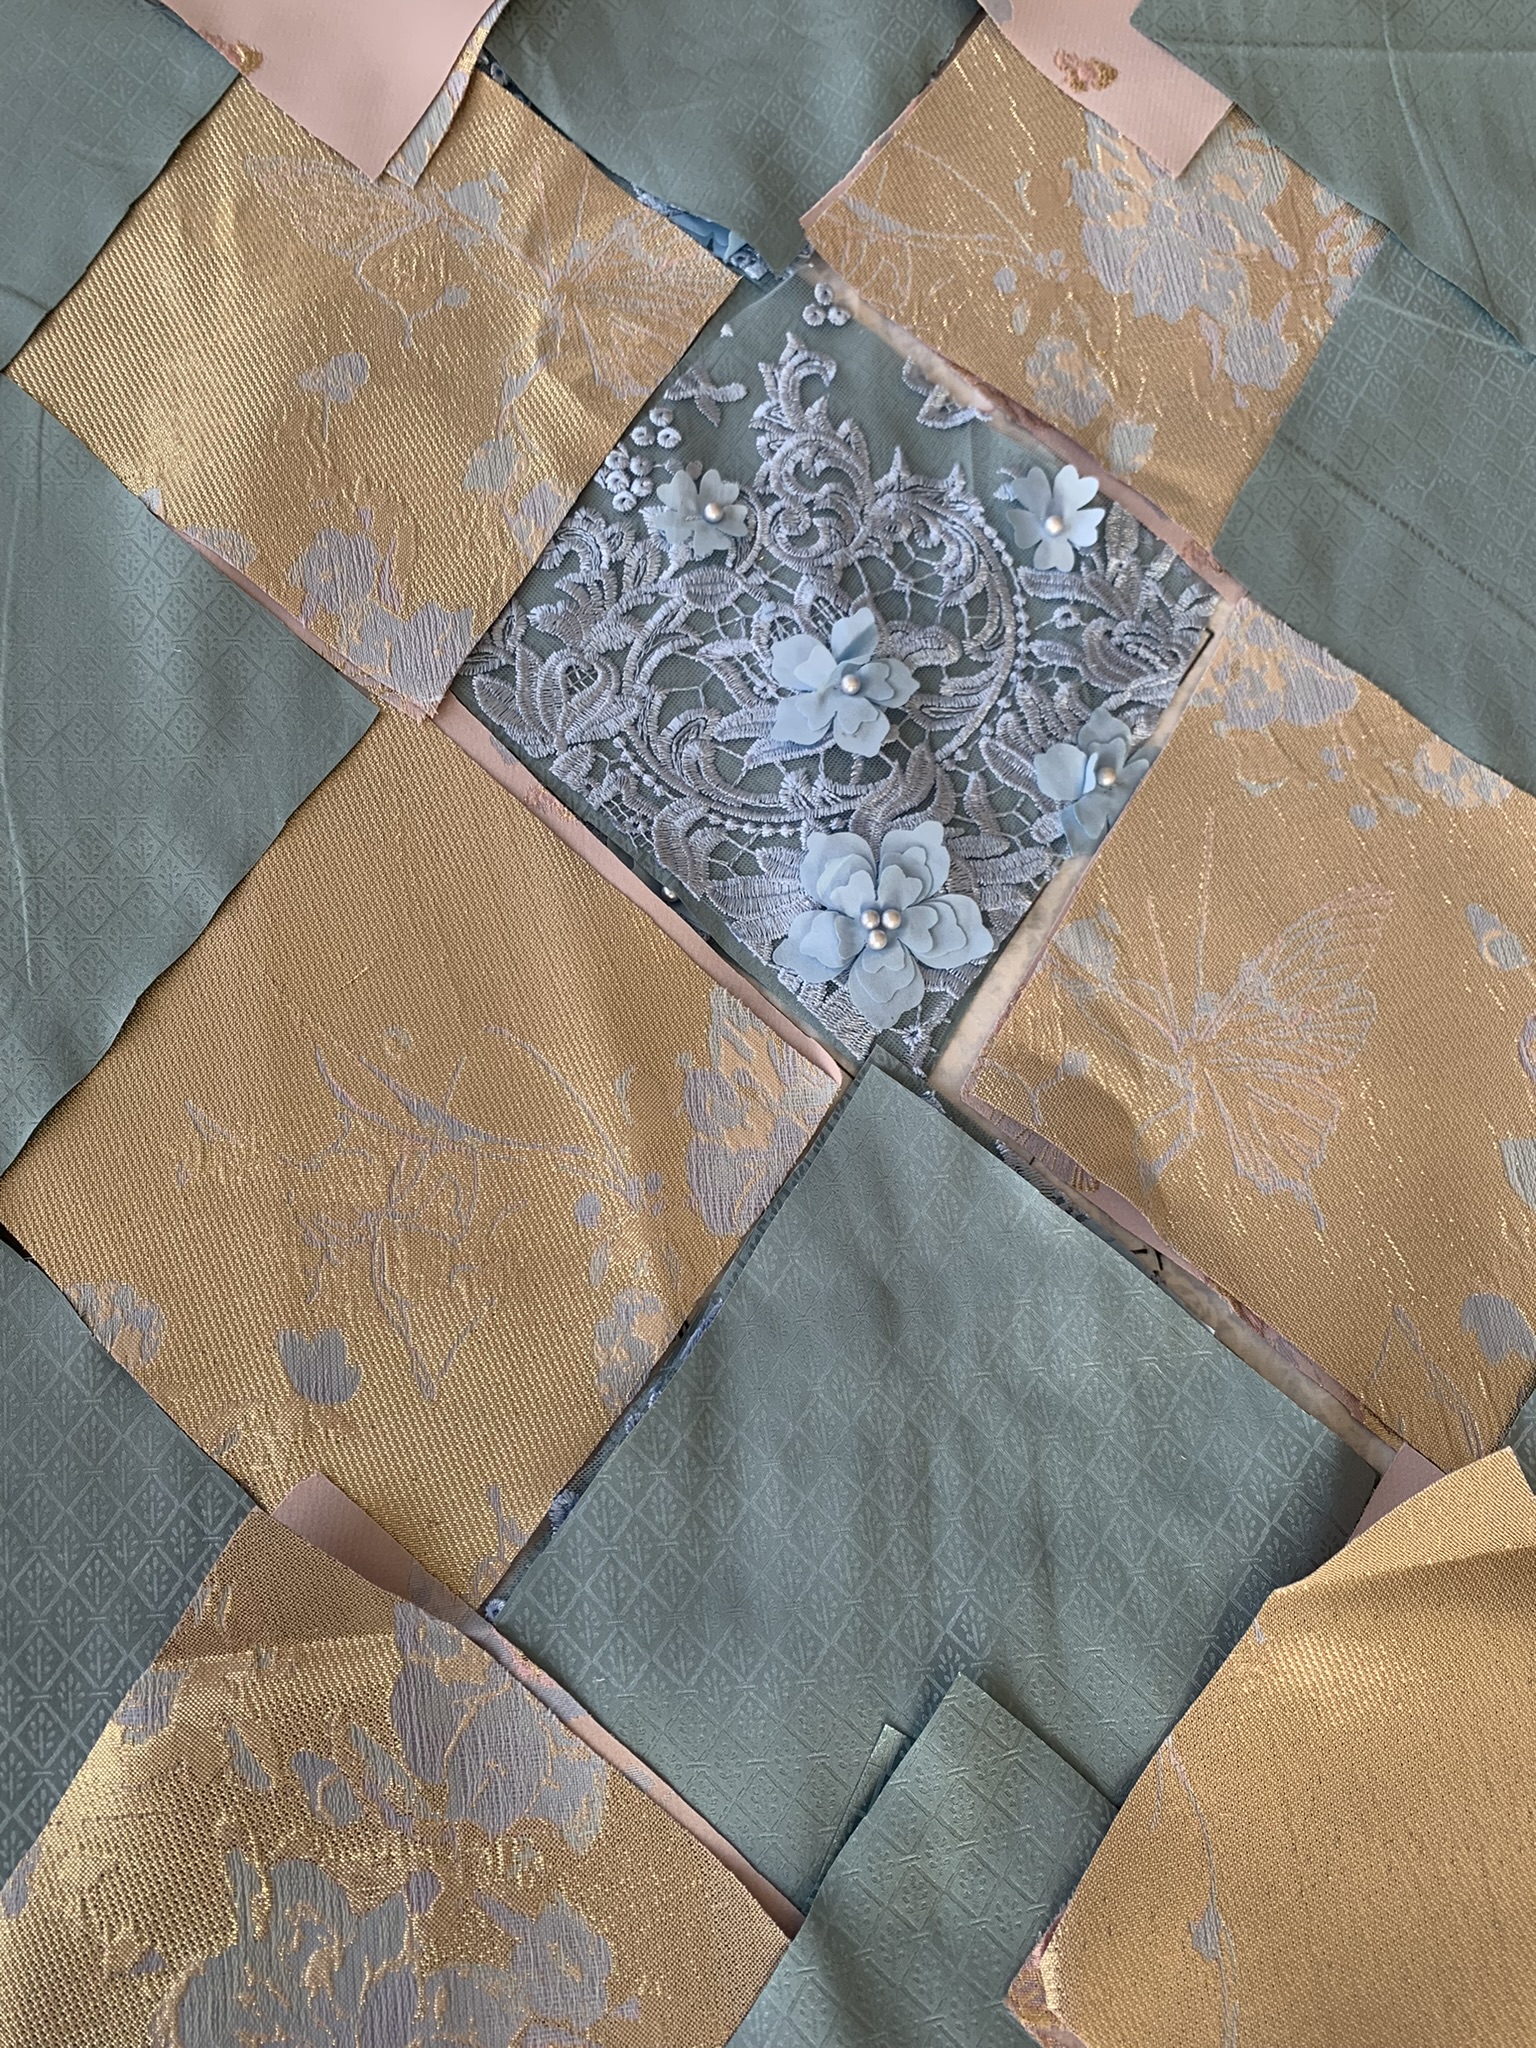
Sew, right sides together, joining each edge until you have diagonal strips. This should be easy to see with your pieces laid on a flat surface. Tip, iron as you go. You can also top stitch as you go to help the pieces lay flat.
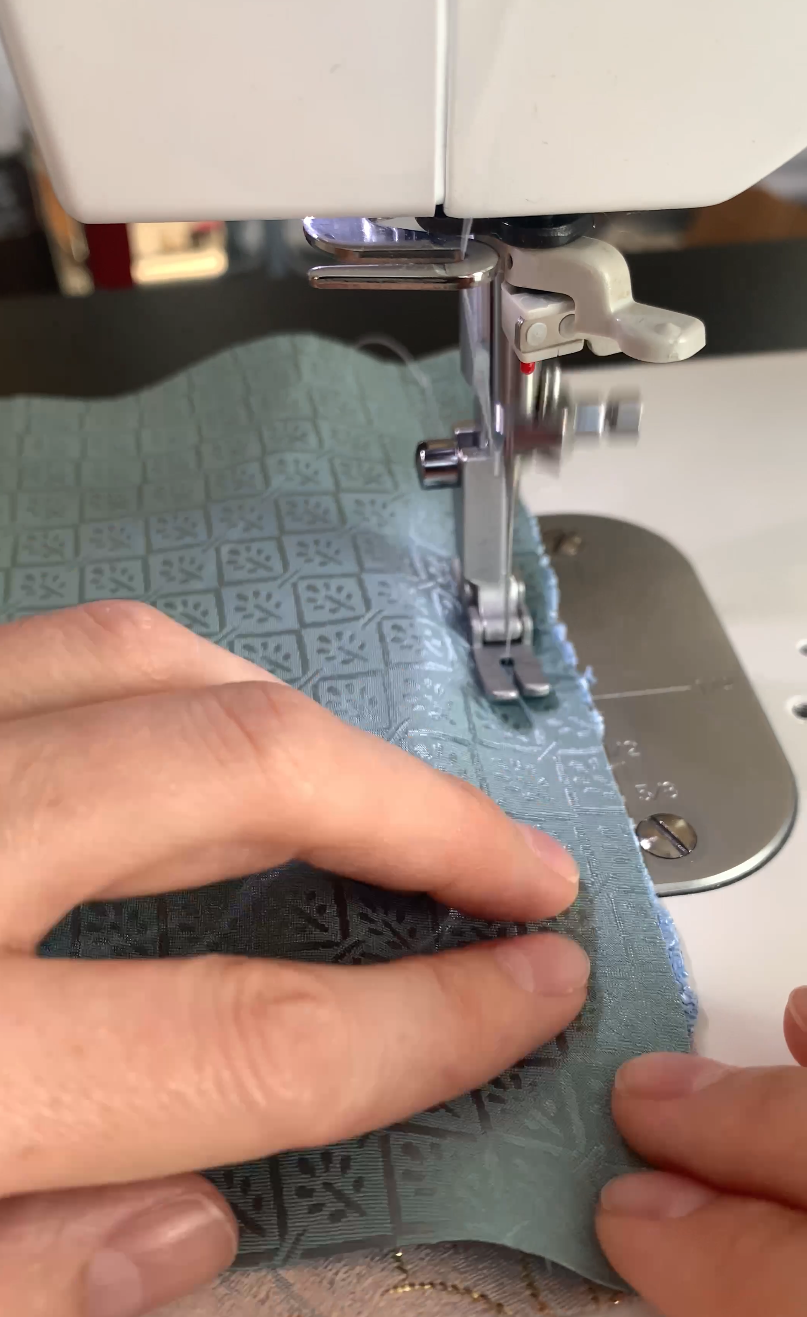

Sew together your diagonal strips until you have a fully reconstructed flat fabric. You are going to repeat this sewing process until we have two flat fabrics.
Finally, align to the best of your ability, the fabrics right sides together and cut the jacket front pattern piece.

This blog focuses on one technique Atticus uses to get a fluid silhouette for their cosplays- to see the finished look, click HERE!


